Setting up a reef tank is easier when you follow a clear plan. Start with stable equipment, quality rock, and patient cycling. Focus on consistency first. Corals and fish thrive when the tank matures slowly and water parameters stay steady.
A reef aquarium can look complex at first. There are lights, pumps, salt mix, test kits, and endless livestock choices. That can overwhelm new hobbyists fast. The good news is that reef tank success comes from a few basic principles. Build around stability. Choose equipment that fits your goals. Add livestock slowly. In this guide, you will learn the core reef tank setup basics. We will cover tank size, equipment, rock and sand, cycling, water chemistry, lighting, flow, stocking, and common beginner mistakes. By the end, you will have a practical roadmap for building a healthy reef tank that can grow with your experience.
Quick Reference Table
| Category | Beginner Recommendation |
|---|---|
| Tank size | 20 to 40 gallons minimum for easier stability |
| Salinity | 1.025 specific gravity |
| Temperature | 77 to 79°F |
| Filtration | Live rock, protein skimmer, mechanical filtration |
| Lighting | Reef-capable LED matched to coral goals |
| Flow | Moderate, random flow with no dead spots |
| Cycle time | Usually 2 to 6 weeks |
| First corals | Mushrooms, zoanthids, green star polyps, soft corals |
| First fish | Clownfish, gobies, firefish, captive-bred species |
| Water testing | Ammonia, nitrite, nitrate, salinity, alkalinity, calcium, magnesium |
This table gives you a solid starting point. Your exact setup may vary. Still, these ranges work well for most beginner reef tanks.
Choose the Right Tank Size First
Many beginners want a nano reef. Small tanks look affordable and simple. In practice, they are less forgiving. Water chemistry changes faster in low water volume. Temperature swings happen faster too. Evaporation also affects salinity more quickly.
A 20 to 40 gallon reef tank is often the best beginner range. It offers better stability. It also leaves room for useful equipment. If you want more fish choices, a 40 breeder or larger is even better. Larger tanks cost more up front. They often save frustration later.
Think about tank shape as well. Longer tanks provide more swimming room. They also give more space for aquascaping. All-in-one reef tanks are popular for beginners. They hide filtration in the back chamber. That keeps the display cleaner and simplifies setup.
Essential Reef Tank Equipment
You do not need every gadget on day one. You do need reliable basics. Start with a quality aquarium, heater, thermometer, return pump or powerheads, reef light, and a way to mix saltwater. A protein skimmer is strongly recommended for many setups. It helps remove waste before it breaks down.
Use an auto top off if possible. It replaces evaporated freshwater automatically. That keeps salinity stable. Stable salinity protects fish and corals from stress. A refractometer is also a smart investment. It is more accurate than swing-arm hydrometers.
For filtration, many beginners use filter floss, activated carbon, and live rock. Some also use biomedia. If your tank has a sump, you have more flexibility. If not, an all-in-one chamber still works well. Avoid chasing high-end gear before learning the basics. Consistent maintenance matters more than fancy equipment.
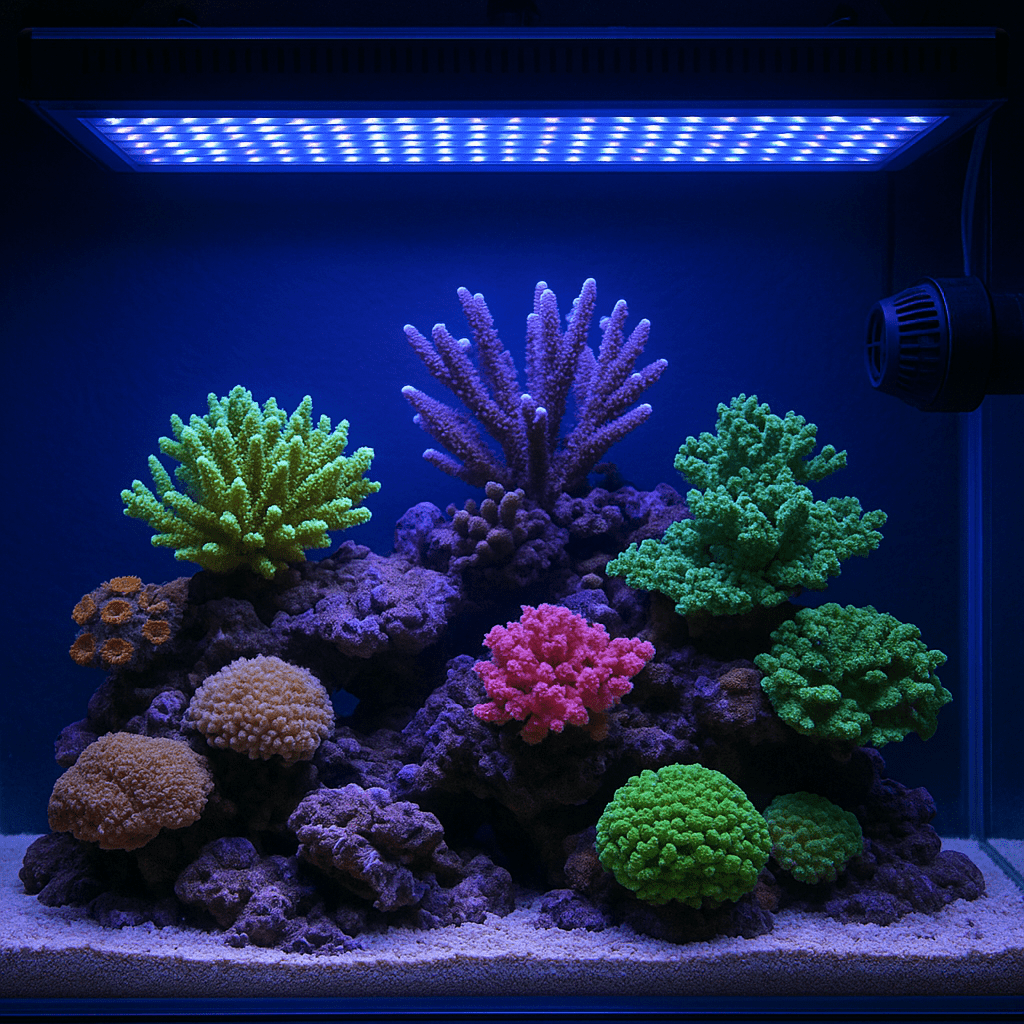
Rock, Sand, and Aquascaping Basics
Live rock or dry rock forms the biological backbone of a reef tank. Beneficial bacteria colonize the rock. These bacteria process waste and support the nitrogen cycle. Dry rock is popular today. It is clean, pest-free, and easy to shape. Live rock can add biodiversity faster. It may also introduce pests.
Use enough rock to create structure without filling the tank wall to wall. Leave open swimming room. Create arches, islands, and shelves. Corals need places to grow. Fish need caves and shaded areas. Water also needs room to move around the rock.
Sand is optional in some reef tanks. Most beginners prefer a shallow sand bed. It looks natural and supports some burrowing animals. Keep it around 1 to 2 inches deep. Deeper beds require more planning. Rinse dry sand well before use. Cloudy water is normal at first and usually clears quickly.
How to Cycle a Reef Tank
Cycling is the first major test of patience. During the cycle, beneficial bacteria establish themselves. These bacteria convert toxic ammonia into nitrite, then nitrate. Fish and corals should not be added until the cycle is complete.
- Set up the tank with saltwater, rock, sand, heater, and flow.
- Bring salinity to 1.025 and temperature to 77 to 79°F.
- Add a bottled bacteria product or seeded media if available.
- Add an ammonia source. Pure ammonium chloride works well.
- Test ammonia, nitrite, and nitrate every few days.
- Wait until ammonia and nitrite reach zero after dosing.
- Do a water change if nitrate is high.
- Add the first livestock slowly, not all at once.
Do not rush this stage. A fast cycle often leads to losses later. Brown diatoms and ugly phases are normal in new tanks. Most pass with time and stable maintenance.
Water Chemistry Every Beginner Should Know
Reef tanks run on stable chemistry. Chasing perfect numbers causes more trouble than slightly imperfect ones. Focus on consistency. For a mixed reef, aim for salinity near 1.025, temperature 77 to 79°F, alkalinity 8 to 9 dKH, calcium 400 to 450 ppm, and magnesium 1250 to 1400 ppm.
Nitrate and phosphate matter too. Corals need some nutrients. Zero nutrients can be a problem. High nutrients can also fuel algae. Many successful tanks keep nitrate between 5 and 15 ppm and phosphate between 0.03 and 0.10 ppm. These are not absolute rules. They are useful starting ranges.
Use RO/DI water if possible. Tap water often contains nitrate, phosphate, silicate, or metals. Those can cause algae issues and long-term instability. Test regularly, especially in the first few months. Keep a log. Trends matter more than single test results.
Lighting Requirements for a New Reef Tank
Lighting should match the corals you plan to keep. Soft corals and many beginner LPS corals need less light than SPS corals. That means you do not need the strongest fixture on the market for your first reef. You need even spread, controllability, and a proven reef spectrum.
Most reef hobbyists use LED lighting today. Set a photoperiod of about 8 to 10 hours of full lighting. Avoid blasting a new tank with intense light. That often fuels nuisance algae. Start lower and increase slowly as corals are added and adjusted.
If possible, use a PAR meter or borrow one locally. It removes guesswork. Soft corals often do well around lower to moderate PAR. LPS usually prefer moderate PAR. SPS often need stronger light and tighter stability. Beginners usually succeed faster with soft corals and easier LPS first.
Water Flow and Why It Matters
Water flow is easy to underestimate. Corals rely on flow to bring oxygen and food. Flow also helps carry away waste. Dead spots collect detritus. That can lead to algae and poor coral health.
Aim for random, varied flow. Avoid one harsh stream hitting a coral all day. Use one or two powerheads in smaller tanks. Place them so water moves around and behind the rockwork. Watch how food particles move in the tank. That shows where flow is weak or excessive.
Different corals like different flow levels. Mushrooms often prefer lower flow. Many LPS prefer moderate, indirect movement. SPS generally like stronger, turbulent flow. If a coral stays closed, gets blasted, or collects debris, adjust placement or pump settings.
Stocking Your First Fish and Corals
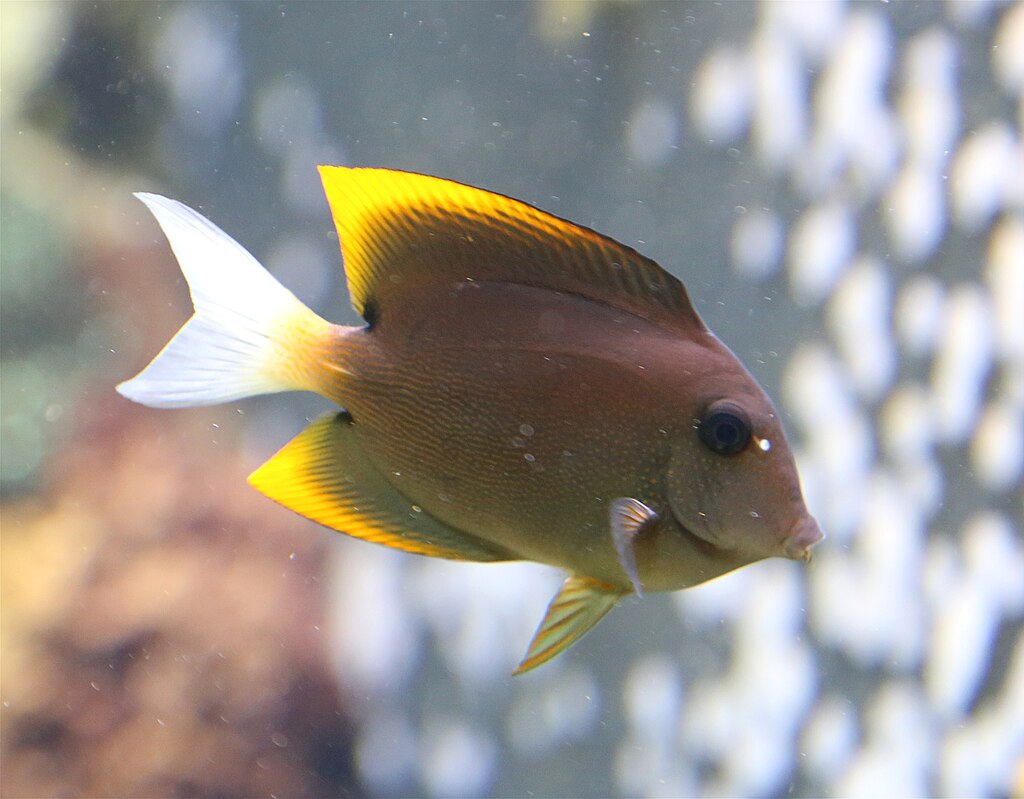
Go slow with livestock. Add a small cleanup crew first if the tank has some algae film. Snails are often more useful than crabs. Then add hardy, peaceful fish. Captive-bred clownfish, gobies, and firefish are common beginner choices. Quarantine is strongly recommended for all fish.
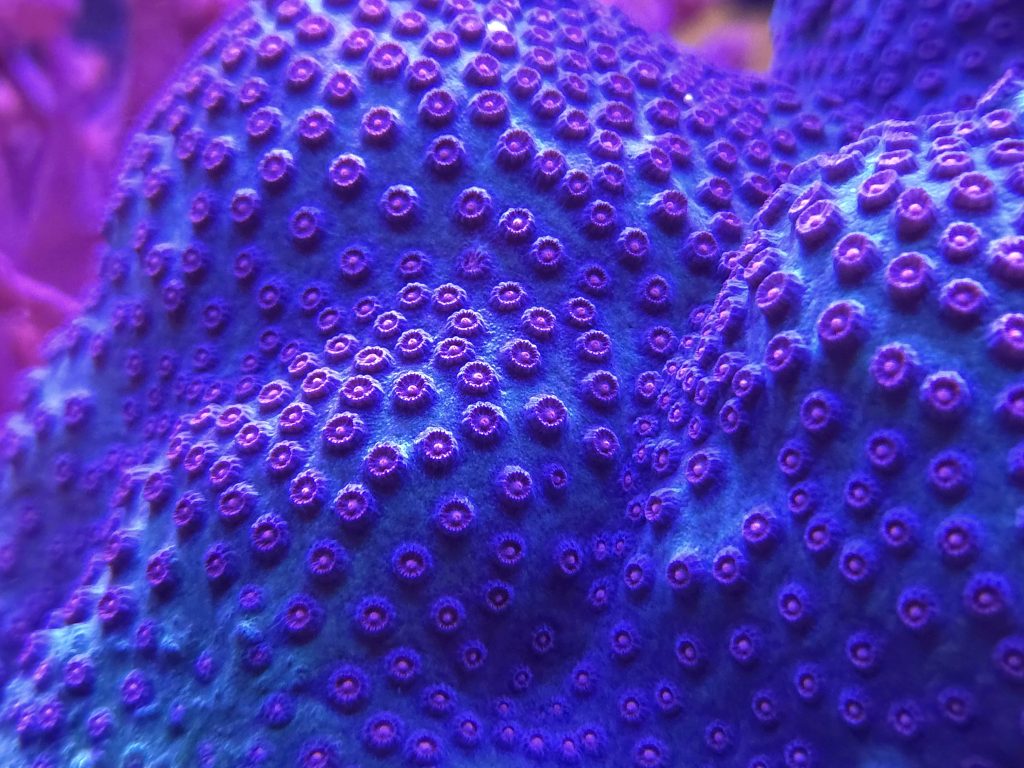
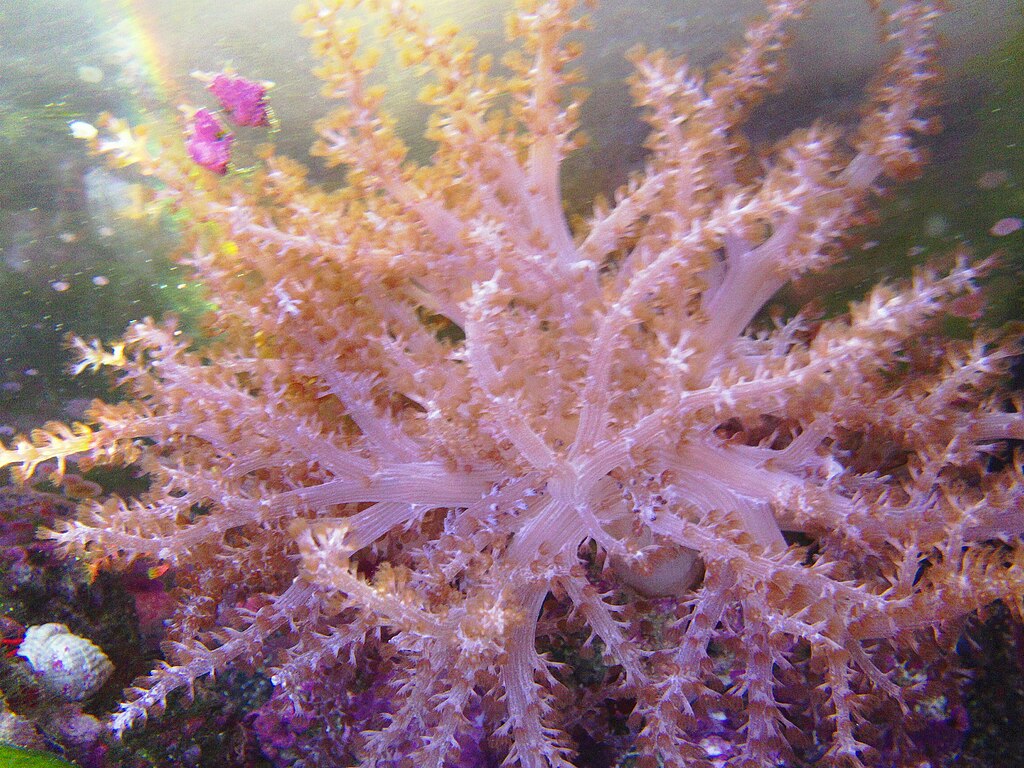
For corals, start with forgiving species. Mushrooms, zoanthids, leather corals, and some LPS are good first picks. Add a few frags, not a full tank at once. Watch how they respond for several weeks. Corals tell you a lot through polyp extension, inflation, and color.
Do not stock based only on appearance. Research adult size, temperament, feeding needs, and coral compatibility. Many reef problems begin with impulse purchases. A patient stocking plan prevents aggression, nutrient spikes, and expensive mistakes.
Basic Reef Tank Maintenance Routine
Simple maintenance keeps a reef tank stable. Top off evaporated water daily unless you use an auto top off. Clean filter floss often. Empty the skimmer cup as needed. Test salinity and temperature regularly. Perform water changes on a schedule you can maintain.
Many beginner tanks do well with 10 to 15 percent weekly water changes. This helps export nutrients and replenish trace elements. As coral demand grows, you may need to dose alkalinity, calcium, and magnesium. Do not start dosing blindly. Test first. Then dose based on actual consumption.
Clean pumps and powerheads every few months. Salt creep and calcium buildup reduce performance. A tank can look fine while flow slowly declines. Small maintenance tasks prevent larger problems later.
Common Problems
Why is my new reef tank covered in brown algae?
This is often a diatom bloom. It is common in new tanks. Silicates and fresh surfaces fuel it. Keep using RO/DI water, avoid overfeeding, and stay patient. It usually fades as the tank matures.
Why are my corals staying closed?
Check salinity first. Then check temperature, alkalinity, and flow. Corals often close from sudden changes. They may also react to pests, aggressive neighbors, or too much light. Change one thing at a time.
Why does my tank have persistent nuisance algae?
Excess nutrients, weak flow, old bulbs, dirty filters, and overfeeding are common causes. Test nitrate and phosphate. Remove trapped detritus. Improve export with water changes, skimming, and mechanical filtration. Review your feeding habits honestly.
Why did my salinity change so quickly?
Evaporation removes freshwater, not salt. That makes salinity rise. Small tanks swing faster. Use an auto top off or top off daily with fresh RO/DI water. Never top off with saltwater unless you removed saltwater.
Frequently Asked Questions
How long should I wait before adding corals?
Wait until the cycle is complete and parameters are stable. Many hobbyists wait a few weeks longer. Soft corals are usually the safest first choice.
Can I use tap water in a reef tank?
You can, but it often causes problems. RO/DI water is the better choice. It reduces algae fuel and unwanted contaminants.
Do I need a sump for a reef tank?
No. A sump helps, but it is not required. Many successful beginner reefs use all-in-one tanks or hang-on equipment.
What is the easiest coral for beginners?
Mushrooms and many leather corals are very forgiving. Zoanthids are also popular. Always dip new corals and inspect for pests.
How often should I test my reef tank?
Test more often in the first few months. Weekly testing is common for new tanks. Mature tanks may need less frequent testing, depending on coral demand.
Final Tips for a Strong Start
The best reef tank setup is not the most expensive one. It is the one you can maintain consistently. Start simple. Buy quality where it matters. Give the tank time to mature. Make changes slowly. Learn from the tank instead of forcing quick results. That mindset builds long-term success.
If you want to keep learning, read our guides on reef tank cycling, reef tank water parameters, best beginner reef corals, and reef clean up crew basics. These topics build directly on the setup basics covered here.
Was this helpful?
Related Posts
Choosing The Right Corals
Learn how to choose the right corals for your reef tank based on lighting, flow, tank size, and…
Nano Reef Stability Tips
Nano reef stability depends on consistency. Learn how to control salinity, nutrients, feeding, and maintenance in small reef…