Siphoning a reef sand bed removes trapped waste without stripping away beneficial life. The key is gentle technique, shallow passes, and a plan based on your sand depth. Done correctly, it lowers nutrients, improves clarity, and helps prevent algae and cyanobacteria problems.
Many reef keepers worry about cleaning sand. That concern makes sense. A reef sand bed is not just decoration. It holds bacteria, microfauna, and constant detritus. If you ignore it too long, waste can build up and fuel nitrate and phosphate. If you clean it too aggressively, you can stress the tank and cloud the water. In this guide, you will learn when to siphon, how to do it safely, what tools work best, and how to adjust your method for shallow or deep sand beds.
Quick Reference Table
| Topic | Best Practice |
| Cleaning frequency | Light cleaning weekly or biweekly during water changes |
| Shallow sand bed | Siphon surface and lightly stir dirty areas |
| Deep sand bed | Clean only the top layer, never deeply disturb it |
| Best hose size | Small to medium gravel vacuum for control |
| Target areas | Bare spots, low flow zones, around rocks, front glass line |
| Warning signs | Black patches, rotten smell, heavy clouding, stressed livestock |
| Goal | Remove detritus while preserving beneficial bacteria and fauna |
Why Siphon a Reef Sand Bed?
Sand collects more than most hobbyists expect. Fish waste settles there. Uneaten food drifts into low flow spots. Coral mucus and fine debris also sink into the bed. Over time, this material breaks down. That process releases nitrate and phosphate. Those nutrients can feed nuisance algae and cyanobacteria.
A light siphon removes this trapped waste before it becomes a larger issue. It also improves the look of the tank. Clean sand reflects light better. It makes the whole reef appear brighter. Siphoning can also help reduce brown film on the substrate. Many hobbyists notice clearer water after a good cleaning session.
The goal is not to sterilize the sand. That would be a mistake. Healthy sand contains worms, pods, bacteria, and other useful organisms. You want to remove excess detritus while leaving the biological function intact. Think of it as pruning, not stripping. Gentle, regular maintenance is safer than rare, heavy cleaning.
Do All Reef Tanks Need Sand Bed Cleaning?
Not every reef tank needs the same approach. A lightly stocked tank with strong flow may stay fairly clean. A heavily fed mixed reef can trap waste quickly. Tanks with wrasses, gobies, conchs, and nassarius snails often have more natural sand turnover. Even then, dead spots still form.
Shallow sand beds usually benefit from routine siphoning. These beds are often under two inches deep. Waste stays near the surface. It is easier to remove safely. Deep sand beds need more caution. If the bed is several inches deep, deeper layers can develop low oxygen zones. Those zones should not be aggressively disturbed.
You should also consider the age of the tank. New tanks often have unstable bacterial populations. Very aggressive cleaning can slow maturation. Older tanks may hold years of trapped organics. Those tanks benefit from gradual cleaning over several weeks. Never try to deep clean the entire bed in one session.
Tools You Need to Siphon Reef Sand
You do not need complicated equipment. A basic siphon hose or gravel vacuum works well. For most reef tanks, a smaller diameter tube gives better control. Large freshwater vacuums can pull too much sand too fast. A five gallon bucket is helpful if you are removing water during a water change.
Many hobbyists prefer a clear rigid tube attached to flexible tubing. The rigid section lets you see what is happening. That helps you lift the tube quickly if too much sand enters. A turkey baster is also useful. It can blow detritus out from around rocks before you siphon it away. Some reef keepers use a filter sock in the bucket to catch sand for reuse, but replacing small losses with new rinsed sand is often easier.
Keep towels nearby. Reef maintenance always splashes more than expected. Turn off wavemakers before you start. That prevents debris from spreading through the tank while you work.
Step-by-Step: How to Siphon a Reef Sand Bed
Start by planning to clean only part of the sand bed. One third is a safe target. This limits stress on the tank. It also preserves more microfauna. Prepare fresh saltwater first if you are combining this with a water change.
Turn off return pumps and powerheads. Let the sand settle for a minute. Start the siphon into a bucket. Hold the tube just above the sand surface. In a shallow bed, dip the tube lightly into the top layer. Lift it as detritus rises. Let heavier sand grains fall back while the dirty water exits.
Work in small sections. Focus on visibly dirty zones first. Areas around rock edges often trap the most waste. Move slowly across the front and sides. If the sand is very fine, hover above it instead of plunging in. Fine aragonite lifts easily. Coarser sand can tolerate a bit more contact.
Stop if the water becomes heavily cloudy or if you smell sulfur. That can signal deeper disturbance than intended. Once finished, restart equipment and replace removed water. Check skimmer behavior afterward. It may foam differently for a short time.
Shallow Sand Bed vs Deep Sand Bed
A shallow sand bed is the easiest to maintain. In most cases, you can siphon the upper layer during each water change. This removes settled waste before it compacts. You can also gently stir small sections by hand or with the siphon tube. The key is moderation.
A deep sand bed needs a different mindset. Its lower layers may support anaerobic processes. Those layers should stay mostly undisturbed. If you run a true deep sand bed, clean only the top half inch or so. Remove obvious debris from the surface. Do not plunge a gravel vacuum deep into the bed.
If your older tank has a neglected deep bed, take it slow. Clean small sections over many weeks. Test nitrate and phosphate during the process. Watch fish and corals closely. Sudden large disturbances can release trapped organics and create instability.
Best Times to Clean the Sand Bed
The best time to siphon is during a scheduled water change. You are already removing water, so the process is efficient. Weekly or every other week works for most tanks. Heavily stocked systems may need more frequent light cleaning. Low nutrient tanks may need less.
Look for signs instead of following a rigid calendar. Dirty sand often looks dull or patchy. Brown film on the substrate is another clue. Detritus piles behind rock structures also signal low flow and the need for cleaning. If nitrate and phosphate creep up despite good feeding habits, the sand bed may be part of the problem.
Avoid major sand cleaning right after adding new livestock. Also avoid it during disease treatment or other stressful events. Reef tanks handle maintenance better when everything else is stable.
Aquarium Setup Factors That Affect Sand Cleaning
Flow matters a lot. Strong, varied flow keeps debris suspended long enough for mechanical filtration to remove it. Weak flow lets waste settle into the substrate. If you constantly find dirty sand in the same spots, adjust your powerheads. Small changes in angle can make a big difference.
Rock placement also matters. Large structures with tight bases create pockets where debris collects. Elevating rock slightly can improve circulation under the aquascape. Sand grain size matters too. Very fine sand looks natural, but it traps detritus and blows around easily. Coarser sand stays put better, though it can still collect waste between grains.
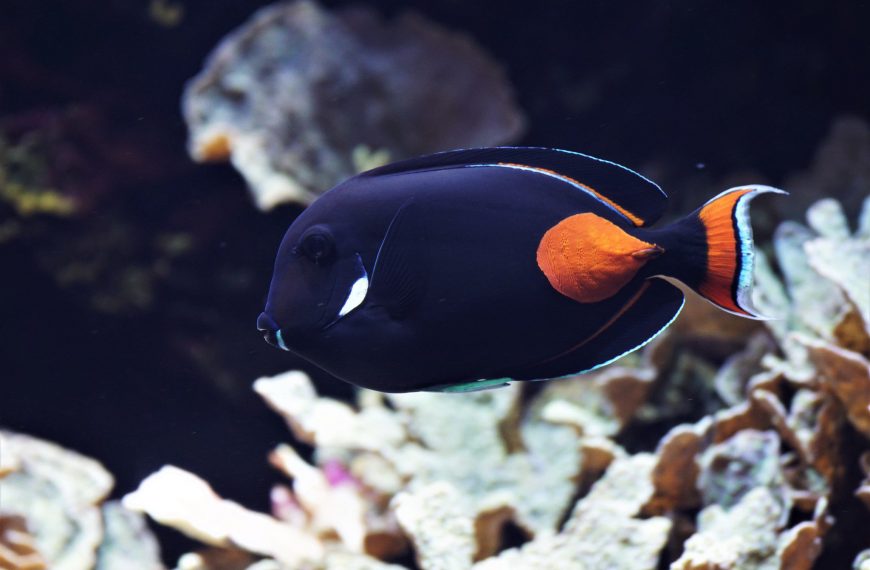
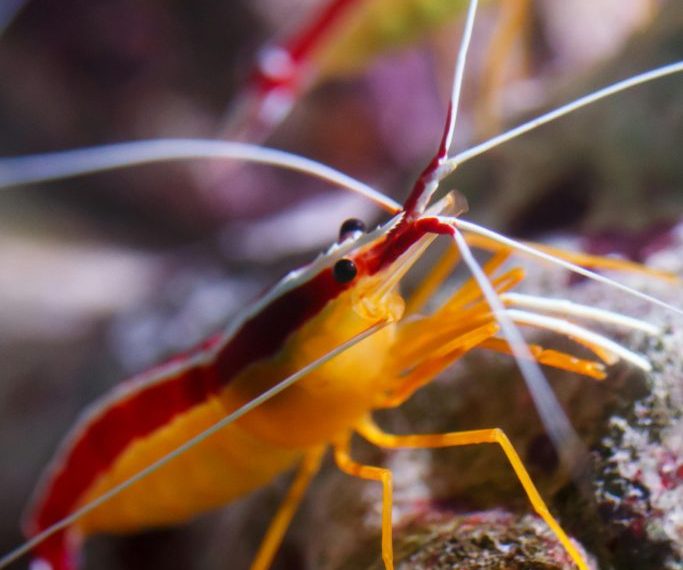
Cleanup crews help, but they are not a complete solution. Conchs, nassarius snails, and some gobies can keep the surface turned over. They do not replace manual maintenance. Think of them as support, not substitutes.
Common Problems
Why does my sand cloud up when I siphon?
This usually means the flow through the hose is too strong or the sand is very fine. Use a narrower tube for more control. Hover above the surface instead of digging in. Clean smaller sections at a time. Mechanical filtration and filter floss can polish the water afterward.
Why does the sand get dirty again so fast?
Fast buildup points to excess nutrients or poor flow. Check feeding amounts first. Frozen food should be thawed and strained if needed. Next, inspect dead spots in the aquascape. You may also need stronger export through skimming, refugium growth, or more frequent filter sock changes.
Can siphoning crash my reef tank?
Routine light siphoning is usually safe. Problems happen when hobbyists clean too much at once. Deep disturbance in old beds can release trapped waste. Clean only part of the bed each session. Stop if livestock shows stress or if the substrate releases foul odor.
Should I remove all the sand and rinse it?
That is rarely the best first move. Full removal is disruptive. It can destabilize the tank and stress animals. In severe cases, gradual replacement in sections is safer. For most tanks, repeated light siphoning solves the issue without drastic action.
Compatibility With Sand-Sifting Livestock
Some reef animals interact with the sand bed every day. Watch them before and after cleaning. Sand-sifting gobies may rebuild burrows if you disturb their area. Wrasses that sleep in sand need a stable layer each night. Conchs and nassarius snails usually tolerate cleaning well, but avoid exposing them to air for long.
Clean around burrows gently. Leave some zones untouched if a fish depends on them. If you keep jawfish, be especially careful. Their tunnel systems can collapse if you vacuum too aggressively nearby. The safest approach is targeted maintenance. Remove waste from open areas first. Work around livestock territories last and with a lighter touch.
Frequently Asked Questions
How often should I siphon my reef sand bed?
Most tanks do well with light siphoning every one to two weeks. Heavy bioloads may need weekly attention.
Can I siphon sand with corals close to the bottom?
Yes, but work slowly. Avoid blasting tissue with debris. Clean around low corals with a smaller tube.
Is brown sand always dirty sand?
Not always. Brown film can be diatoms, dinoflagellates, cyanobacteria, or trapped detritus. Siphoning helps, but identify the cause too.
Should I stir the sand before siphoning?
Only the top layer in shallow beds. Deep stirring can release waste and destabilize older systems.
What if I accidentally remove too much sand?
Replace small losses with rinsed aragonite if needed. Minor loss over time is normal and usually not harmful.
Final Tips for Cleaner Reef Sand
The best sand bed maintenance is consistent and gentle. Do not wait for the substrate to become heavily packed with waste. Clean a little during each water change. Improve flow where debris settles. Feed carefully. Support the bed with a sensible cleanup crew. Most importantly, match your method to your sand depth.
If you keep that balance, your reef sand bed will stay cleaner and healthier. Your corals will benefit from lower nutrient pressure. Your tank will also look much better day to day. For more reef maintenance help, see reef tank water change guide, how to lower nitrates in a reef tank, reef tank flow guide, and clean up crew for reef tank.
Was this helpful?
Related Posts
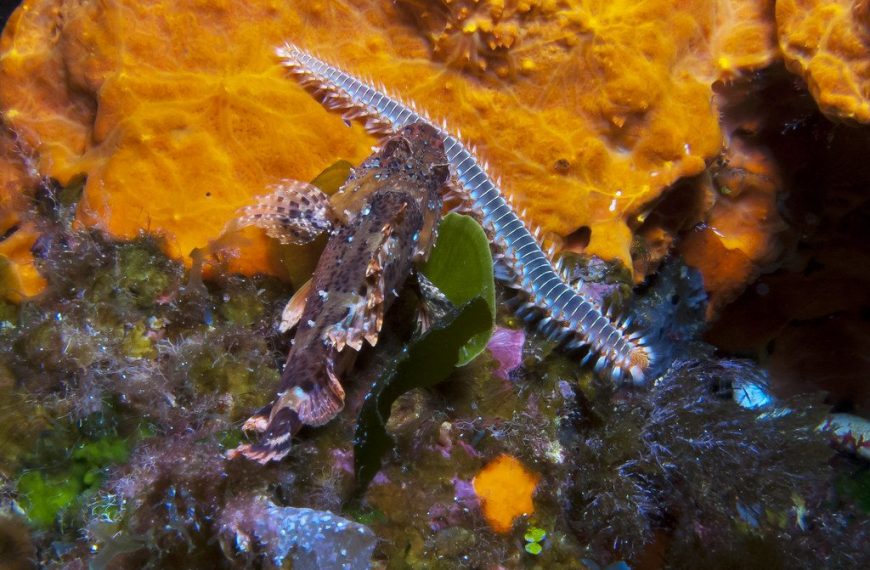
Bristleworms
Bristleworms are usually helpful reef tank scavengers. Learn how to identify them, control numbers, and spot the rare…
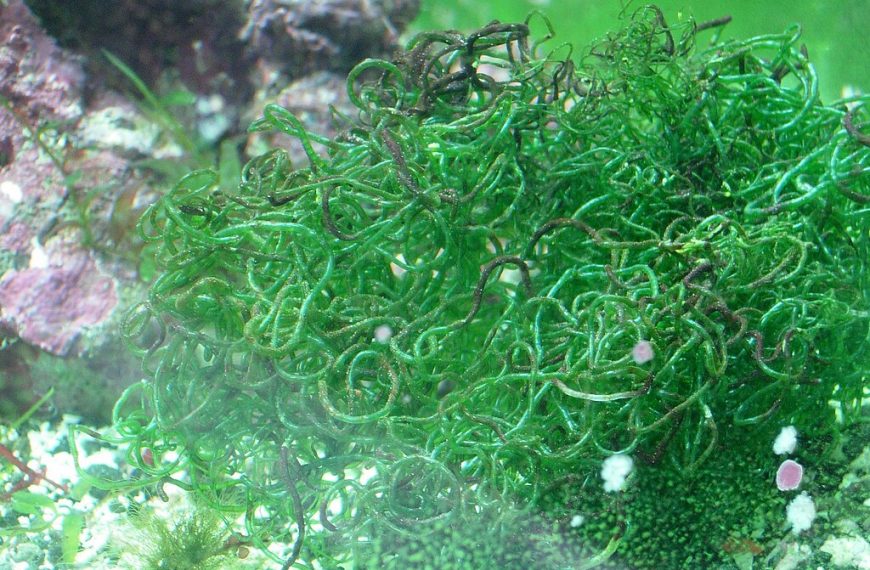
What is a Chaeto Reactor, and How Does it Help Control Nutrients?
A chaeto reactor grows macroalgae in a sealed chamber to remove nitrate and phosphate, helping reef tanks control…