Frag plug cleaning helps prevent pests, algae, and nutrient buildup from entering your reef tank. Clean plugs also look better, improve coral placement, and reduce the chance of nuisance growth spreading around fresh frags.
Many hobbyists focus on dipping corals but ignore the plug underneath. That is a mistake. Frag plugs often carry algae, detritus, vermetid snails, flatworm eggs, and hidden nuisance hitchhikers. In this guide, you will learn when to clean a frag plug, how to clean it safely, when to remove a coral from the original plug, and how to avoid stressing the frag during the process.
Quick Reference Table
| Topic | Best Practice |
|---|---|
| When to clean | Before adding any new frag to the display tank |
| Main risks on plugs | Algae, aiptasia, vermetids, eggs, detritus, nuisance bacteria |
| Basic tools | Coral cutters, toothbrush, scalpel, tweezers, glue, rinse container |
| Best water for rinsing | Clean saltwater from quarantine or fresh mixed saltwater |
| Dip first or clean first | Usually inspect, dip, then clean and re-mount if needed |
| When to discard plug | If it has heavy algae, pests, cracks, or thick encrusting buildup |
| Safest option | Remove coral from old plug and mount to a new sterile plug or rock |
Why Frag Plug Cleaning Matters
A frag plug is more than a small base. It is a common entry point for problems. Many coral pests hide in tiny pores, under the plug stem, or inside old glue. Algae can also take hold on rough ceramic surfaces. Once introduced, it can spread fast in a nutrient-rich reef tank.
Cleaning the plug lowers risk before the coral reaches your display. It also gives you a better view of the frag. You can inspect the tissue line, the underside, and any damaged areas. This is especially useful with zoanthids, SPS frags, and LPS on large commercial plugs.
There is also an aesthetic benefit. Bright white or coralline-free plugs often stand out in a display. Re-mounting a coral onto a smaller disc or rubble piece creates a cleaner, more natural look. That makes future aquascaping easier and helps the coral blend into the reef structure faster.
What Can Be Hiding on a Frag Plug?
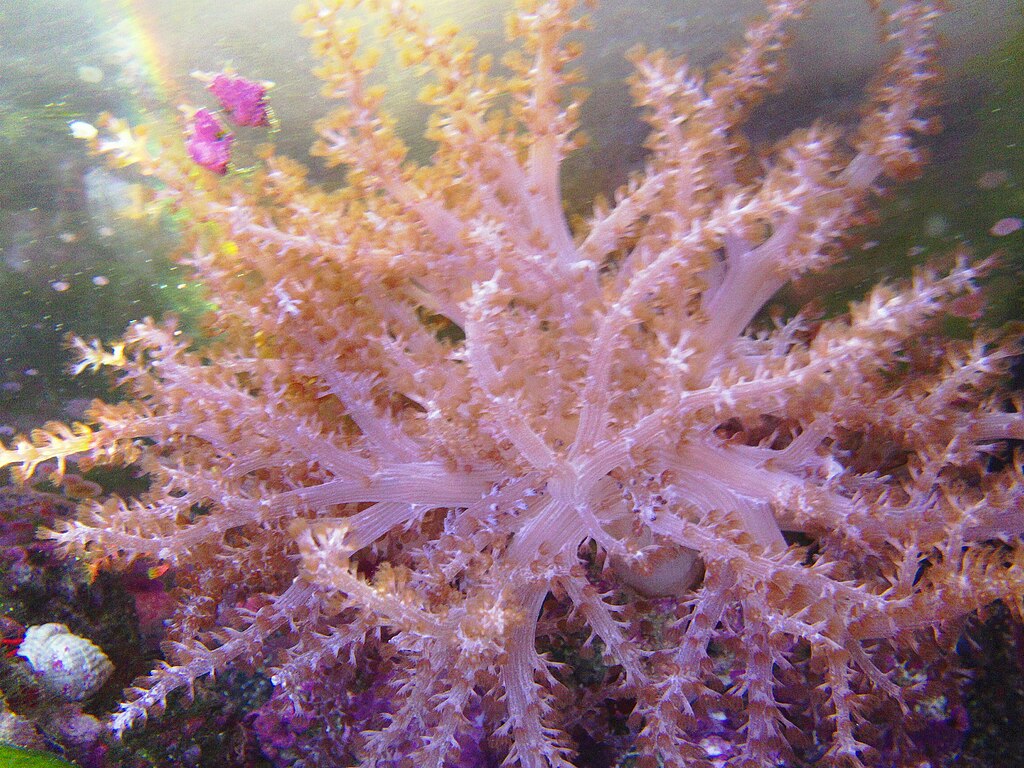
Frag plugs can carry more than simple dirt. Hair algae is common. Bubble algae is another frequent issue. Cyanobacteria and film algae can coat old plugs from crowded frag systems. Vermetid snails often live in small tubes along the edges. Aiptasia can hide near the base of the coral or under glue.
Eggs are a bigger concern. Coral dips may kill mobile pests, but many dips do not destroy eggs. Flatworm eggs, nudibranch eggs, and other hitchhiker clusters can remain attached to the plug. That is why visual inspection is so important.
Detritus is another problem. Dirty plugs trap waste and organics. In shipping, this material can decay and irritate the frag. In your tank, it can fuel nuisance algae and bacteria. If the plug smells foul or looks slimy, treat it with extra caution and consider discarding it completely.
Tools You Need for Frag Plug Cleaning
You do not need a large kit. A few simple tools work well. Keep coral bone cutters or tile nippers for breaking stems. Use a new toothbrush or soft brush for scrubbing. Fine tweezers help remove algae, eggs, and small snails. A scalpel or razor helps trim old glue and scrape problem spots.
You also need a small container of clean saltwater. Never rinse cleaned frags in tap water. Freshwater contact can damage many corals. Reef-safe cyanoacrylate gel is useful if you plan to mount the coral onto a new plug or small rock. Gloves and eye protection are smart, especially with zoanthids.
Keep separate containers for dipping and rinsing. That prevents pests or dip residue from returning to the coral. Good lighting helps a lot. A flashlight or magnifying lens makes inspection easier. Small pests are easy to miss under weak room lighting.
Step-by-Step Frag Plug Cleaning Guide
Start with a close inspection. Look at the coral tissue, plug rim, underside, and glue line. Check for algae, eggs, tubes, and anemones. If the frag looks healthy, move to a coral dip that matches the coral type and your quarantine process.
After the dip, rinse the frag in clean saltwater. Then decide whether to keep the plug or remove it. If the plug is clean and the coral is strongly attached, light scrubbing may be enough. Gently brush away algae and detritus. Use tweezers to remove anything suspicious.
If the plug is heavily fouled, remove the coral from it. Cut the stem, trim around the encrusted base, or carefully separate the coral from old glue. Work slowly. Avoid crushing the skeleton or tearing tissue. Once free, mount the frag to a new sterile plug, disc, or rubble piece with reef glue.
Finish with a final rinse in clean saltwater. Place the coral in quarantine or a low-stress holding area. Moderate flow helps wash away mucus. Lower light for the first day can also reduce stress after handling.
When to Keep the Original Plug
Sometimes the original plug is fine. A healthy frag on a clean, pest-free plug may not need full removal. This is common with freshly cut SPS frags on new discs. If there is no visible algae, no eggs, and no nuisance growth, a simple scrub and rinse may be enough.
Keeping the original plug can reduce stress. Some corals dislike extra handling. Encrusting montipora, chalices, and delicate acropora can crack if forced off too soon. In those cases, trimming the stem and hiding the disc in the rockwork is often the safer choice.
Still, be selective. If you buy from mixed frag systems or crowded retail tanks, caution is better. Even a clean-looking plug can hide pests. Quarantine remains the safest route. You can learn more in our guides on coral dipping guide, reef tank quarantine, and how to mount coral frags.
When to Remove and Replace the Plug
Remove the plug when you see nuisance algae, vermetid tubes, aiptasia, sponge overgrowth, or suspicious egg clusters. Replace it if the ceramic is chipped, dirty, or packed with old glue. Large commercial plugs are also worth replacing if they look unnatural in your display.
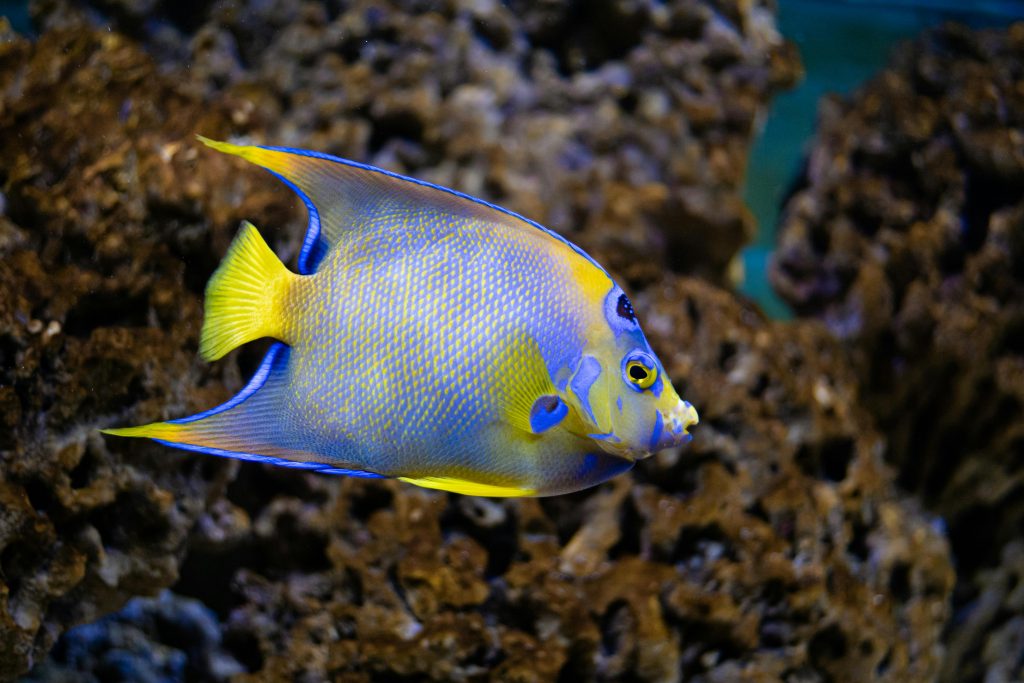
Zoanthids are often sold on plugs with hidden pests around the mat edge. LPS frags may have dead skeleton and debris around the base. SPS frags may encrust over old glue that traps detritus. In each case, moving the coral to a fresh surface makes long-term care easier.
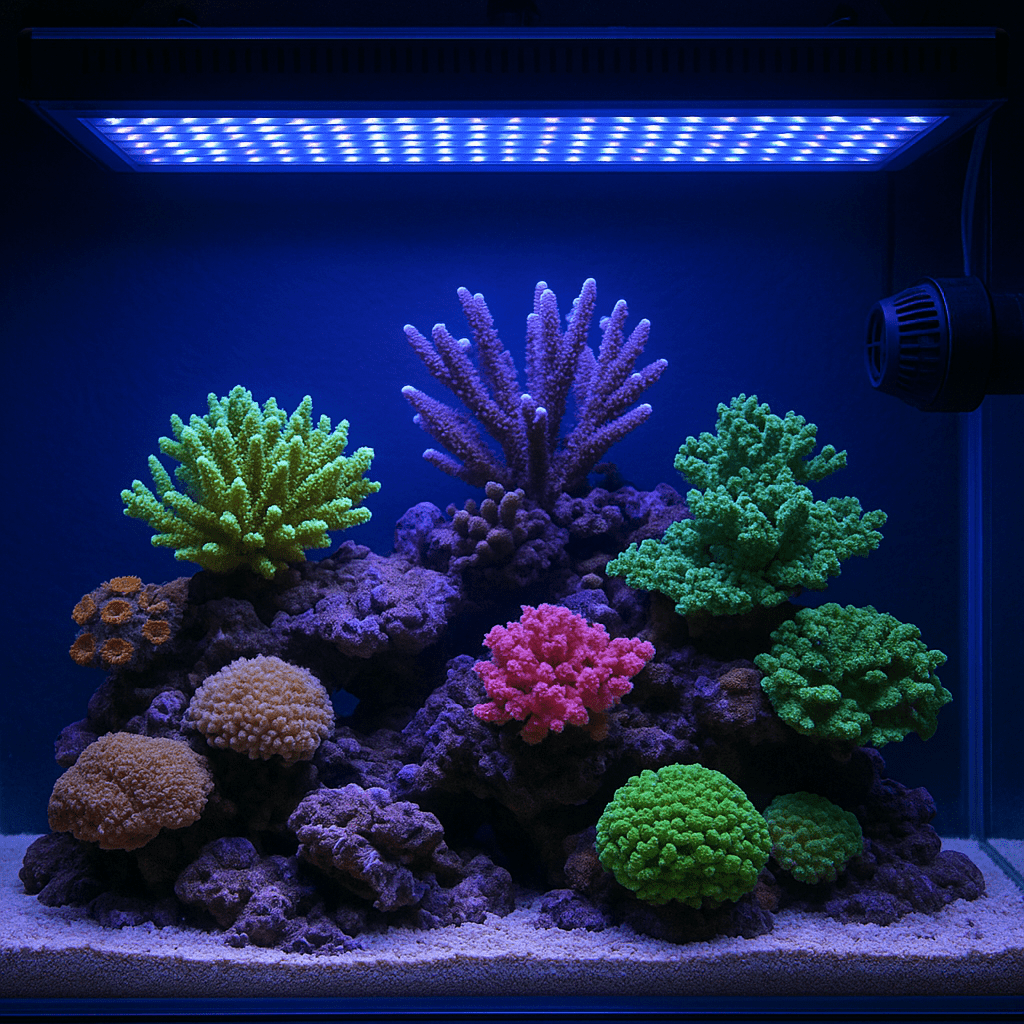
A new plug or rubble piece also helps with placement. You can fit it better into your aquascape. Corals encrust more naturally over rock than over a tall plug stem. This improves appearance and often reduces shaded dead spots under the frag.
Aquarium Setup After Cleaning
Freshly cleaned or re-mounted frags need a calm transition. Place them in stable water first. Avoid major swings in alkalinity, salinity, or temperature. Corals recover faster in consistent systems. Aim for reef parameters that match the seller whenever possible.
Start the frag in lower to moderate light unless you know its exact lighting history. Handling, dipping, and re-mounting can stress tissue. Too much light right away may cause retraction or bleaching. Increase exposure slowly over several days.
Use moderate, indirect flow. Strong direct flow can peel tissue from a fresh glue point. Very low flow can let mucus and debris settle on the frag. Watch the coral closely for polyp extension, inflation, and color stability. Our articles on reef tank parameters and coral acclimation can help with this stage.
Common Problems
The coral will not open after cleaning
This usually means stress. The frag may have been dipped too long, handled too much, or exposed to too much light after cleaning. Place it in stable water with gentle flow. Give it time. Many corals stay closed for a day or two after re-mounting.
Algae keeps returning on the plug
The plug may still hold trapped organics or spores. Remove it fully if possible. Check phosphate and nitrate levels. Improve herbivory and flow in the holding system. Persistent algae on one plug often points to a dirty base or hidden dead material.
I found eggs after the dip
Dips often miss eggs. Scrape them off manually. If they are near tissue, cut away the affected plug section or move the coral to a new base. Then quarantine and inspect again over the next week. Repeat checks are important with zoanthids and SPS.
The frag broke during removal
This happens often with brittle SPS. Glue the healthy piece onto a new base. Keep flow moderate and parameters stable. Broken SPS often recover well if the tissue remains intact. For LPS, avoid exposing torn flesh to strong current.
The new glue mount will not hold
Dry the contact point briefly with a paper towel before applying gel glue. Use enough glue to fill uneven spots. Hold the coral in place for several seconds. For heavy frags, use epoxy and glue together for a stronger bond.
Propagation and Re-Mounting Tips
Best bases for re-mounting
Ceramic discs, aragonite plugs, and small rubble pieces all work well. Rubble often looks most natural. Discs fit frag racks nicely. Choose a base that matches your next step. If the coral is for grow-out, use a standard plug. If it is for display, rubble is often better.
How to reduce stress during re-mounting
Prepare everything before you cut or lift the coral. Work quickly but gently. Keep the frag wet with saltwater during the process. Avoid touching soft tissue. Once mounted, return it to water right away. Less air exposure usually means a smoother recovery.
Frequently Asked Questions
Should I clean every frag plug before adding a coral?
Yes. At minimum, inspect and rinse every plug. Ideally, dip the coral and clean or replace the plug before the display tank.
Can I use tap water to scrub a frag plug?
No. Use clean saltwater. Tap water can harm coral tissue and may leave chlorine or contaminants behind.
Is removing the coral from the plug always better?
Not always. It is safer when the plug is dirty or pest-ridden. Clean, healthy plugs can sometimes be kept.
Do coral dips kill everything on a frag plug?
No. Many dips miss eggs and some hidden hitchhikers. Manual cleaning and quarantine are still important.
What is the safest option for pest prevention?
The safest option is to dip the coral, remove it from the old plug, mount it to a new sterile base, and quarantine it.
Frag plug cleaning is a small step with big benefits. It protects your reef from avoidable pests, improves coral presentation, and gives new frags a cleaner start. Build it into your normal coral intake routine, and you will prevent many common reef tank headaches before they begin.
Was this helpful?
Related Posts
Reef Tank Ph Basics
Reef tank pH basics made simple. Learn ideal ranges, testing tips, and safe ways to fix low pH…

UV Sterilizer Reef Tank
A UV sterilizer can improve reef tank water clarity and reduce free-floating microbes, but proper sizing, flow, and…