Fragging and mounting corals is one of the most useful reef keeping skills. It helps you control growth, save damaged colonies, and share healthy frags. With clean tools, stable water, and the right glue or epoxy, most common corals can be fragged safely at home.
Many reef hobbyists start fragging after a coral outgrows its spot. Others do it to trade corals, build backups, or rescue tissue from a stressed colony. The process is simple once you understand coral structure and healing. In this guide, you will learn how to frag soft corals, LPS corals, and SPS corals, how to mount frags securely, and how to avoid common mistakes that slow recovery.
Quick Reference Table
| Coral Type | Best Frag Method | Best Mounting Method | Healing Time |
|---|---|---|---|
| Soft corals | Scalpel or scissors | Rubber band, mesh, or glue to rubble | 5 to 14 days |
| LPS corals | Bone cutters or coral saw | Gel super glue or epoxy | 1 to 3 weeks |
| SPS corals | Bone cutters or snips | Gel super glue on plugs or rock | 3 to 14 days |
Use this table as a starting point. Each coral heals at a different pace. Stable parameters matter more than speed. A clean cut and a secure mount usually lead to better polyp extension and faster encrusting.
Why Frag Corals?
Fragging is not only about making more corals. It is also a practical maintenance tool. Fast growers can shade nearby corals and block flow. A careful trim keeps your aquascape balanced. It also prevents aggressive corals from stinging neighbors.
Fragging can also save a colony. If a coral has tissue recession, brown jelly, or damage from a fall, healthy sections can often be removed and preserved. This is common with branching hammer corals, birdsnest, and acropora. Many hobbyists keep backup frags of favorite corals in case the main colony declines.
There is also a cost benefit. Trading homegrown frags can offset reef expenses. It is one of the best ways to stock a tank with hardy, tank-adapted corals. Captive-grown frags often adjust better than wild colonies. If you are still planning your coral layout, read our reef tank aquascaping tips and beginner coral guide.
Tools and Supplies You Need
You do not need a full coral farm setup. Most hobbyists can frag at home with a small kit. The key is cleanliness and control. Dirty tools increase infection risk. Dull tools crush tissue and slow healing.
- Bone cutters or coral snips
- Sharp scalpel or razor blade
- Cyanoacrylate gel super glue
- Two-part reef-safe epoxy
- Frag plugs or small rubble pieces
- Protective gloves and eye protection
- Coral dip and clean tank water
- Small containers for working and rinsing
- Tweezers or forceps
- Paper towel for drying frag bases
Wear gloves when handling zoanthids and palythoas. Some contain palytoxin. That toxin is dangerous. Avoid cutting them in enclosed spaces. Protect your eyes. Wash tools and hands after use. If you are new to coral safety, our reef tank maintenance checklist covers basic handling habits that prevent many problems.
Step-by-Step: How To Frag Corals Safely
Start by choosing a healthy donor colony. Do not frag stressed corals. Avoid fragging right after shipping, parameter swings, or pest treatment. Corals heal best when they are already growing well.
- Prepare a clean work area near the tank.
- Gather tools, plugs, glue, and containers first.
- Fill one container with tank water for rinsing.
- Fill another for dipping if needed.
- Remove the coral gently and keep exposure brief.
- Inspect for pests, algae, or dead tissue.
- Make one clean cut through healthy structure.
- Rinse the frag in clean tank water.
- Dry only the frag base for a few seconds.
- Apply gel glue to the plug or rubble.
- Press the frag in place for 10 to 20 seconds.
- Return the frag to moderate flow and lower light.
Do not place fresh frags in intense light right away. Many corals slime heavily after cutting. Moderate flow helps remove mucus and supports healing. Lower light reduces stress during the first few days. Once the frag extends polyps again, you can move it toward its final position.
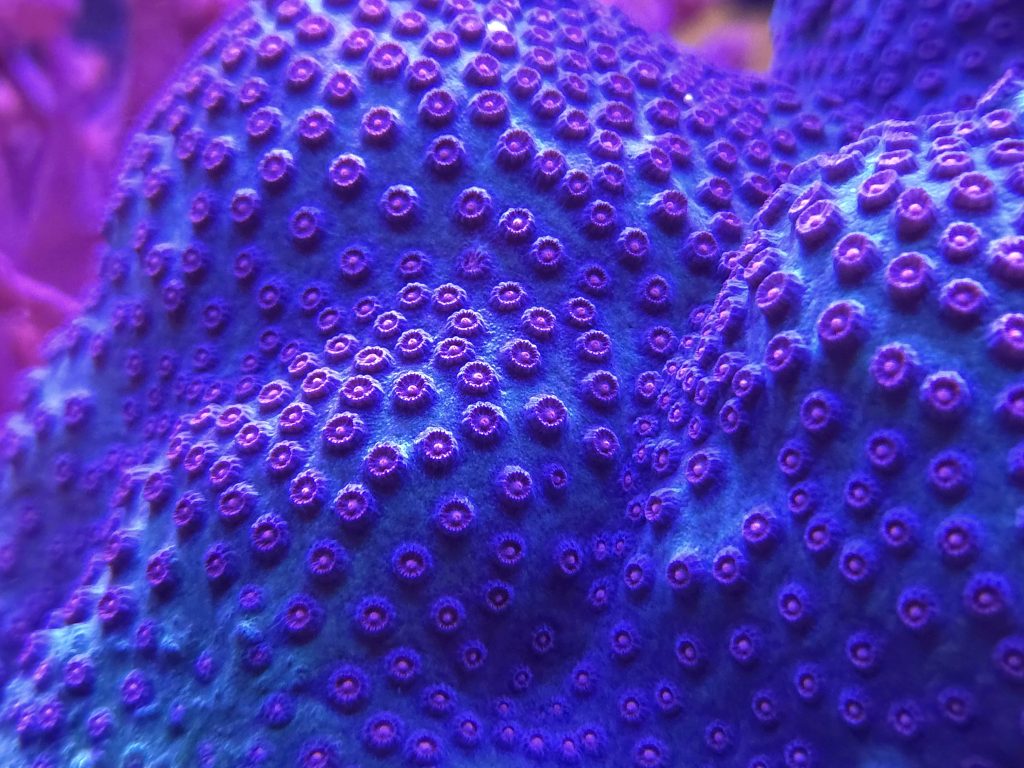
How To Frag Soft Corals
Soft corals are often the easiest place to start. Mushrooms, leathers, kenya tree, and many zoanthids can be divided with a sharp blade. The challenge is not the cut. The challenge is getting the frag to stay attached.
For leather corals and kenya tree, cut a healthy branch or lobe with a scalpel. Then secure it to rubble using a rubber band, bridal mesh, or a toothpick method. Do not tighten bands too much. Soft tissue tears easily. For mushrooms, cut the disk into halves or quarters and place the pieces in a low-flow cup with rubble until they attach.
Zoanthids can be fragged by cutting the mat between polyps or by removing a small piece of the rock under the colony. The second method is often safer for the coral. It causes less tissue damage. Always use eye protection with zoas and palys. Place fresh soft coral frags in lower flow than SPS. Too much flow can blow them loose before they attach.
How To Frag LPS Corals
LPS corals need a more careful approach. Many have fleshy tissue over a hard skeleton. You want to avoid cutting through living mouths unless the species tolerates it well. Branching LPS are usually much easier than wall types.
Branching hammer, frogspawn, and torch corals can often be cut between branches with bone cutters or a saw. Look for clear skeletal separation below the tissue line. Cut the skeleton, not the flesh. Duncan corals and candy cane corals are also beginner-friendly to frag. Leave some space around each head to prevent tissue tearing during handling.
Wall hammers, wall frogspawn, and some fleshy brains are much riskier. These corals can be damaged badly by poor cuts. If you are unsure, do not frag them at home. After cutting LPS, a coral dip may help reduce bacterial issues. Then place the frag in moderate flow. Watch closely for brown jelly or tissue recession during the first week.
How To Frag SPS Corals
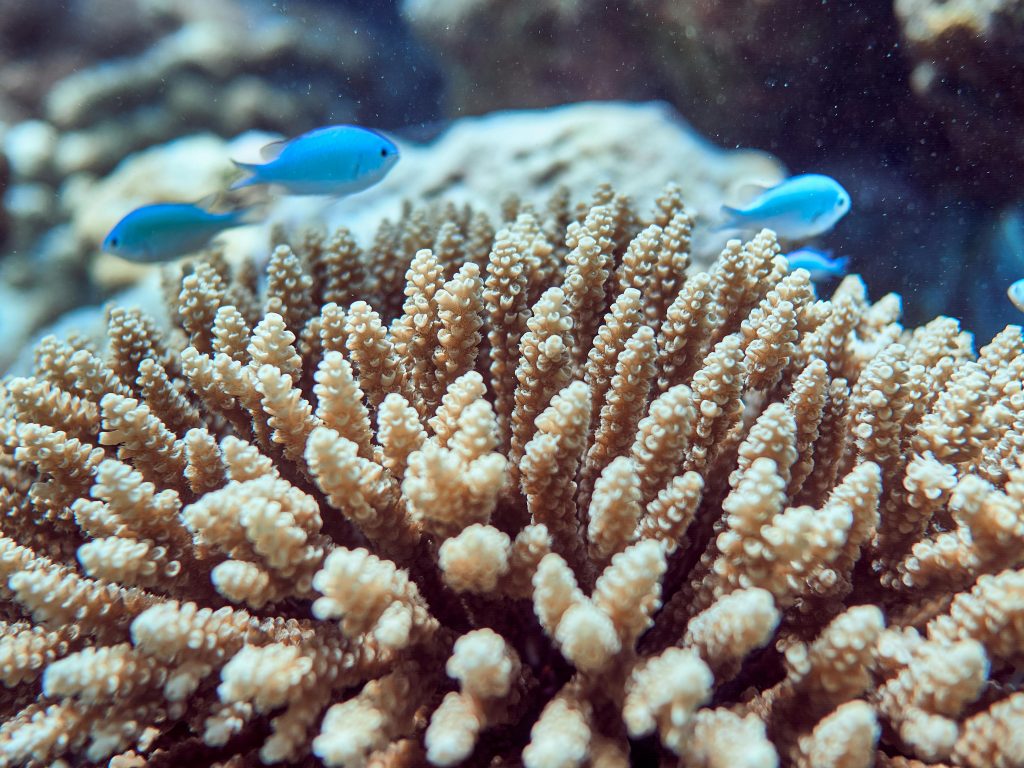
SPS corals are usually the easiest corals to mount. Acropora, montipora digitata, birdsnest, and pocillopora can be cut cleanly with coral snips. Choose a healthy branch tip with strong color and full polyp extension.
Make a quick snap or cut below a growth tip. Rinse the frag in tank water. Dry the base with a paper towel for a few seconds. Add a small blob of gel glue to the plug. Press the frag into the glue and hold it still. Some hobbyists dip the glued frag in tank water, then add a second small layer of glue for extra hold.
Fresh SPS frags need stable alkalinity, calcium, and magnesium. They also need enough flow to keep the cut clean. Random, turbulent flow works better than a direct blast. If your SPS frags lose color after cutting, review your reef tank water parameters and light acclimation. Stability drives recovery more than any additive.
How To Mount Coral Frags Properly
A good mount keeps the frag still while it heals. Movement is a common reason frags fail. If a coral wobbles in the current, tissue can tear or the base may never encrust. Match the mounting method to the coral type.
Gel super glue is best for SPS, zoa-covered rubble, and many LPS skeletons. Dry the contact point briefly before gluing. Epoxy works well for heavier pieces and uneven rock surfaces. Many reef keepers use both. They place glue on the frag, epoxy on the rock, then another small amount of glue between them. This creates a stronger bond underwater.
Soft corals often need a temporary attachment method. Mesh cups, rubber bands, and shallow rubble trays work well. Once the coral attaches naturally, you can glue the rubble to the main rockwork. Place mounted frags where fish, urchins, and hermits cannot knock them loose. Secure placement saves a lot of frustration.
Aquarium Placement After Fragging
Freshly cut corals need a calm recovery period. Start them in lower light than the parent colony. This is especially important if the frag spent time out of water or was glued heavily. Bright light can increase stress before the coral reopens.
Flow should be enough to move mucus away. It should not be strong enough to fold tissue or topple the plug. Soft corals prefer gentler flow during attachment. SPS usually prefer moderate to strong, indirect flow after the first day. LPS should not have tissue whipped around by direct current.
Keep fresh frags away from aggressive neighbors. Sweepers from euphyllia, galaxea, and chalices can sting new frags easily. Avoid placing recovering corals near sand if they inflate or slime heavily. Sand can irritate exposed cuts. Give each frag room to heal and encrust before moving it into a crowded display layout.
Common Problems
Frag Won’t Stick to the Plug
This usually happens because the base was too wet or slimy. Pat the base dry for a few seconds. Use gel glue, not thin glue. Hold the frag still longer than you think. For soft corals, skip glue and use mesh or a rubble cup instead.
Coral Stays Closed After Fragging
Some corals stay closed for several days. That can be normal. Check for too much light, too much flow, or unstable salinity. Inspect for tissue damage around the cut. If the coral is not melting or receding, give it time and keep conditions stable.
Tissue Recession or Brown Jelly
This is more common in stressed LPS. Remove the coral from the display if needed. Gently siphon away decaying tissue. Frag off healthy heads if possible. Improve flow around the coral and consider an antiseptic coral dip. Check alkalinity swings and recent temperature changes.
Frag Bleaches After Mounting
Bleaching often points to light shock. Move the frag lower in the tank. Reduce intensity if needed. Fresh cuts are more sensitive than established colonies. Also confirm nitrate and phosphate are not bottomed out. Ultra-low nutrients can slow healing and reduce color.
Frag Falls Over Repeatedly
Use a wider plug, a heavier rubble base, or a glue-epoxy-glue sandwich. Place the frag in a lower-flow area until it encrusts. Watch for snails, crabs, and fish that bump new frags. Many “mystery failures” are just poor mechanical stability.
Propagation and Fragging Tips for Better Success
Choose Fast-Healing Corals First
Start with kenya tree, green star polyps, zoanthids on rubble, candy cane, birdsnest, or montipora digitata. These corals usually recover well. They help you build confidence before trying expensive acropora or delicate LPS.
Frag During Stable Tank Conditions
Avoid fragging during new tank phases, disease outbreaks, or after major parameter corrections. Corals heal best in mature systems with stable alkalinity, salinity, and temperature. Good timing prevents many losses.
Keep a Frag Rack or Recovery Zone
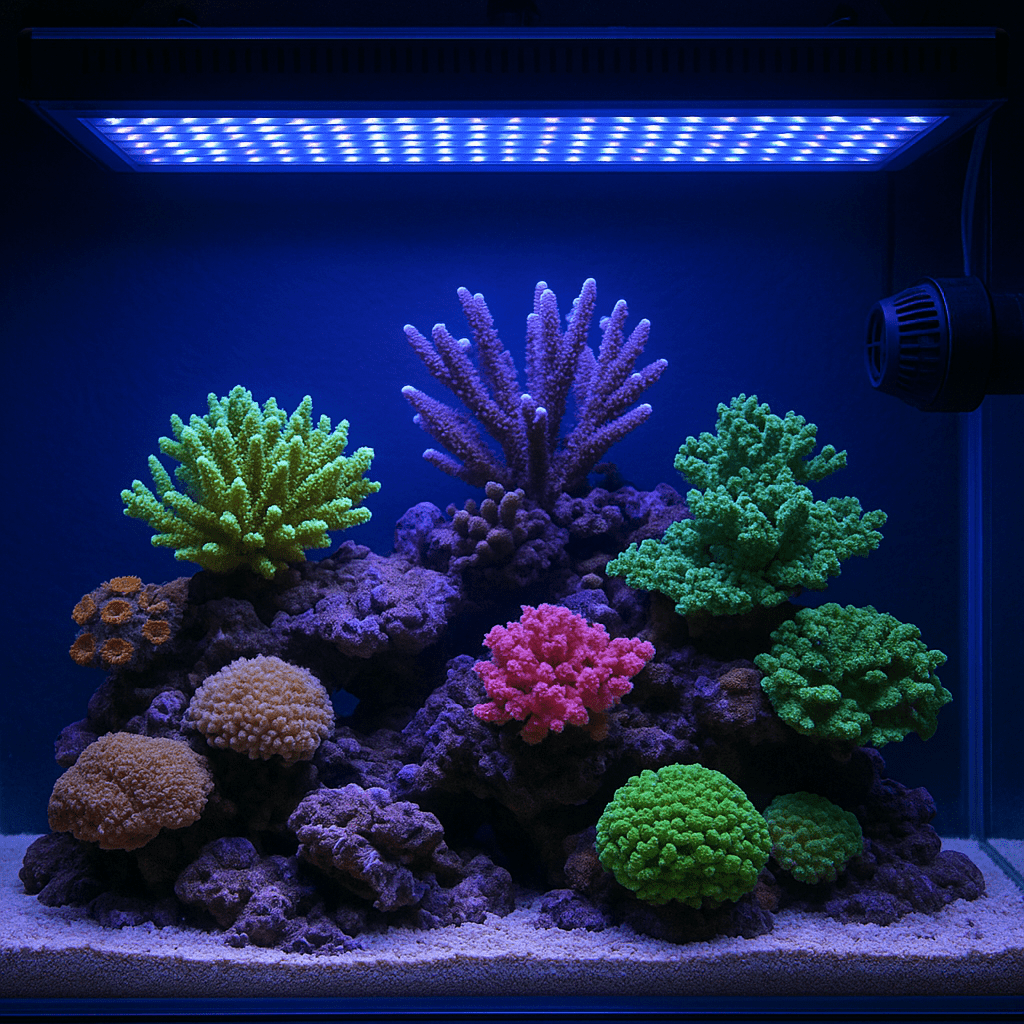
A simple frag rack makes observation easier. It also keeps new frags away from sand and aggressive corals. Recovery zones are useful in mixed reefs where placement options are limited.
Frequently Asked Questions
When is the best time to frag a coral?
Frag when the coral is healthy, growing, and fully adjusted to your tank. Avoid fragging newly purchased or stressed corals.
Can I frag corals inside the tank?
Some simple cuts can be done in the tank, but it is usually easier outside the tank. You get better control and cleaner cuts.
How long does a coral frag take to heal?
SPS may encrust within days. Soft corals often attach within one to two weeks. LPS can take one to three weeks, sometimes longer.
Is super glue safe for reef tanks?
Yes. Cyanoacrylate gel super glue is reef safe when used correctly. It is one of the most common coral mounting products.
Should I dip corals after fragging?
A dip can help in some cases, especially with LPS or pest concerns. Follow the product instructions and avoid overhandling stressed frags.
Fragging and mounting corals gets easier with practice. Start with hardy species. Use clean tools. Keep your water stable. A careful cut and a secure mount will do more for success than any shortcut. Once you learn the process, you can shape your reef, save prized corals, and grow a healthier collection over time.
Was this helpful?
Related Posts
Common Reef Fish Symptoms
Learn to spot common reef fish symptoms fast. Use practical checks for spots, breathing, and appetite before problems…
Blastomussa Corals Care
Learn how to care for Blastomussa corals with the right lighting, gentle flow, and optional feeding. Fix common…