

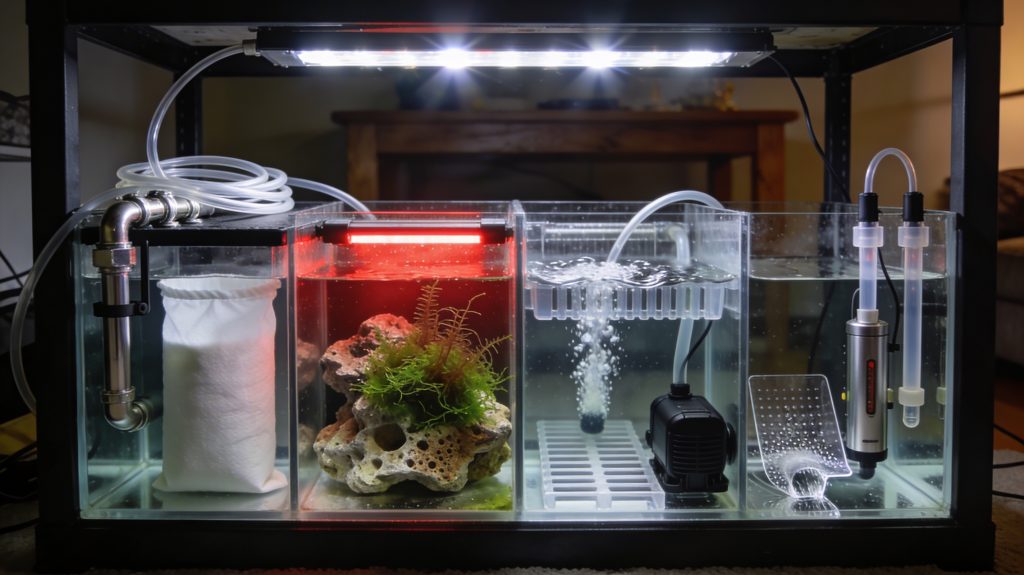
A reef tank sump adds water volume, hides equipment, and improves filtration. It also makes daily maintenance easier. For most reef keepers, a sump is one of the best upgrades you can add to a stable marine aquarium.
If you are new to reef tanks, sumps can seem complicated at first. They are not. A sump is simply a second tank below the display. Water drains down from the main aquarium, passes through equipment and filtration, and then returns back up. In this guide, you will learn what a reef sump does, how it works, what sections it needs, and how to set one up without common beginner mistakes. You will also learn how to size a sump, manage water level changes, and troubleshoot noise, bubbles, and overflow risks.
Quick Reference Table
| Topic | Basic Recommendation |
|---|---|
| Sump purpose | Adds water volume, holds equipment, improves filtration |
| Best location | Inside the stand, below the display tank |
| Common sections | Drain or filter sock chamber, skimmer chamber, refugium, return chamber |
| Ideal sump size | Usually 20% to 40% of display volume |
| Return pump goal | Moderate turnover, often 3x to 5x display volume hourly |
| Evaporation shows in | Return chamber |
| ATO recommendation | Strongly recommended for salinity stability |
| Main risks | Overflow, microbubbles, noise, low return section water |
This table covers the basics. The details below will help you choose the right design and avoid expensive mistakes.
What Is a Reef Tank Sump?
A sump is a separate tank connected to your display aquarium. It usually sits in the cabinet below. Water flows down through an overflow, moves through the sump, and returns by pump.
This design gives you several big advantages. First, it increases total system water volume. More water means more stable chemistry. Second, it hides equipment like heaters, protein skimmers, probes, and reactors. That keeps the display cleaner and more natural. Third, it creates a better place for mechanical, chemical, and biological filtration.
A sump also improves gas exchange. Water moving through open chambers helps oxygen enter and carbon dioxide leave. Many reef keepers use the sump for dosing lines, auto top off sensors, and media. Some also add a refugium for nutrient control and pod growth. In short, a sump turns a basic aquarium into a more flexible reef system.
Why a Sump Matters in a Reef Aquarium
Reef tanks demand stable conditions. Corals react poorly to fast swings in salinity, temperature, and nutrients. A sump helps reduce those swings. Extra water volume slows down sudden changes. That gives you more margin for error.
Maintenance also becomes easier. You can clean filter socks, empty a skimmer cup, or swap carbon without reaching into the display. Many hobbyists also find that dosing and testing become simpler when equipment is grouped in one place.
Sumps support better filtration options too. You can run a protein skimmer in the sump. You can add activated carbon, GFO, biomedia, or a refugium. You can even isolate problem algae or detritus in one chamber instead of the display. For tanks with demanding corals, this extra control is a major benefit. If you want to learn more about filtration strategy, see protein skimmer basics, reef tank filtration guide, and reef tank nutrient control.
Main Parts of a Reef Sump
Most reef sumps have three to four sections. The first is the drain chamber. Water enters here from the overflow. This section often holds filter socks, filter cups, or a roller mat. Its job is to catch larger waste before it breaks down.
The second section is often the skimmer chamber. This area keeps a stable water depth for the protein skimmer. Many heaters and probes also go here. Some sumps place a refugium after this section. A refugium can hold macroalgae, live rock rubble, and copepods.
The final section is the return chamber. This is where the return pump sits. It sends water back to the display. This chamber is very important. It is the only section where evaporation usually shows up. As water evaporates, the return section level drops. That is why many reef keepers install an auto top off system here. If you want deeper guidance on evaporation control, see auto top off guide.
How Water Moves Through the System
The display tank overflows first. Water enters the overflow box and drains through plumbing into the sump. Gravity does this work. The drain line can be loud or quiet, depending on the plumbing design.
Once in the sump, water passes through the first chamber. It may go through filter socks or mechanical media. Then it moves into the skimmer section. If your sump includes a refugium, water may pass through that next. Finally, water reaches the return chamber.
The return pump pushes water back to the display through a return line. This creates a loop. The overflow and return pump must stay balanced. The pump does not control the drain rate directly. It only controls how much water gets sent up. The overflow then handles that amount coming back down. This simple concept helps prevent a lot of beginner confusion.
Aquarium Setup and Sump Sizing
There is no perfect sump size for every tank. Bigger is usually better, if it fits. A good target is 20% to 40% of display volume. For example, a 75 gallon reef often uses a 20 to 30 gallon sump. A larger sump gives you more water volume and more room for equipment.
Measure your stand carefully before buying anything. Check interior width, plumbing clearance, and door opening size. Many hobbyists forget the last part. A sump may fit inside the stand but not through the doors.
Plan for power outage capacity too. When the return pump stops, water drains down from the display and plumbing. Your sump must hold that extra water without overflowing. Test this before leaving the tank unattended. Fill the system, shut the pump off, and watch the sump rise. Mark the highest safe level. Never fill above that mark during normal operation.
Choosing the Right Return Pump and Flow Rate
Beginners often choose a return pump that is too strong. More sump turnover is not always better. Most reef tanks do well with about 3x to 5x display volume per hour through the sump. In-tank flow should come from wavemakers, not just the return pump.
A moderate return rate improves skimmer performance and reduces noise. It also lowers bubble issues. When choosing a pump, look at head height. Pump flow drops as water is pushed upward. Measure the vertical distance from sump to return outlet. Use the pump chart, not just the box label.
DC return pumps are popular because they are adjustable and often quieter. AC pumps are simple and reliable. Either can work well. Add a union or quick disconnect for easier cleaning. A dirty return pump loses flow over time, so regular maintenance matters.
Step-by-Step Guide to Setting Up a Reef Tank Sump
Start by placing the sump on a level surface inside the stand. Confirm that all plumbing lines can reach safely. Install the overflow, drain plumbing, and return line. Tighten fittings properly, but do not overtighten bulkheads.
Next, place equipment in the correct chambers. Put mechanical filtration at the drain. Put the skimmer in a chamber with stable depth. Put the heater where water flow is consistent. Place the return pump in the final chamber. Install the auto top off sensor there if you use one.
Fill the display and sump with saltwater. Start the return pump. Let the system run. Adjust the overflow and drain for quiet operation. Then shut the pump off to test backflow volume. Mark the maximum safe sump water line. Restart the system and mark the normal running level in the return chamber. These two marks help prevent overflow and salinity swings later.
Refugium Basics
Many reef keepers add a refugium to the sump. This is a low flow section used for macroalgae, live rock rubble, and microfauna. Chaetomorpha is a common choice. It can help export nutrients by absorbing nitrate and phosphate.
A refugium can also support copepod populations. These tiny crustaceans feed fish and corals. Mandarins and other pod hunters benefit from this. A refugium is not required, but it can be useful in many mixed reefs.
Keep expectations realistic. A refugium is one tool, not a magic fix. It works best when lighting, harvest schedule, and nutrient levels are balanced. If nutrients are already too low, macroalgae may stall. If detritus builds up, the section can become messy. Good husbandry still matters.
Common Problems
Why is my sump so noisy?
Noise usually comes from the drain or return line. Air mixing with water causes gurgling. A poorly tuned overflow is a common cause. Check the drain design and adjust the valve if your system uses one. Also inspect the sump water level. If water drops too far between chambers, splashing increases.
Why are there microbubbles in the display?
Microbubbles often come from the skimmer chamber or drain section. They can also come from a return pump sucking air. Make sure the return chamber is not too low. Check for loose fittings on the pump intake. Bubble traps help, but stable water level and proper flow matter more.
Why does my salinity keep changing?
Evaporation causes salinity to rise. In most sump systems, the return chamber level drops first. If you top off by hand inconsistently, salinity swings follow. An auto top off system is the best fix. Also make sure the sensor is clean and correctly placed.
Why did my sump almost overflow during a power outage?
Your normal operating level was likely too high. The return line may also siphon too much water back. Test shutoff behavior with the pump off. Reduce sump fill level if needed. Keep return outlets near the surface, or use proper anti-siphon planning. Never trust a setup that has not been tested.
Maintenance Tips for Long-Term Success
Clean mechanical filtration often. Dirty filter socks trap waste, then release nutrients. Empty and clean the skimmer cup regularly. Wipe salt creep from plumbing and cords. Inspect the return pump every month or two for calcium buildup and debris.
Watch the return chamber daily. A sudden drop can mean high evaporation or an ATO problem. Check heaters, probes, and sensors often. Sumps hide equipment, but hidden issues still cause tank problems.
It also helps to keep the sump organized. Use labels for cords and valves. Leave room to remove equipment for service. A neat sump is easier to maintain, and easier to troubleshoot. For more maintenance ideas, see reef tank maintenance schedule.
Frequently Asked Questions
Do all reef tanks need a sump?
No. Small all-in-one tanks can succeed without one. Still, a sump adds flexibility and stability.
Can I use a regular aquarium as a sump?
Yes. Many hobbyists use standard glass tanks with baffles added. Custom sumps are not required.
What is the best sump size for a beginner reef tank?
Choose the largest sump that safely fits your stand. More water volume usually helps beginners.
Should I run filter socks all the time?
You can, but clean them often. Dirty socks become nutrient traps very quickly.
Is a refugium necessary in a reef sump?
No. A refugium is helpful, but optional. Many successful reef tanks run sumps without one.
A well-designed reef tank sump makes your system easier to manage and more stable over time. Keep the layout simple. Size it safely. Test power-off behavior. Then maintain it consistently. Those basics will carry you a long way in reef keeping.
Was this helpful?
Related Posts
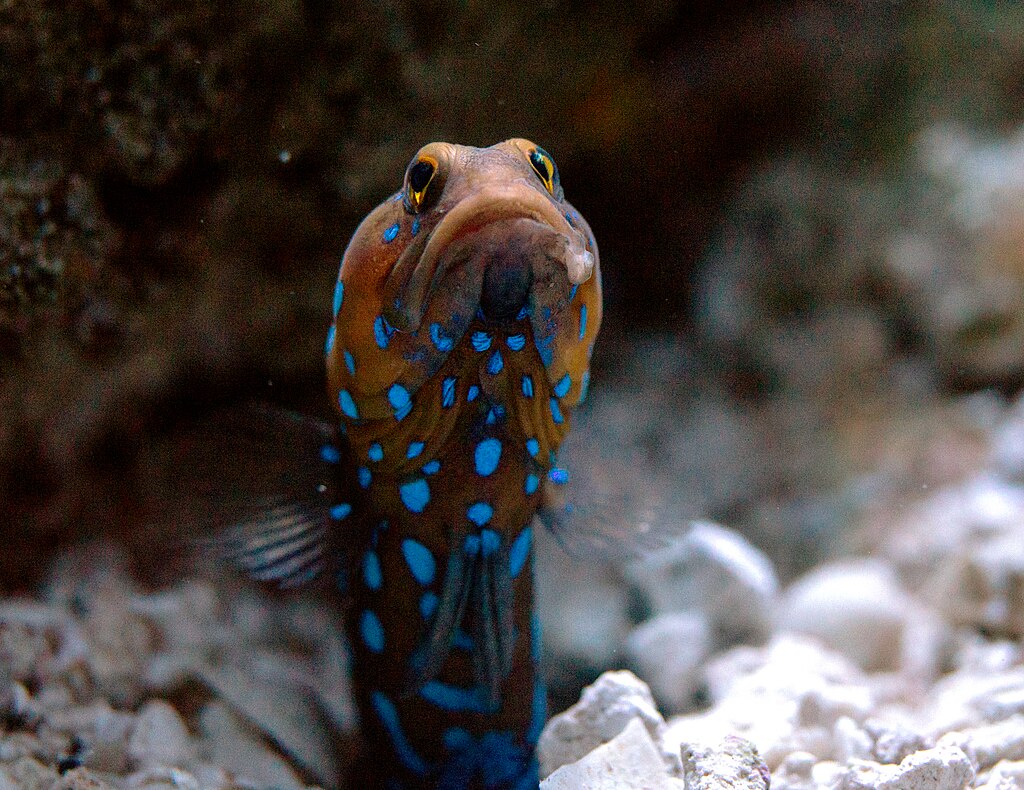
Blue Dot Jawfish (Opistognathus Rosenblatti)
Blue Dot Jawfish need cool water, deep sand, and a tight lid. Learn how to keep Opistognathus rosenblatti…
 By
By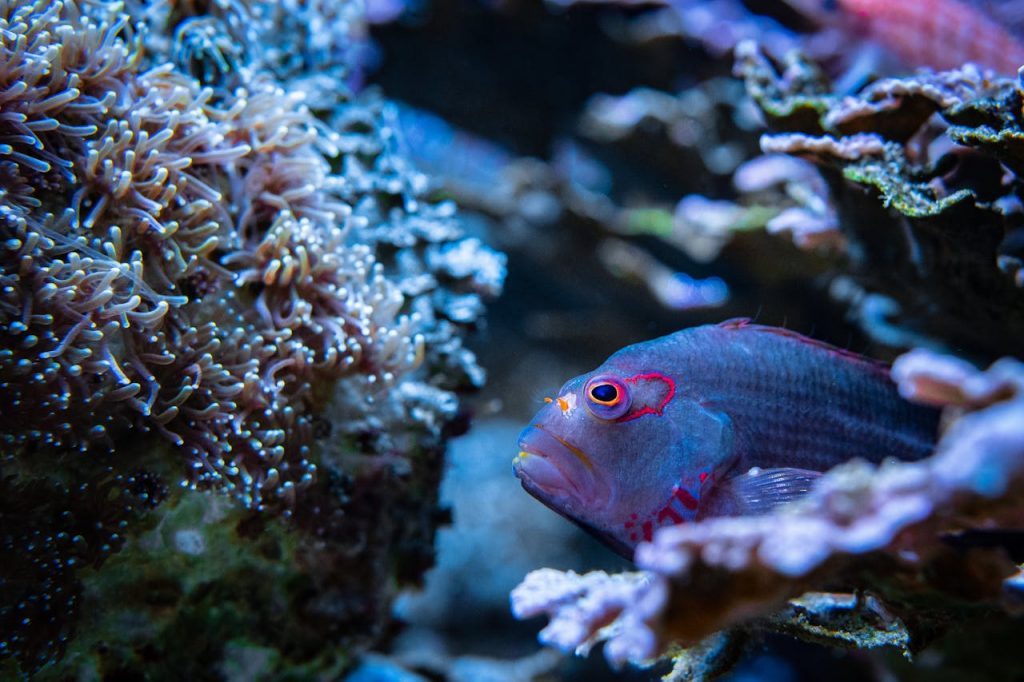
Arc Eye Hawkfish (Paracirrhites arcatus)
Arc Eye Hawkfish care is simple in a stable tank. Learn tank size, feeding, reef safety, and shrimp…
[favorite_button]

My Bookmarks:
To see full list click here
[user_favorites user_id="" include_links="true" site_id="" post_types="" include_thumbnails="true" thumbnail_size="thumbnail" include_excerpt="false"]