Building a reef tank gets expensive fast. That is why smart equipment choices matter. Start with gear that keeps animals alive and water stable. Add convenience items later. This equipment priority list shows what to buy first, what can wait, and where beginners should spend more for long-term success.
Many new hobbyists waste money on the wrong upgrades. They buy flashy gear before covering the basics. A successful reef tank needs stable temperature, strong biological filtration, good water movement, proper lighting, and clean source water. Everything else supports those foundations. In this guide, you will learn which reef aquarium equipment deserves top priority, which items are optional at first, and how to match purchases to your tank goals. I will also explain common mistakes, budget strategies, and when advanced gear becomes worth adding.
Quick Reference Table
| Priority | Equipment | Why It Matters | Buy Now or Later |
|---|---|---|---|
| 1 | Tank and stand | Foundation of the system | Buy now |
| 2 | Heater and thermometer | Prevents dangerous temperature swings | Buy now |
| 3 | Return pump and circulation pumps | Provides oxygen and flow | Buy now |
| 4 | RODI unit or trusted source water | Reduces nuisance algae and contaminants | Buy now |
| 5 | Lighting | Essential for corals | Buy now for reef tanks |
| 6 | Protein skimmer | Improves nutrient export | Usually buy now |
| 7 | Auto top off | Keeps salinity stable | Strong early upgrade |
| 8 | Test kits and refractometer | Lets you measure stability | Buy now |
| 9 | Dosing equipment | Maintains calcium and alkalinity | Later for growing corals |
| 10 | Controller, UV, reactors | Useful in specific cases | Later |
Use this table as a starting point. Your exact order may shift based on tank type. A fish-only system needs less lighting. A mixed reef needs more planning. An SPS-dominant tank needs stronger flow and tighter parameter control.
The Core Idea Behind Equipment Priority
The best reef equipment list starts with life support. Ask one question first. What equipment protects livestock every day? That gear comes first. Nice features come later. Reef tanks fail from instability more than simplicity. A basic but stable system often beats a complex tank with poor maintenance.
Beginners should focus on temperature, salinity, oxygen, nutrient control, and coral energy needs. Those needs define your first purchases. Spend money where failure causes major losses. A cheap heater can wipe out a tank. Weak flow can damage coral health. Poor source water can fuel endless algae issues. Bad lighting can stall coral growth.
On the other hand, many tanks run well without a controller, roller mat, or calcium reactor in the beginning. Those tools help later. They are not the first line of defense. If your budget is limited, buy fewer items but choose dependable versions of the essentials.
Priority 1: Tank, Stand, and Basic System Design
Your first priority is the system itself. Choose a tank size that fits your room and budget. Larger tanks are often easier to keep stable. They dilute mistakes better. A 40-gallon breeder, 75-gallon, or 90-gallon tank gives beginners useful room. Very small tanks change fast. That makes them less forgiving.
A strong stand matters too. Saltwater is heavy. The stand must support the full system safely. If you plan to use a sump, make sure the stand has enough interior space. A sump adds water volume and hides equipment. It also improves gas exchange and flexibility.
Think ahead before buying. Will this be a soft coral tank, mixed reef, or SPS reef? Will you keep a sump? Will noise matter? Good planning prevents wasted money. For more setup basics, see reef tank setup guide and best reef tank size for beginners.
Priority 2: Heater, Thermometer, and Temperature Stability
Temperature control is non-negotiable. Reef animals hate sudden swings. Most reef tanks do well around 77 to 79 degrees Fahrenheit. Consistency matters more than chasing an exact number. A reliable heater is one of the most important purchases in the hobby.
Use a quality heater sized for your water volume. Pair it with a separate thermometer. Even better, use a heater controller for extra safety. Heaters can stick on or fail off. Redundancy helps prevent disaster. Many hobbyists prefer two smaller heaters instead of one large heater. That reduces risk.
Do not trust the heater dial alone. Verify actual tank temperature daily at first. If your home gets hot, you may also need cooling fans. In extreme climates, a chiller may become necessary. However, most beginners can start with a dependable heater and digital thermometer.
Priority 3: Return Pump and Water Flow Equipment
Water movement keeps a reef alive. Flow carries oxygen, removes waste, and delivers nutrients to coral tissue. If you run a sump, you need a reliable return pump. Inside the display, you need circulation pumps or wavemakers. These create the random movement corals prefer.
Do not underestimate flow. Weak circulation leads to dead spots, detritus buildup, and poor coral extension. Soft corals often like moderate, varied flow. SPS corals usually need strong, turbulent flow. LPS corals often prefer moderate flow without direct blasting.
Buy pumps with good reliability and easy maintenance. Quiet operation is a bonus. Clean them often. Calcium buildup and debris reduce performance over time. If you are planning coral placement, read reef tank flow guide for a deeper breakdown.
Priority 4: RODI Water and Salt Mixing Gear
Source water shapes everything in a reef tank. Tap water often contains nitrate, phosphate, silicate, copper, or other contaminants. Those compounds can trigger algae blooms and stress invertebrates. That is why clean water ranks near the top of this equipment priority list.
An RODI unit is one of the best long-term investments in reef keeping. It gives you control over water purity. If you cannot buy one immediately, use trusted store-bought RODI water from a reputable source. Test it if possible. Do not assume all purified water is the same.
You also need a food-safe container for mixing saltwater, a small pump for circulation, and a heater for matching tank temperature during water changes. These are simple tools, but they matter. Stable salinity starts with accurate mixing and top-off practices.
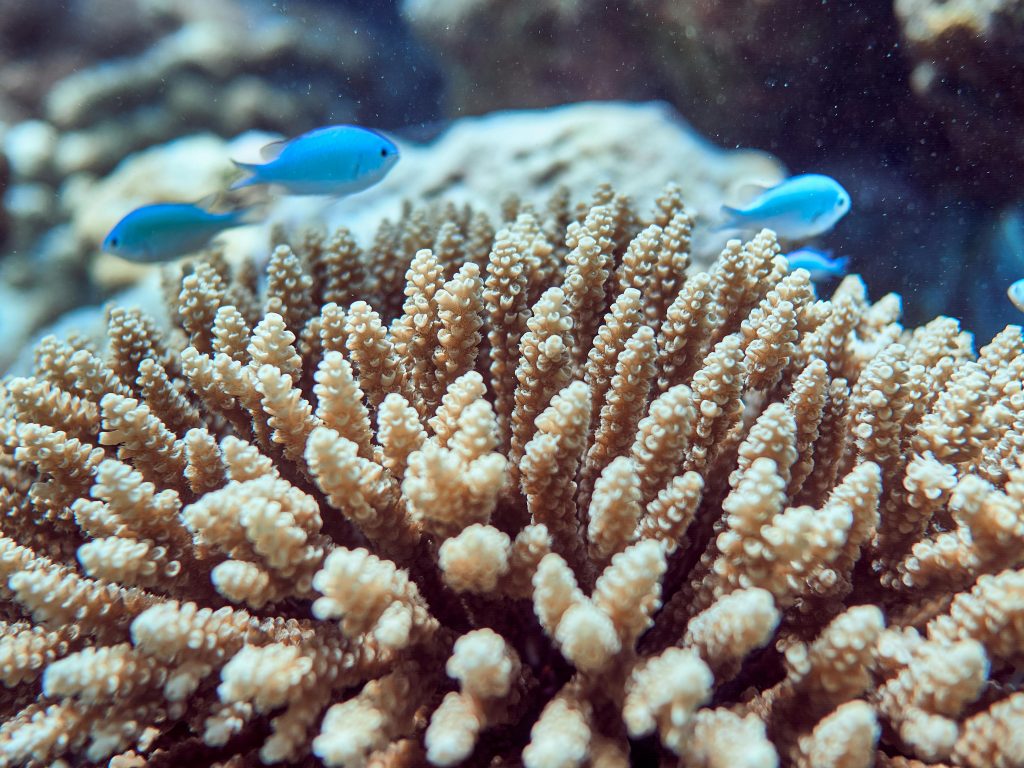
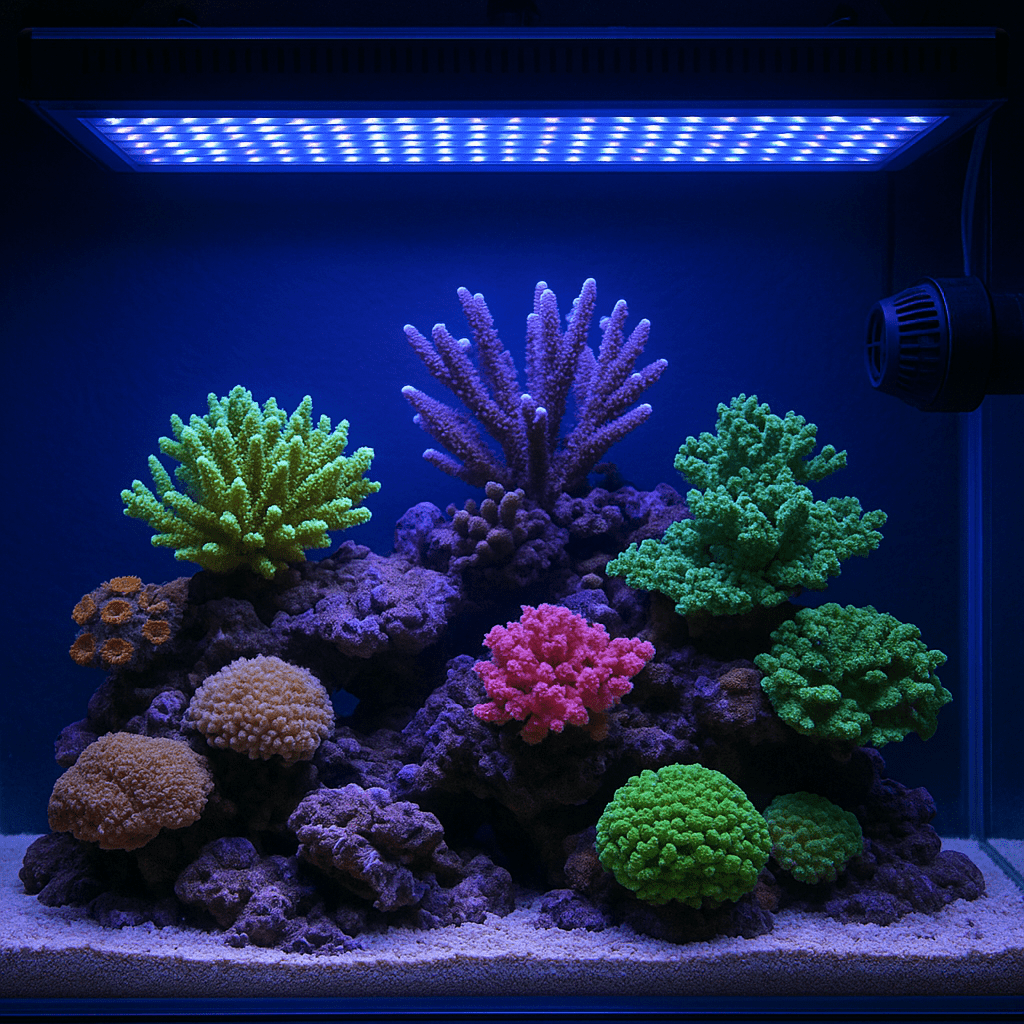
Priority 5: Lighting for Coral Health
If you plan to keep corals, lighting is essential. Corals host zooxanthellae that use light for energy. Poor lighting leads to browning, weak growth, and eventual decline. The right fixture depends on tank depth, coral type, and spread needs.
Soft corals and many LPS corals can thrive under moderate light. SPS corals need stronger, more consistent PAR. LED fixtures are the most common choice today. They run cool and offer controllability. T5 and hybrid systems still produce excellent results, especially for even coverage.
Do not buy based on color alone. Look at spread, mounting height, and proven reef performance. Cheap lights often create hotspots and weak edges. That limits coral placement. If you are comparing options, visit reef lighting guide and best corals for beginners.
Priority 6: Protein Skimmer and Nutrient Control
A protein skimmer is not mandatory on every tank, but it is a high-priority tool for most reef systems. It removes dissolved organics before they break down. This improves oxygenation and helps manage nutrients. Skimmers are especially useful on heavily fed tanks or systems with larger fish loads.
Choose a skimmer that matches your real water volume. Ignore exaggerated marketing ratings. Oversized skimmers can perform poorly on lightly stocked tanks. Undersized skimmers struggle to keep up. Look for easy cup removal and consistent performance.
Some nano reefs run well with water changes alone. That can work if stocking stays light and maintenance stays consistent. Still, many hobbyists find a skimmer worth the cost because it adds a margin of safety. It also reduces the frequency of nutrient spikes after heavy feeding.
Priority 7: Test Kits, Refractometer, and Monitoring Tools
You cannot manage what you do not measure. Test gear belongs near the top of any equipment priority list. At minimum, own a refractometer, ammonia test, nitrite test, nitrate test, and alkalinity test. For coral tanks, calcium, magnesium, and phosphate tests are also useful.
Salinity mistakes are common. A refractometer is far better than a swing-arm hydrometer. Calibrate it correctly. Check salinity often, especially after water changes and evaporation events. Stable salinity protects fish, corals, and invertebrates.
As your tank matures, alkalinity becomes one of the most important values to watch. Rapid alkalinity swings can stress corals badly. Testing helps you spot trends early. It also tells you when dosing becomes necessary. Monitoring is not glamorous, but it prevents many common reef problems.
Priority 8: Auto Top Off for Salinity Stability
An auto top off, or ATO, is one of the best early upgrades. Evaporation removes freshwater, not salt. That means salinity rises unless you replace lost water. Manual top off works, but it requires consistency. Many beginners struggle with this step.
An ATO adds freshwater automatically from a reservoir. This keeps salinity far more stable. It also protects pumps from running dry and reduces daily maintenance. In small tanks, an ATO can make a huge difference because evaporation changes salinity faster.
Choose a model with reliable sensors and basic fail-safes. Keep the reservoir filled with RODI water only. Never use saltwater in an ATO reservoir. That would raise salinity over time. While not the first item you buy, this is one of the smartest upgrades after the basic life support gear.
Priority 9: Dosing Equipment and Chemical Stability
Dosing pumps are usually a later purchase. New tanks with few corals often consume little calcium and alkalinity. Regular water changes can cover demand at first. As coral growth increases, consumption rises. Then manual dosing or automatic dosing becomes necessary.
If alkalinity drops between water changes, test more often. This is the signal to review supplementation. Start simple. Many mixed reefs do well with two-part dosing. Dosing pumps improve consistency and reduce missed doses. They are especially useful for busy hobbyists.
Do not buy dosing gear too early unless you know you need it. It is better to understand your tank’s demand first. Once coral growth accelerates, dosing becomes a priority because chemical swings can limit growth and color.
Priority 10: Nice-to-Have and Advanced Equipment
Some equipment is helpful but not essential at the start. This group includes aquarium controllers, UV sterilizers, media reactors, roller mats, chillers, calcium reactors, and automatic testers. These tools can solve real problems. They just do not come before the basics.
UV sterilizers can help with water clarity and some disease management. Reactors can run carbon, GFO, or biopellets. Controllers add alerts and automation. Roller mats reduce detritus. Calcium reactors support high-demand SPS systems. All have value in the right setup.
The key is timing. Add advanced gear when you have a clear reason. Do not buy it because other hobbyists use it. Every piece of equipment adds cost, maintenance, and possible failure points. Simpler systems are often easier to learn on.
Step-by-Step Buying Order for Beginners
- Choose the tank, stand, and sump plan.
- Buy a reliable heater and thermometer.
- Purchase return and circulation pumps.
- Secure an RODI source and salt mixing container.
- Buy quality lighting if corals are planned.
- Add a protein skimmer for most reef tanks.
- Get a refractometer and core test kits.
- Set up an auto top off.
- Add dosing tools when coral demand increases.
- Upgrade with advanced equipment only as needed.
This order keeps your budget focused on stability first. It also prevents buying equipment twice. Many reef keepers save money by waiting on advanced gear until the tank proves it needs it.
Common Problems
I bought lights first, but my tank is unstable
This is common. Lighting gets attention because corals are exciting. But corals fail from instability more than weak color. Fix salinity, temperature, and flow first. Then adjust lighting. Stability always comes before optimization.
My budget is limited. What should I never cheap out on?
Do not go cheap on heaters, pumps, lighting, or source water. Failure in these areas causes major losses. You can delay controllers and reactors. You should not gamble on core life support gear.
Do I need a skimmer on a nano reef?
Not always. Lightly stocked nano tanks can run well with water changes. Still, a skimmer helps with oxygen and organics. It becomes more useful as feeding and stocking increase.
Frequently Asked Questions
What is the most important equipment for a reef tank?
The most important equipment supports stability. That includes the tank, heater, pumps, clean source water, and lighting for corals. Test gear is also essential.
Can I start a reef tank without a sump?
Yes. Many successful reef tanks run without a sump. You still need strong flow, stable temperature, and good filtration practices. A sump adds flexibility, but it is not mandatory.
When should I buy dosing pumps?
Buy dosing pumps when water changes no longer maintain alkalinity and calcium. Test first. Let coral demand guide the upgrade.
Is an auto top off really necessary?
It is not mandatory, but it is strongly recommended. It keeps salinity stable and reduces daily work. Small tanks benefit the most.
Should beginners buy a controller?
Usually no. A controller is useful, but beginners get better results by spending that money on stronger basics first.
Final Thoughts
The best equipment priority list is simple. Buy what protects stability first. Upgrade convenience second. Advanced tools come last. Reef keeping rewards patience and planning. If you build around dependable basics, your tank will be easier to manage and far more likely to thrive for years.
Was this helpful?
Related Posts
Nano Reef Care
Nano Reef Care Basics Nano reefs look small and simple. They are not always easy. Stability is harder…
Do You Need An Aquarium Controller
An aquarium controller is helpful, but not essential for every reef tank. Learn when it is worth the…