An ATO system keeps salinity stable by replacing evaporated water automatically. It saves daily work, protects corals from swings, and makes reef tanks more consistent and forgiving for beginners and experienced hobbyists alike.
Evaporation happens in every reef aquarium. Salt stays behind, but water leaves the system. That means salinity slowly rises unless you replace the lost water with fresh RO/DI water. Manual top off works, but it is easy to forget. Even small daily swings can stress corals, fish, and invertebrates over time. An automatic top off, or ATO, solves that problem. It adds freshwater as needed and keeps your water level steady. In this guide, you will learn how an ATO system works, what parts matter most, how to set one up safely, and how to avoid the common failures that worry reef keepers.
ATO System Quick Reference
| Category | Best Practice |
|---|---|
| Top off water | Use only RO/DI freshwater |
| Sensor location | Place in return pump chamber |
| Reservoir size | 3 to 10 days of evaporation |
| Pump type | Low-flow ATO pump or small dosing pump |
| Primary goal | Keep salinity and water level stable |
| Main risk | Overfilling from sensor or siphon failure |
| Safety features | Dual sensors, timer limits, anti-siphon routing |
| Maintenance | Clean sensors and test monthly |
This table covers the basics, but the details matter. A well-designed ATO is one of the most useful upgrades on a reef tank. A poorly installed one can create big problems fast. The difference comes down to setup, redundancy, and maintenance.
What Is an ATO System?
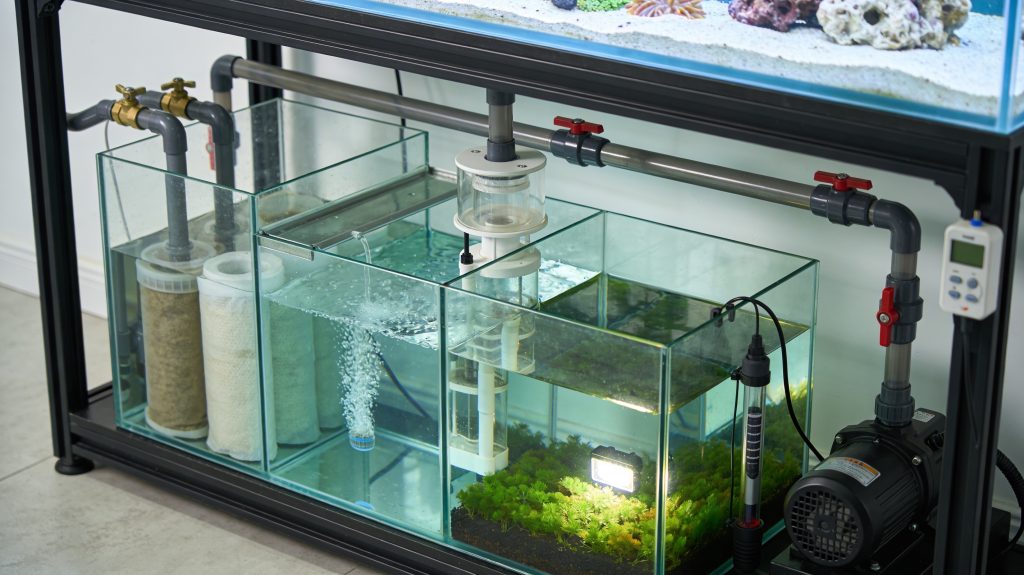
An ATO system is a device that replaces evaporated water automatically. It watches the water level in a specific part of your system. When the level drops, it adds freshwater from a reservoir. When the level returns to normal, it stops.
Most reef hobbyists place the sensor in the sump. The best location is usually the return pump chamber. That chamber shows evaporation first. Water levels in the display tank often stay constant because of the overflow. The return section is where change happens.
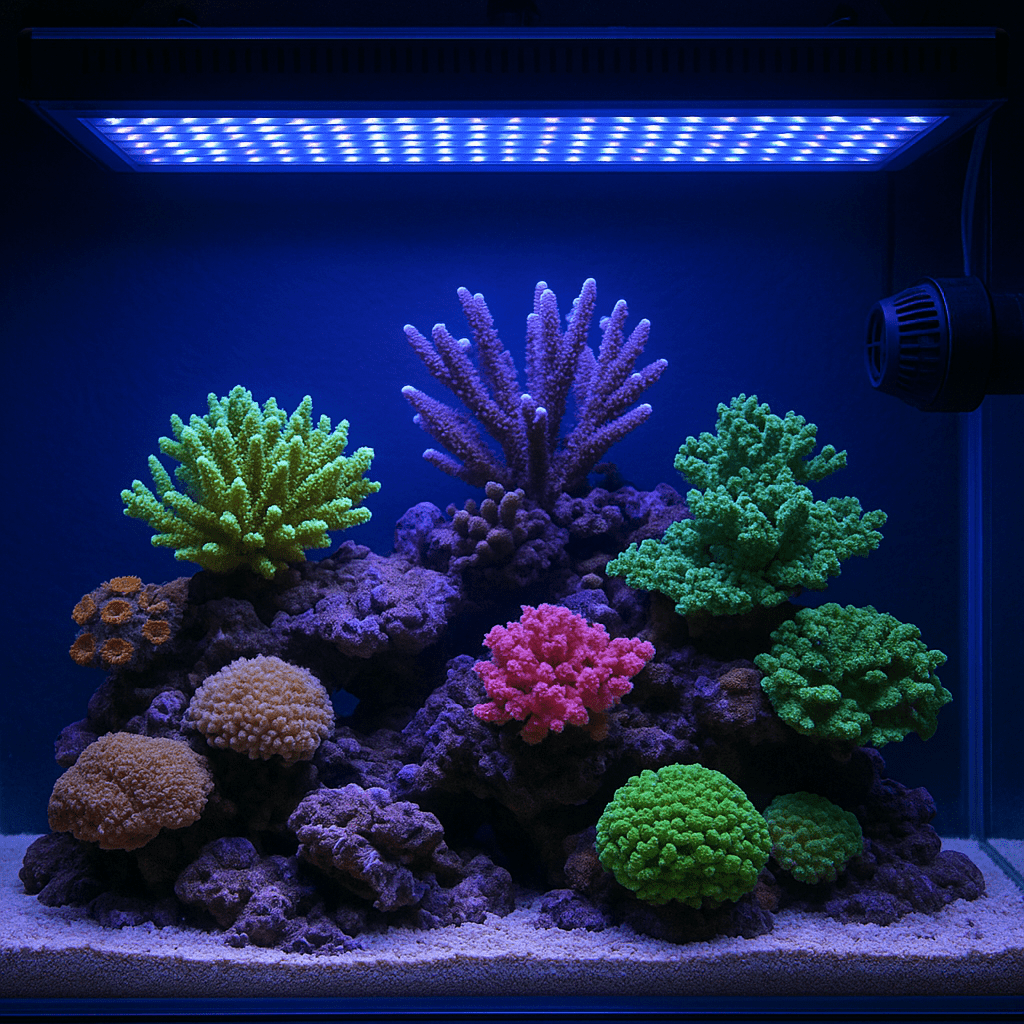
ATO systems matter because reef tanks need stable salinity. Corals do not like repeated swings. Neither do shrimp, snails, or many sensitive fish. Stable water level also helps your protein skimmer behave more consistently. It can even reduce noise from return pumps and overflows.
For many hobbyists, an ATO is not a luxury. It is basic life support. On tanks with strong lighting, open tops, or dry indoor air, evaporation can be significant. Missing one day of manual top off may not crash a tank, but repeated neglect often causes avoidable stress.
Why Every Reef Tank Benefits From an ATO
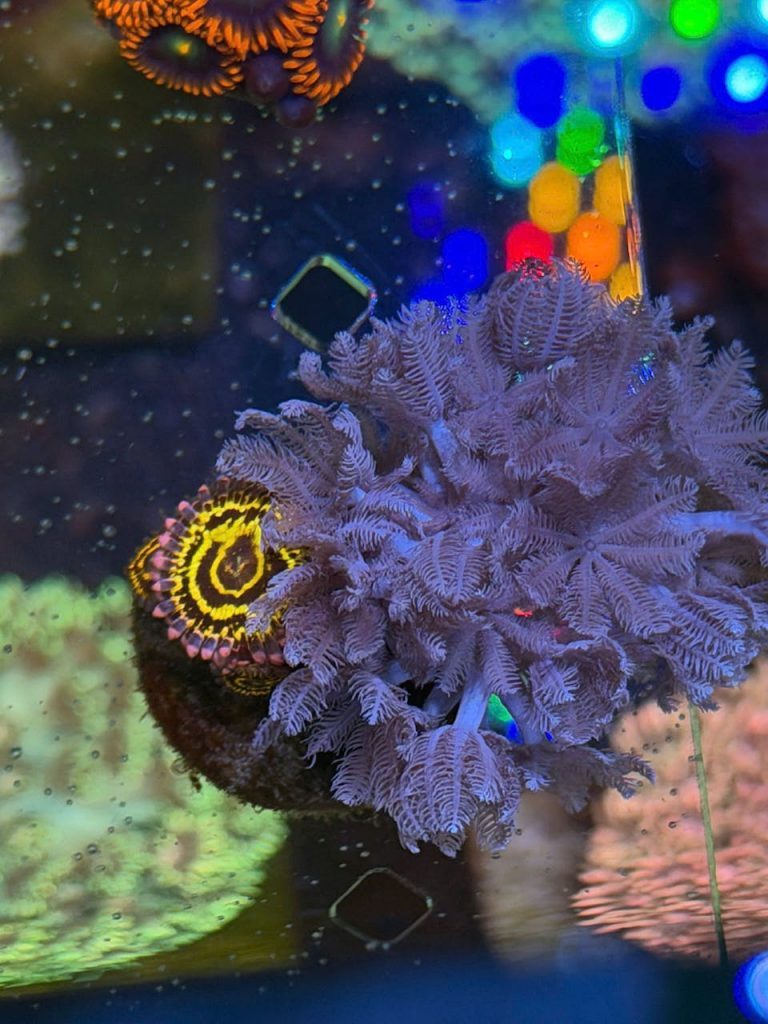
The biggest benefit is salinity stability. That alone makes an ATO worth using. Salinity changes happen slowly with evaporation, but the effects can build over time. LPS corals may stay retracted. SPS corals may lose color or polyp extension. Fish can show stress during larger swings.
An ATO also keeps equipment working properly. Protein skimmers are sensitive to water depth. If the sump level drops too far, the skimmer may stop producing stable foam. Return pumps can pull in air. Auto rollers and filter socks may perform less consistently. Heaters can even become exposed in extreme cases.
Another benefit is convenience. Daily manual top off becomes tiresome. Travel becomes harder. An ATO gives you a buffer. It does not replace observation, but it reduces routine chores. That helps many reef keepers stay more consistent overall.
If you dose kalkwasser, an ATO can also become part of that strategy. Still, that setup needs extra caution. It can raise both alkalinity and pH quickly if too much enters the tank. Beginners should master plain freshwater top off first.
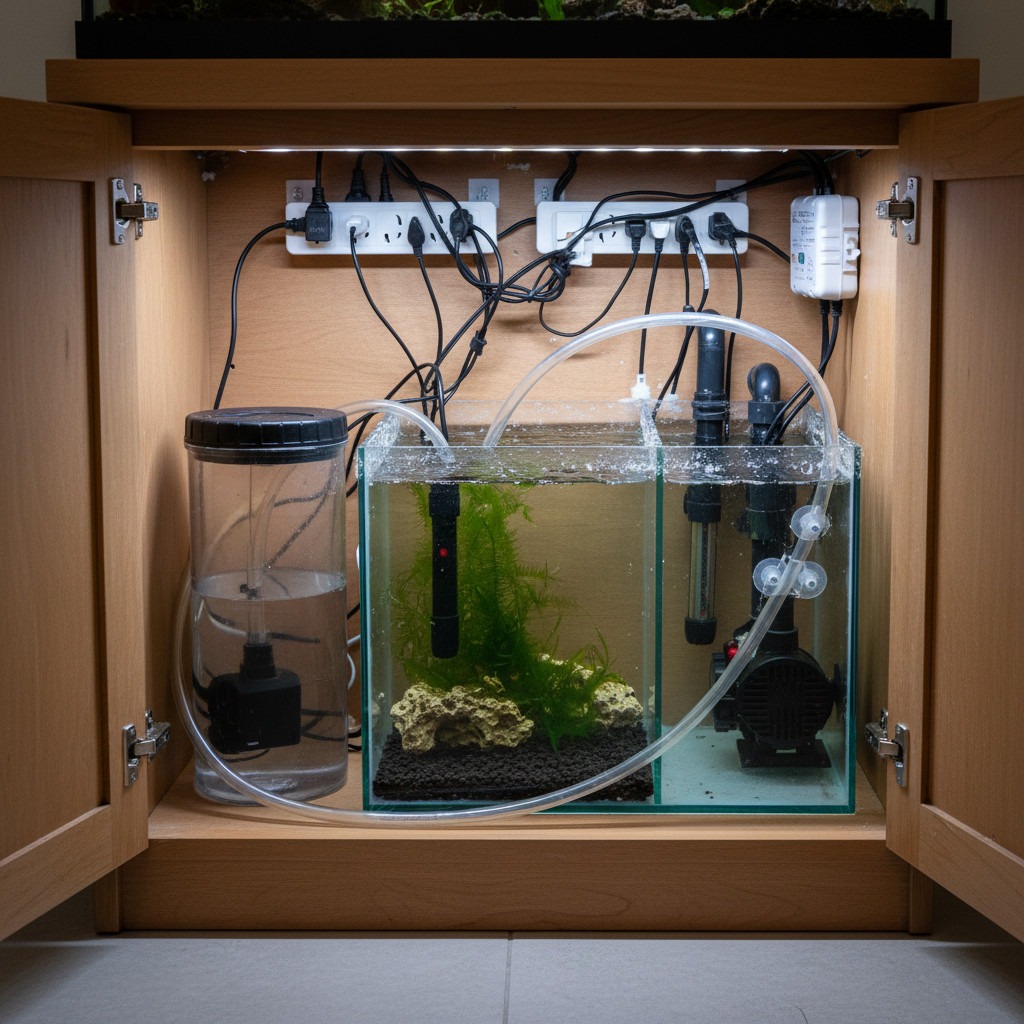
Main Parts of an ATO System
Most ATO systems have four core parts. First is the sensor. This detects water level. Sensors may be optical, mechanical float, pressure-based, or conductivity-based. Optical sensors are common and compact. Mechanical floats are simple and cheap. Many hobbyists prefer systems that combine two sensor types for safety.
Second is the controller. This interprets the sensor signal and tells the pump when to run. Better controllers include alarms, timeout limits, and backup shutoffs. These features matter. They can prevent a flood or dangerous salinity drop.
Third is the pump. This moves freshwater from the reservoir to the sump. Small diaphragm or low-flow DC pumps are common. Some hobbyists use dosing pumps for tighter control. Slow delivery is generally safer than fast delivery.
Fourth is the reservoir. This holds your top off water. Use food-safe containers when possible. Keep the lid on to reduce contamination. Always fill it with pure RO/DI water, not saltwater. Evaporation removes fresh water only. Replacing it with saltwater would steadily increase salinity.
Choosing the Right ATO for Your Tank
Start with your tank size and evaporation rate. A small nano reef may lose less than a half gallon per day. A large open-top reef with strong airflow may lose several gallons. Your ATO should match that demand without adding water too quickly.
Look for redundancy. A single sensor can work, but two sensors are safer. One handles normal operation. The second acts as an emergency stop. Time-based shutoff is another excellent feature. If the pump runs too long, the controller should cut power and alert you.
Reservoir size matters too. Bigger is not always better. A huge reservoir can fuel a major salinity crash if everything fails. Many reef keepers prefer a reservoir that lasts three to seven days. That gives convenience without storing enough water to completely dilute the system.
Think about placement and cable routing. Some all-in-one tanks have tight rear chambers. Some sumps have splashing that confuses sensors. Choose a unit that fits your space cleanly. A reliable ATO is not just about the brand. It is about how well it fits your actual system.
How to Set Up an ATO System Step by Step
- Measure your normal sump water level. Mark the return chamber target level.
- Mount the primary sensor at that exact level. Keep it away from bubbles and splashing.
- Install the backup sensor slightly above the primary sensor.
- Place the ATO pump in the freshwater reservoir.
- Route the output tubing to the sump return chamber.
- Keep the tubing end above the water line if possible.
- Add a drip loop to every power cord.
- Fill the reservoir with RO/DI water only.
- Power on the controller and test the trigger point.
- Simulate a low water level and watch the refill cycle.
- Confirm the pump stops at the correct level.
- Test the backup shutoff before trusting the system.
Take your time during setup. Most ATO problems begin with rushed installation. Sensor placement is especially important. If the sensor sits near turbulence, it may cycle on and off too often. If the tubing outlet sits underwater, it can create a siphon. That can keep water flowing even when the pump stops.
Keep the top off line secure. A loose tube can spray water outside the sump or into the wrong chamber. Also avoid placing the reservoir higher than the sump unless the design specifically prevents siphoning. Gravity can defeat many otherwise safe systems.
Reservoir Size, Placement, and Water Choice
Use only purified RO/DI water in your ATO reservoir. Tap water can add phosphate, nitrate, silica, copper, and other contaminants. Those impurities feed algae and can harm invertebrates. If your source water is poor, your reef will show it.
Choose a reservoir that matches your maintenance style. A nano tank may do well with a one to three gallon container. Medium systems often use five gallons. Larger reefs may need ten gallons or more, but many hobbyists still limit the maximum volume for safety.
Place the reservoir where it is easy to refill. If filling it is annoying, you will delay maintenance. Keep it covered. Dust, pet hair, and household aerosols can contaminate the water. If you mix kalkwasser in the reservoir, keep the pump intake above the settled slurry and monitor alkalinity closely.
Some reef keepers connect an ATO directly to an RO/DI system. That can work, but it adds risk. A stuck valve or failed sensor can flood the sump and the room. Direct feed setups need multiple layers of protection. For most home aquariums, a separate reservoir is much safer.
Common Problems
ATO keeps overfilling the tank
The most common causes are dirty sensors, a stuck float, controller failure, or a siphon. Start by cleaning the sensor with fresh water and a soft cloth. Salt creep and film can confuse optical sensors. Check that the backup sensor works. Then inspect the tubing. If the outlet sits underwater, raise it above the sump water line.
Also review your reservoir size. If a full reservoir can drop salinity dangerously, reduce its volume. Add a timer limit if your controller supports one. This is one of the best safety layers you can have.
ATO is not adding enough water
Check for an empty reservoir first. Then inspect the pump for blockages. Small pumps can clog with debris or kalk residue. Look for kinked tubing. Make sure the sensor is mounted at the correct level and not trapped in a dead spot with stable water.
If evaporation has increased seasonally, your old reservoir size may no longer be enough. Winter heating and summer fans can both raise evaporation rates. Adjust your refill schedule as needed.
ATO cycles on and off too often
This usually points to turbulence around the sensor. Move it away from splashing drains, skimmer outlets, or return pump eddies. Some controllers allow a short delay before activation. That helps prevent rapid cycling. Frequent short runs are not always harmful, but they can wear pumps faster.
Salinity still drifts even with an ATO
Verify salinity with a calibrated refractometer or quality digital meter. Then check if the ATO is replacing all evaporation. Small underfills add up. Also confirm you are not removing saltwater through skimmate, water changes, or leaks without accounting for it. An ATO only replaces freshwater loss. It does not correct every volume change in the system.
Maintenance and Safety Tips
Inspect your ATO weekly. Refill the reservoir before it runs dry. Clean sensors at least monthly. In dusty homes or kalk setups, clean them more often. Test the emergency shutoff every month. Never assume it works because it worked once.
Keep the tubing end above the sump water line. This simple habit prevents many siphon accidents. Secure all tubing with clips or holders. Label the reservoir clearly so nobody adds saltwater by mistake. If children or pets are present, keep the reservoir stable and covered.
Watch your tank after any maintenance. Many failures happen right after cleaning or repositioning equipment. If you use kalkwasser, monitor alkalinity, calcium, and pH closely. An ATO is a useful tool, but every tool needs oversight.
For broader stability tips, see reef tank parameters, how to lower phosphate in a reef tank, reef tank sump guide, and RO/DI water for reef tanks.
Frequently Asked Questions
Do I need an ATO on a nano reef tank?
Yes, nanos benefit greatly from an ATO. Small tanks swing faster than large ones. Even a little evaporation can change salinity noticeably.
Should an ATO use saltwater or freshwater?
Always use freshwater, ideally RO/DI water. Evaporation removes pure water, not salt. Replacing it with saltwater will raise salinity.
Can I run kalkwasser through my ATO?
Yes, but it adds complexity and risk. Too much kalkwasser can spike alkalinity and pH. Beginners should start with plain RO/DI top off.
Where should I place the ATO sensor?
Place it in the sump return chamber. That is the section where evaporation shows up first. Avoid bubbles and splashing.
How often should I clean my ATO sensors?
Clean them at least once a month. Clean more often if you have salt creep, kalk residue, or heavy dust around the sump.
Final Thoughts
An ATO system is one of the smartest upgrades for any reef aquarium. It improves salinity stability, reduces maintenance, and helps your equipment run more consistently. The key is safe installation. Use RO/DI water, place sensors carefully, prevent siphons, and test backups often. When set up correctly, an ATO becomes one of those quiet tools that makes reef keeping much easier every single day.
Was this helpful?
Related Posts
Sump Setup Basics
Learn sump setup basics for a reef tank, including layout, plumbing, return pumps, water levels, and common mistakes…
Beginner Reef Tank Guide
Learn how to build a beginner reef tank with the right equipment, stable water, easy corals, and simple…