A beginner reef tank checklist helps you avoid costly mistakes. It keeps your setup simple, stable, and ready for fish and corals. Use this guide to plan equipment, water, rock, livestock, and maintenance before you spend money.
Starting a reef tank feels exciting. It can also feel overwhelming. New hobbyists often buy gear in the wrong order. They also add livestock too fast. A good checklist fixes both problems. It helps you build around stability, not impulse purchases. In this guide, you will learn what equipment you actually need, which supplies matter most, how to cycle the tank, and what to test before adding animals. You will also see common beginner mistakes and simple ways to avoid them. If you want a reef tank that looks great and stays healthy, this checklist will save you time, money, and frustration.
Quick Reference Checklist
| Category | What You Need | Beginner Tip |
|---|---|---|
| Tank | 20 to 40 gallon aquarium | Bigger tanks stay more stable |
| Filtration | Sump or rear chamber, filter socks or floss, protein skimmer optional | Keep filtration easy to clean |
| Flow | 1 to 2 powerheads | Aim for random, indirect flow |
| Lighting | Reef-capable LED | Start with soft coral settings |
| Heater | Reliable heater and thermometer | Use a controller if possible |
| Water | RODI water and reef salt | Never use untreated tap water |
| Rock and Sand | Dry rock or live rock, aragonite sand | Rinse sand before use |
| Testing | Ammonia, nitrite, nitrate, salinity, alkalinity | Test often during cycling |
| Livestock | Clean up crew, hardy fish, soft corals | Add slowly over several weeks |
| Maintenance | Buckets, siphon, scraper, mixing pump | Plan weekly water changes |
What Every Beginner Reef Tank Needs
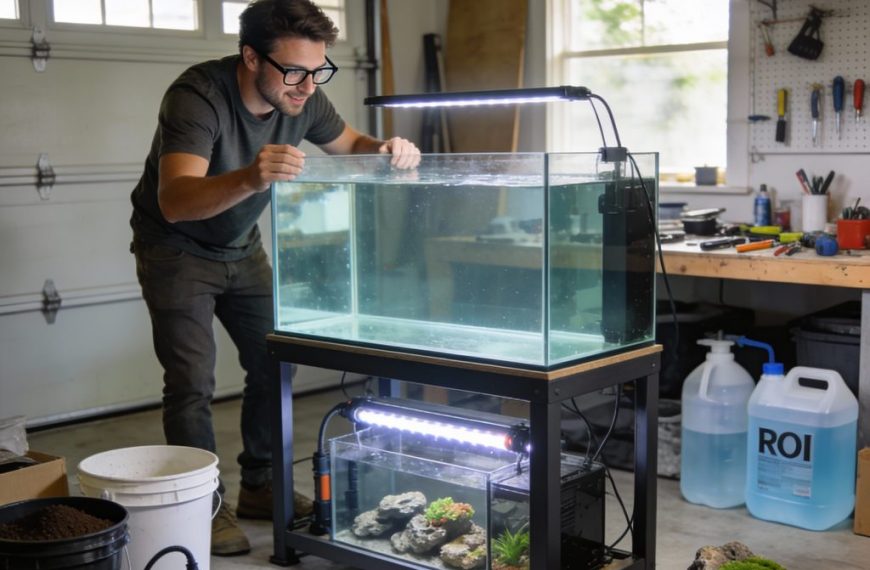
Your first reef tank does not need every gadget. It needs dependable basics. Start with the tank itself. A 20 to 40 gallon aquarium works well for beginners. Small tanks fit tight spaces. Larger tanks resist sudden swings better. Choose a tank with space for filtration. An all-in-one tank is often easiest. A sump also works well if you want more flexibility.
You also need a reef-safe light, a heater, a thermometer, and water movement. Flow matters as much as filtration. Corals and live rock depend on oxygen-rich water. Add a quality return pump if you use a sump. You will also need rock, sand, salt mix, and RODI water. Do not skip test kits. They are not optional. They tell you when the tank is safe. Finally, buy maintenance tools early. A siphon hose, algae scraper, buckets, and mixing container make routine care much easier.
Choosing the Right Tank Size and Layout
Beginners often assume smaller is easier. In reef keeping, that is usually false. Tiny tanks change fast. Salinity rises quickly from evaporation. Temperature shifts happen faster. Nutrients can spike overnight. A 20 gallon reef can work well. A 30 to 40 gallon setup gives you more room for error.
Think about the tank footprint, not just the total volume. Longer tanks offer more swimming space and easier aquascaping. They also give you better coral placement options. Leave room around the tank for cleaning and cables. Plan where the mixing station will go too. That matters more than many beginners expect. Keep the tank away from direct sunlight, vents, and drafty windows. Stable room temperature helps a lot. If possible, place the tank near power outlets and a water source. Good placement makes maintenance easier. Easy maintenance leads to better long-term success.
Essential Equipment Checklist
Buy equipment for reliability first. Fancy features come later. Your heater should hold a stable temperature between 77 and 79 degrees Fahrenheit. Use a separate thermometer to verify it. Many hobbyists also use a temperature controller for extra safety. For flow, use one or two powerheads. Aim for random movement, not a direct blast.
Your light should match your coral goals. Soft corals and many LPS corals do fine under moderate LED lighting. You do not need extreme PAR on day one. Start lower and increase slowly. Filtration can stay simple. Filter floss, biological media, and regular water changes go a long way. A protein skimmer helps, but it is not mandatory on every beginner tank. Auto top off systems are also very useful. They keep salinity stable by replacing evaporated water. If your budget allows one upgrade, this is a smart choice. Stable salinity protects fish, corals, and invertebrates.
Rock, Sand, and Aquascaping Basics
Rock is the biological backbone of a reef tank. It houses bacteria that process waste. Dry rock is common and pest-free. Live rock can seed biodiversity faster. Both can work. Many beginners choose dry rock and add bottled bacteria. Use enough rock to create structure, but not a solid wall. Fish need caves and open swimming space.
Aragonite sand is the usual choice. A shallow sand bed is easier to keep clean. Rinse dry sand before adding it. This reduces cloudiness. Build your aquascape with stability in mind. Loose rocks can collapse later. Use reef-safe epoxy or super glue gel where needed. Create shelves and ledges for future coral placement. Leave space between the rock and glass. You will need room to clean algae. Open aquascapes also improve flow. Better flow reduces dead spots and detritus buildup. That makes the tank easier to manage over time.
Water, Salt, and Testing Supplies
Good water makes reef keeping easier. Poor water creates endless problems. Use RODI water for mixing salt and topping off evaporation. Tap water often contains nitrate, phosphate, copper, and silicate. Those can fuel algae and harm invertebrates. Choose a trusted reef salt mix and mix it fully before use. Match temperature and salinity before water changes.
At minimum, own tests for ammonia, nitrite, nitrate, and salinity. A refractometer is better than swing-arm hydrometers. Once corals are added, test alkalinity regularly. Calcium and magnesium also matter later. For a new reef, stable salinity and alkalinity are huge. Chasing perfect numbers matters less than avoiding swings. Write down your test results. Trends matter more than single readings. If nitrate rises every week, your tank is telling you something. Testing is not just a chore. It is how you read the system before problems become visible.
Step-by-Step Beginner Reef Tank Setup
- Choose the tank location. Avoid sunlight and heat sources.
- Install the tank, stand, filtration, heater, and pumps.
- Rinse sand and place it in the tank.
- Build a stable rock structure with open flow paths.
- Fill the tank with mixed saltwater made from RODI water.
- Start all equipment and check for leaks.
- Set salinity to about 1.025 specific gravity.
- Set temperature to 77 to 79 degrees Fahrenheit.
- Add bottled bacteria or another ammonia source to begin cycling.
- Test ammonia, nitrite, and nitrate every few days.
- Wait until ammonia and nitrite reach zero.
- Add a small clean up crew first.
- Add hardy fish slowly, one at a time.
- Add beginner corals only after the tank stabilizes.
This process takes patience. Most problems start when beginners rush the cycle. Let the bacteria establish. Let the tank mature. Slow starts usually lead to better results.
Lighting Requirements for a Beginner Reef
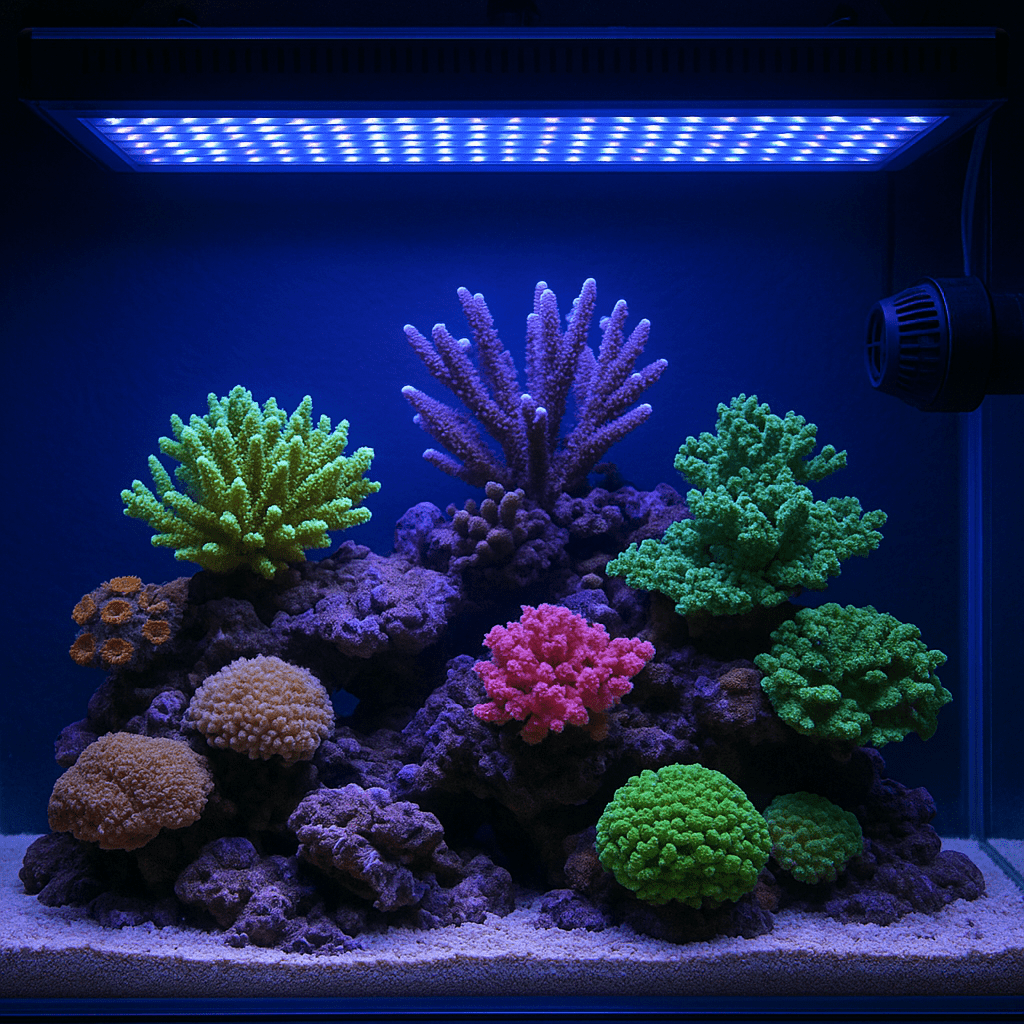
Lighting confuses many new reef keepers. The goal is not maximum brightness. The goal is appropriate intensity and consistency. Most beginner reefs start with soft corals, mushrooms, zoanthids, and a few easy LPS corals. These usually prefer low to moderate PAR. A reef LED with adjustable channels works best.
Run a stable schedule. Eight to ten hours of full lighting is enough for most tanks. Avoid changing intensity every few days. Corals need time to adjust. If your light has acclimation mode, use it. Start lower than you think. Too much light often causes stress, bleaching, and algae issues. Place low-light corals near the bottom first. Watch how they respond. Stretching can suggest low light. Bleaching can suggest too much. Good placement matters as much as the fixture itself. Learn your tank slowly. Corals will tell you a lot if you observe them closely.
Water Flow and Filtration Tips
Reef tanks need flow everywhere. Water movement delivers oxygen and nutrients. It also keeps waste suspended so filtration can remove it. Aim for varied flow patterns. Corals prefer movement that changes direction. A constant direct stream can damage tissue. Position powerheads so they create turbulence, not sandstorms.
Filtration should be easy to maintain. Dirty filter media becomes a nutrient trap. Replace or rinse filter floss often. Empty the skimmer cup regularly if you use one. Siphon detritus from low-flow areas during water changes. Biological filtration happens mostly in rock and media. Do not over-clean everything at once. You want to remove waste, not wipe out bacteria. Many beginner tanks succeed with simple filtration and disciplined maintenance. Complicated systems can work too. They just add more failure points. Keep it simple until you understand your tank’s patterns.
Beginner Livestock Checklist
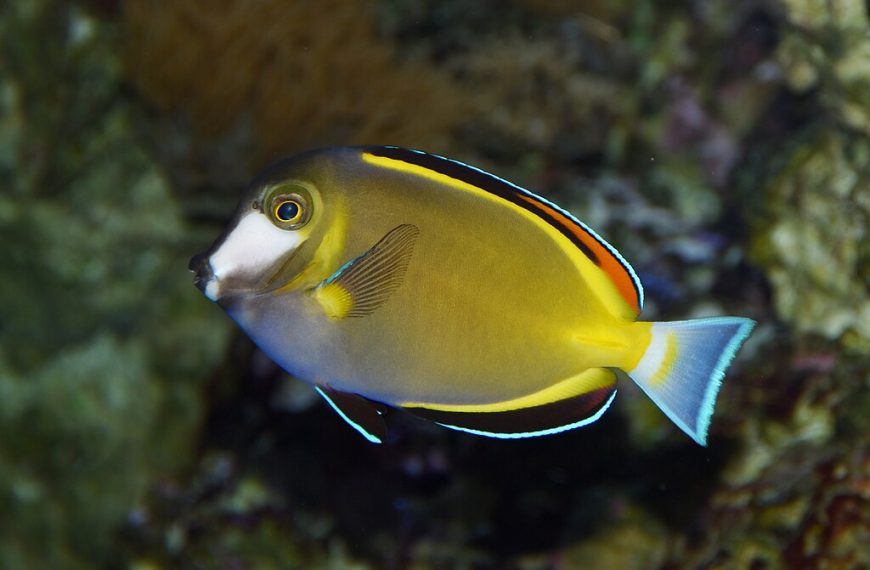
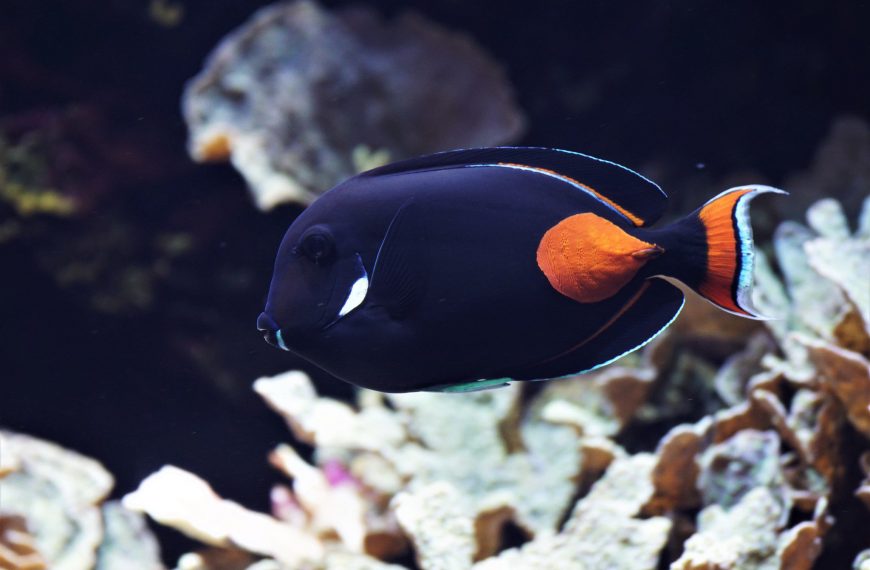
Your first livestock should be hardy and forgiving. Start with a small clean up crew after the cycle completes. Snails are usually safer than large hermit crab groups. Add only what the tank can support. Too many clean up crew animals can starve in a new tank. For fish, choose peaceful species that adapt well. Clownfish, firefish, and some gobies are common starter choices.
For corals, begin with soft corals and easy LPS. Zoanthids, mushrooms, green star polyps on isolated rock, and many leather corals are common beginner picks. Research each coral before buying. Some spread aggressively. Others need more stable alkalinity. Quarantine is smart for fish. Coral dips are smart for corals. Pest prevention is easier than pest removal. Add livestock slowly. Give the biofilter time to adjust after each addition. A reef tank is not a race. Stocking slowly protects water quality and reduces stress.
Compatibility and Stocking Strategy
Compatibility matters from the start. Some fish fight in small spaces. Some corals sting nearby neighbors. Some invertebrates are not reef safe at all. Always check adult size, feeding habits, and behavior before purchase. A fish that looks tiny at the store may outgrow your tank quickly. Territorial fish often become harder to add later.
Plan your stocking order. Add peaceful fish first. Add more assertive species later if the tank size allows them. Leave enough space between corals. Many LPS corals extend sweeper tentacles at night. That can surprise beginners. Keep mobile invertebrates away from unsecured frags. Watch for coral warfare, not just fish aggression. Chemical competition happens too. Running carbon can help in mixed reefs. A thoughtful stocking plan prevents many future headaches.
Common Problems
Why is my beginner reef tank getting algae?
New tanks almost always go through algae phases. Diatoms, film algae, and even some nuisance algae are common early on. Excess nutrients, long light periods, and poor source water make it worse. Use RODI water. Avoid overfeeding. Shorten the light schedule if needed. Increase maintenance, not panic.
Why are my corals closed or shrinking?
Check salinity, temperature, alkalinity, and flow first. Sudden changes often cause coral stress. New corals also need time to adjust. Dip new corals before adding them. Inspect for pests. If lighting is strong, lower intensity or move the coral down.
Why are fish breathing fast?
Fast breathing can mean ammonia, low oxygen, disease, or sudden stress. Test water right away. Check temperature too. Make sure surface agitation is strong. If ammonia is present, act quickly with water changes and detox support if needed.
Why does my salinity keep changing?
Evaporation removes water, not salt. Top off daily with fresh RODI water, not saltwater. An auto top off system makes this easier. In small tanks, even minor evaporation can cause noticeable salinity swings.
Weekly Maintenance Checklist
- Check temperature and salinity
- Top off evaporated water with RODI
- Clean glass and remove nuisance algae
- Empty and clean skimmer cup if used
- Replace or rinse filter floss
- Test nitrate and alkalinity
- Inspect pumps and flow patterns
- Do a water change if needed
- Siphon detritus from easy-to-reach areas
- Observe fish and corals for stress or pests
Consistency beats intensity. Small weekly tasks prevent major corrections later. Reef tanks reward routine.
Frequently Asked Questions
What is the best tank size for a beginner reef tank?
A 20 to 40 gallon tank is a strong starting range. It balances stability, cost, and space well.
Can I start a reef tank with tap water?
It is not recommended. RODI water is much safer and helps prevent algae and contaminant issues.
How long should I cycle a beginner reef tank?
Most tanks take several weeks. Wait until ammonia and nitrite are zero before adding livestock.
What are the easiest corals for beginners?
Mushrooms, zoanthids, many leather corals, and some easy LPS are common beginner choices.
Do I need a protein skimmer on my first reef tank?
Not always. Many beginner tanks do well without one if stocking is light and maintenance stays consistent.
Helpful FancyReef Guides
- how to cycle a reef tank
- reef tank water parameters
- best beginner coral
- reef tank clean up crew
- reef tank lighting guide
A beginner reef tank checklist is really a stability checklist. Buy dependable equipment. Use clean water. Stock slowly. Test often. Keep maintenance simple and repeatable. If you follow those basics, your first reef tank will have a much better chance of long-term success.
Was this helpful?
Related Posts
Setting up Your 1st Reef Tank
Setting up your 1st reef tank is all about stability: proper equipment, a patient cycle, and slow stocking.…
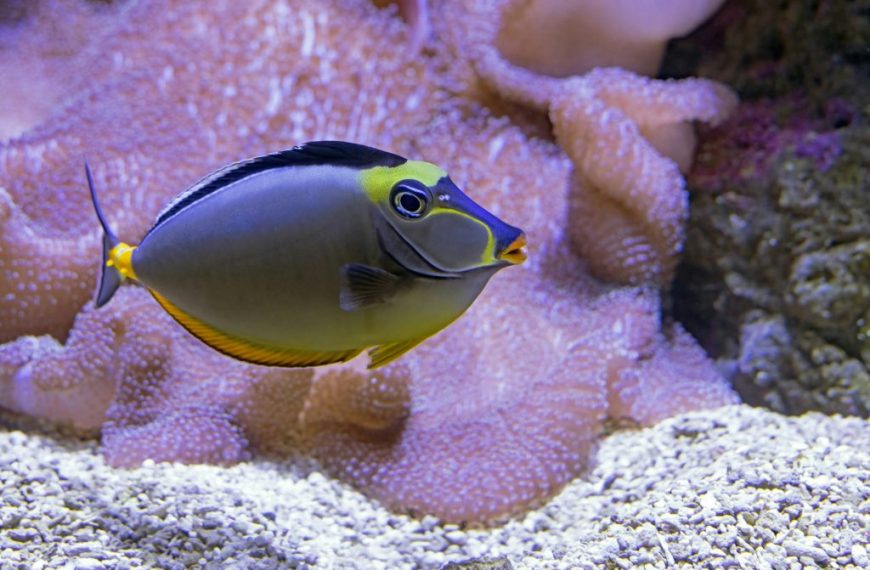
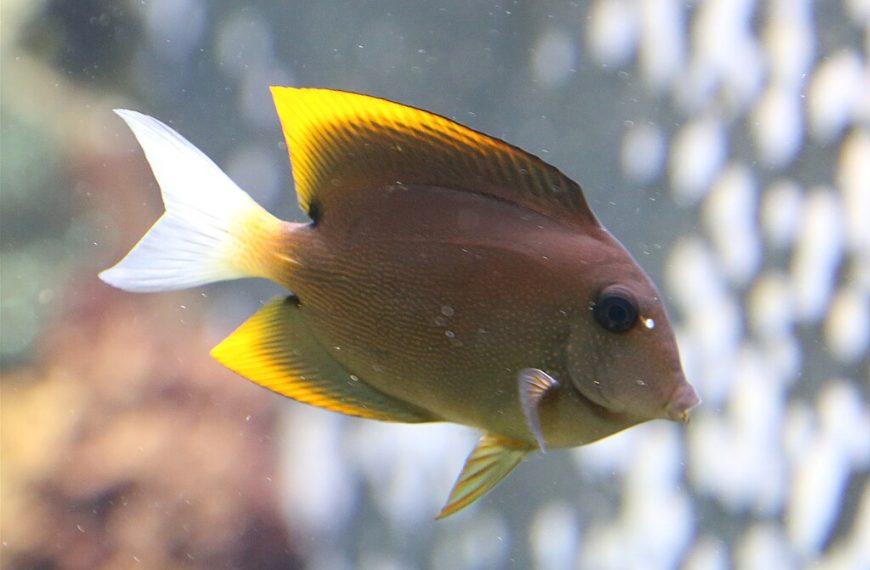
Naso Tang (Naso Lituratus)
Naso Tang care requires a large tank, heavy algae feeding, and stable water. Learn how to keep Naso…