Fragging coral is one of the most useful skills in reef keeping. It helps you control growth, share healthy pieces, and protect colonies from damage. Done well, coral fragging is safe for you and for the coral. Done poorly, it can spread infection, stress the colony, or cause avoidable losses.
This guide covers how to frag coral safely at home. You will learn what tools to use, how to prepare your workspace, and how to care for frags after the cut. If you are new to coral propagation, start slow and focus on clean technique and stable water.
Know which corals you can frag safely
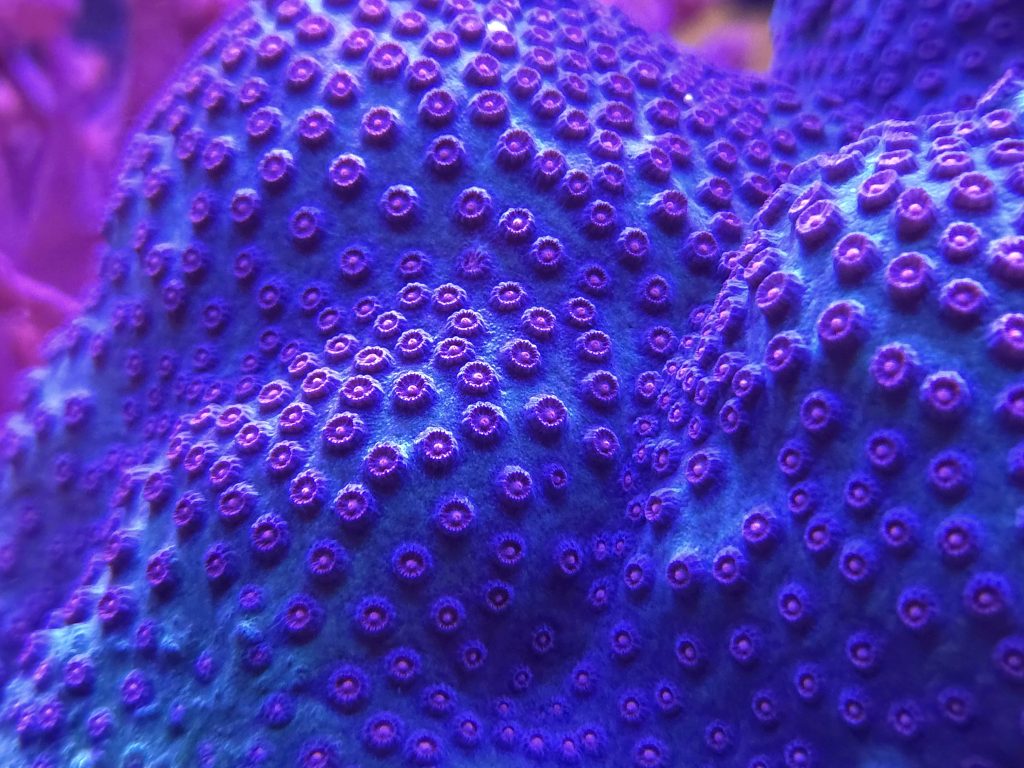
Not every coral should be treated the same way. Soft corals, many LPS corals, and many SPS corals all respond differently to cutting. The first step is knowing the coral’s structure. Branching corals are usually easier. Massive or encrusting corals often need more care and better tools.
Soft corals like zoanthids, mushrooms, leathers, and green star polyps are common beginner choices. Many can be cut with a sharp blade or scissors. Still, some release toxins or slime when handled. Zoanthids deserve extra caution. Palytoxin exposure is rare, but it can be serious. Always wear gloves and eye protection when cutting zoas or palys.
LPS corals vary a lot. Branching hammer, frogspawn, and candy cane corals are often straightforward. You cut between heads or through dead skeleton sections. Fleshy LPS like acans, scolys, and meat corals are more sensitive. A bad cut can tear tissue and invite brown jelly infection. These corals are not ideal for your first attempt.
SPS corals like Acropora, Montipora digitata, and Birdsnest are usually simple to frag if healthy. Bone cutters work well on thin branches. Thick branches may need a coral saw. Avoid fragging stressed SPS. Wait until polyp extension, color, and growth are normal. If you need help identifying coral health first, review our reef tank water parameters guide and confirm your system is stable.
- Best beginner corals: green star polyps, Kenya tree, Xenia, candy cane, Birdsnest
- Use extra caution with: zoanthids, palythoas, fleshy LPS, chalices, scolymia
- Frag only healthy colonies with good color, extension, and recent growth
Set up a safe fragging workspace before you cut
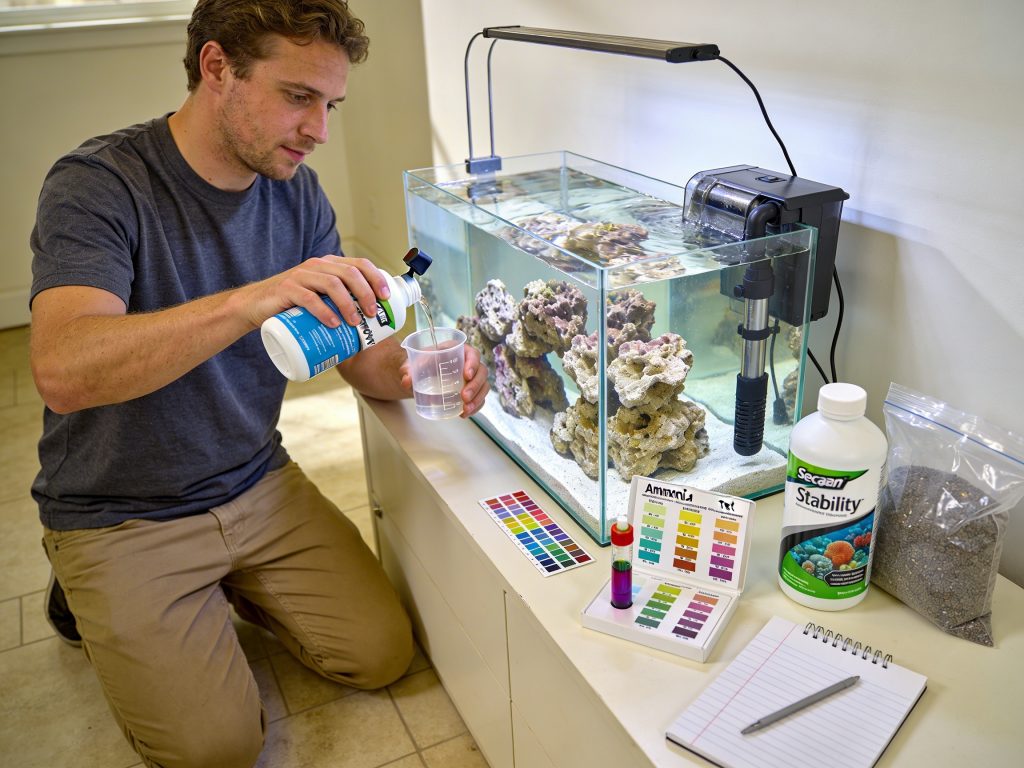
Preparation prevents most problems. Set up a clean, bright workspace near the tank. Keep children and pets away. Use a stable table with good lighting. Place towels under your work area. Saltwater spills happen fast. You also want enough room for tools, frag plugs, and rinse containers.
Gather all tools before removing the coral. Common tools include nitrile gloves, safety glasses, coral bone cutters, a scalpel, stainless forceps, super glue gel, reef epoxy, a frag rack, and clean containers of tank water. If you plan to cut hard skeleton, a band saw or rotary coral saw gives cleaner cuts. For most hobbyists, bone cutters cover many jobs.
Use at least two containers of tank water. One holds the coral during handling. The second is for rinsing after the cut. A third container is useful for a coral dip. Many reef keepers dip fresh frags in iodine or a coral disinfectant to reduce bacterial risk. Follow the product label exactly. Stronger is not better. Overdosing can burn tissue.
Protect yourself every time. Wear powder-free gloves and sealed eye protection. A simple splash can irritate skin or eyes. Zoanthids and palythoas need the most caution. Never boil live rock or corals that may contain palys. Aerosolized toxin is dangerous. If you want a full safety routine for handling reef livestock, see our reef tank maintenance checklist and build fragging into your regular system care.
- Use fresh gloves for each session
- Keep coral out of water for less than 30 to 60 seconds when possible
- Label containers so rinse water and dip water never get mixed
- Disinfect tools after use with hot water and a reef-safe cleaning routine
How to frag coral safely step by step
Start by selecting a healthy donor colony. Do not cut a coral that is bleaching, receding, or recently shipped. Wait at least two weeks after purchase. Four weeks is better. Stable corals heal faster. Feed the tank well the day before fragging, but do not overfeed. You want normal nutrient levels, not a spike.
Remove the coral gently if possible. Place it in a shallow container of tank water. Study where you will cut before touching the tool. For branching SPS, cut 1 to 2 inches below the tip on a healthy branch. For branching LPS, cut through bare skeleton between heads. For soft corals, make one clean slice instead of repeated sawing motions. Clean cuts heal better.
Mount the frag right away. Pat the plug dry with a paper towel. Dry the base of the frag for a few seconds. Apply a pea-sized amount of super glue gel. Press the frag onto the plug for 10 to 20 seconds. Then dip it in tank water to set the glue skin. For heavy frags, use glue plus a small amount of reef epoxy. Keep tissue away from excess glue.
Return the frag to moderate flow and appropriate light. Do not place a fresh frag under your brightest zone. Start lower and move it over several days. For many SPS frags, begin at 100 to 150 PAR if the parent was in stronger light. For many soft corals and LPS, start in lower to moderate light. If you are unsure about placement, our best coral placement guide can help you match flow and light to coral type.
- Plan the cut first and make one deliberate cut
- Use a separate blade for soft tissue and a cutter for skeleton
- Mount frags quickly to reduce stress
- Place fresh frags on a rack where fish and snails cannot knock them over
Aftercare, healing, and common fragging mistakes
Most frag losses happen after the cut, not during it. Healing depends on stable water and low stress. Keep temperature between 77 and 79 degrees Fahrenheit. Keep salinity at 1.025 to 1.026 specific gravity. Maintain alkalinity around 8 to 9 dKH, calcium at 400 to 450 ppm, and magnesium at 1250 to 1350 ppm. Avoid sudden changes. Stability matters more than chasing exact numbers.
Flow is critical during recovery. Fresh cuts need enough flow to keep mucus and debris from settling. Too much flow can tear tissue from the plug. Aim for indirect, moderate flow for most frags. Watch the coral for the first hour. If tissue flaps hard or the frag leans over, reduce flow or re-mount it. If mucus builds up, increase flow slightly.
Inspect frags daily for the first week. Look for tissue recession, brown jelly, algae on exposed skeleton, or a loose glue bond. Dip only when needed. Repeated dipping can add stress. If a frag shows infection, isolate it fast. Trim dead tissue if appropriate. Improve flow and check nutrients. Nitrate around 5 to 15 ppm and phosphate around 0.03 to 0.10 ppm often support healing better than ultra-low nutrient systems.
Common mistakes are easy to avoid. New hobbyists often cut too much at once. They also frag unhealthy colonies or place fresh cuts under intense light. Another mistake is touching fleshy tissue with glue. That can kill the edge of the frag. Slow down and keep records. Note the coral type, cut date, dip used, and placement. This helps you refine your process and improve survival rates over time.
Troubleshooting fresh coral frags
If an SPS frag turns pale within 24 hours, check light shock first. Move it lower and confirm alkalinity is stable within 0.3 dKH day to day. If a soft coral stays closed for three days, review flow and inspect for glue touching tissue. If a branching LPS develops brown jelly, remove it from the display, siphon off infected material, and perform a targeted dip per product instructions. Fast action can save the remaining heads.
Fish and invertebrates can also cause trouble. Angelfish, some butterflies, crabs, and even large hermits may pick at fresh cuts. Urchins and turbo snails often bulldoze new plugs. Use a frag rack or a protected healing box for the first one to two weeks. This simple step prevents many losses.
There is also a timing issue. Do not frag right before a vacation. Do not frag during a cycle, disease outbreak, or major equipment change. A good window is when the tank has been stable for at least two weeks and you can monitor the frags daily. Many reef keepers choose a weekend morning. That gives them time to watch the coral through the day.
Fragging can also be a rescue tool. If a colony has tissue loss at the base, healthy tips may still be saved. Cut well above the damaged area. Dip if appropriate and mount the healthy pieces separately. This method often saves part of an SPS colony during rapid tissue necrosis. It also works for some soft corals after mechanical damage.
Fragging coral safely comes down to planning, clean cuts, and strong aftercare. Choose healthy colonies, protect yourself, and match your tools to the coral type. Start with easy species and build confidence with each session.
With practice, coral propagation becomes a normal part of reef keeping. It helps you manage growth, trade with other hobbyists, and preserve prized corals. Take your time, keep parameters stable, and your frags will have the best chance to heal and thrive.
Sources: Borneman, Eric H. Aquarium Corals; Sprung, Julian. Coral Propagation; Delbeek, J. Charles and Julian Sprung. The Reef Aquarium; product instructions from common reef-safe iodine and coral dip manufacturers; husbandry guidance from established public aquarium coral propagation practices.
Was this helpful?
Related Posts

Reef Tank Stocking Guide
Photo by Jonas Thomann Planning your reef tank stocking list is one of the most exciting parts of…
Ammonia Spike Troubleshooting
An ammonia spike can turn dangerous fast. Learn the causes, emergency fixes, and prevention steps for a safer…