Fragging SPS corals is the process of cutting healthy small polyp stony corals into new pieces that can grow into full colonies. It sounds intimidating at first. In practice, it is a skill most reef keepers can learn with patience, clean tools, and a stable tank. This guide explains when to frag SPS corals, which tools work best, how to cut and mount frags safely, and how to avoid common mistakes that slow healing.
SPS corals reward careful handling. They also punish rushed work. A clean cut, good water quality, and proper placement matter more than fancy equipment. If you want to trade corals, save a damaged colony, or simply control growth, learning to frag SPS corals is a valuable reef keeping skill. Below, you will find a quick reference table, a step by step method, aftercare tips, and troubleshooting help based on real reef aquarium conditions.
Quick Reference Table
| Topic | Best Practice |
|---|---|
| Best time to frag | When the colony is healthy, growing, and well colored |
| Ideal tank stability | Stable alkalinity, calcium, magnesium, salinity, and temperature |
| Common SPS to frag | Acropora, Montipora, Birdsnest, Pocillopora, Stylophora |
| Tools | Bone cutters, coral shears, scalpel, frag plugs, cyanoacrylate gel |
| Dip after cutting | Optional and species dependent; use only reef safe coral dips |
| Healing placement | Moderate flow and slightly reduced light at first |
| Main risks | Tissue damage, infection, RTN/STN, glue irritation, unstable parameters |
| Do not frag when | The coral is pale, recently shipped, pest infested, or already stressed |
When to Frag SPS Corals
Timing matters more than many hobbyists realize. Frag only healthy SPS corals that show active growth and good polyp extension. Fresh white growth tips are a strong sign. Good color is another. A stressed colony should never be fragged unless you are trying to save healthy tissue from a dying base.
Avoid fragging after shipping. Give new SPS at least a few weeks to settle in. Longer is often better. Do not frag during major tank changes. Skip it if you recently changed lighting, adjusted alkalinity, battled pests, or treated the tank. SPS corals heal best in stable systems. That means steady alkalinity, low nutrient swings, and predictable temperature.
Many reef keepers frag before colonies shade nearby corals. Others frag to improve flow through dense branches. Fragging can also save a colony after accidental breakage. In those cases, fast action helps. Healthy broken tips often recover well if mounted quickly. If the coral has rapid tissue loss, cut well above the dead area into clean healthy skeleton and tissue.
Natural Growth Habits of SPS Corals
Understanding natural growth makes fragging easier. SPS corals grow in branching, plating, encrusting, or bushy forms depending on species. Acropora often forms branching colonies with clear growth tips. Montipora may plate outward or encrust over rock. Birdsnest grows in thin brittle branches. Stylophora and Pocillopora form thicker, compact branches.
In nature, these corals live in bright, high energy reef zones. Waves and currents break branches regularly. Many SPS species evolved to survive fragmentation. A broken branch can settle, attach, and become a new colony if conditions are right. That natural trait is why fragging works so well in aquariums.
Still, not every cut heals equally. Branching species are usually easiest. Plating species need more planning. Encrusting species often require cutting the base or removing a section of rock. Knowing the coral’s growth pattern helps you choose the safest cut site. It also helps you mount the frag in a way that matches future growth.
Tools and Supplies You Need
You do not need a lab setup. You do need clean, sharp tools. Bone cutters are the standard choice for many branching SPS. Coral shears also work well. A scalpel or razor helps with tissue cleanup or encrusting edges. Frag plugs or small rubble pieces give the new frag a place to attach. Thick cyanoacrylate gel is the usual reef safe glue.
Prepare a small workstation before you start. Use a container of tank water for rinsing and holding frags. Keep paper towels nearby. Dry skeleton bonds better with glue than wet slime covered surfaces. Gloves and eye protection are smart. Some corals have sharp skeletons. Some reef tools can slip when wet.
It also helps to have iodine or a reef safe coral dip ready, though dipping after fragging is optional and species dependent. If you use a dip, follow the label exactly. Never improvise concentrations. Finally, have a clear plan for placement before you cut. New frags should not sit on the counter while you decide where they belong.
Step by Step: How to Frag SPS Corals
Step 1: Inspect the colony. Look for pests, dead spots, algae, or tissue recession. Do not frag a pest infested coral. Treat that problem first. Select healthy branches or edges with strong color and intact tissue.
Step 2: Choose the cut point. On branching SPS, cut below a growth tip and above any damaged area. Aim for a clean section with enough length to mount securely. Frags of 1.5 to 3 inches are common. Very tiny frags can survive, but they are less forgiving.
Step 3: Make the cut quickly. Use sharp bone cutters and apply firm pressure. Avoid crushing the branch. One clean cut is better than repeated squeezing. For plating or encrusting Montipora, snap a plate edge carefully or cut a section with a scalpel and supporting tool.
Step 4: Rinse and assess. Swish the frag in clean tank water to remove mucus and debris. Check for torn tissue near the cut. Trim ragged skeleton if needed. Healthy tissue should remain snug against the skeleton.
Step 5: Mount the frag. Pat the cut base dry with a paper towel. Add a small blob of cyanoacrylate gel to the plug. Press the frag into the glue for several seconds. Some hobbyists dip the glued base in tank water, then add a second glue layer for extra hold.
Step 6: Return it to the tank. Place the new frag in moderate flow. Start with slightly lower light than the parent colony if the frag looks stressed. Good flow helps carry away mucus and supports healing. Avoid blasting the fresh cut directly.
Step 7: Monitor for a week. Watch for tissue recession, excessive slime, or the frag falling over. A healthy frag often shows polyp extension within days. Encrusting onto the plug may take longer. Stability is the goal during this period.
Aquarium Setup for Healing Frags
Fresh SPS frags heal best in stable systems. That means more than hitting target numbers once. It means avoiding daily swings. Keep salinity steady. Keep alkalinity consistent. Maintain calcium and magnesium in range. Temperature should stay stable day and night. Sudden changes often trigger tissue loss after fragging.
A dedicated frag rack helps a lot. It keeps new pieces upright and easy to inspect. Place the rack where flow is broad and indirect. Avoid dead spots. Avoid intense laminar flow that bends tissue in one direction all day. If your display is crowded, a frag tank makes aftercare easier, but it is not required.
Aquascaping also matters. Do not wedge fresh frags deep between rocks. They need room for flow and future growth. Keep aggressive corals away. Sweepers from LPS can sting healing SPS at night. If you are new to SPS husbandry, review reef tank parameters and how to acclimate corals before fragging valuable pieces.
Lighting Requirements After Fragging
Most SPS corals prefer strong light. Freshly cut frags still benefit from a short adjustment period. A new frag can bleach if moved straight into very intense light after handling stress. Start in slightly reduced PAR unless the frag appears completely unfazed. Then move it up gradually over several days.
The exact target depends on species. Acropora often thrives in higher PAR than many Montipora. Birdsnest usually adapts well but can still pale under sudden jumps. The safest approach is to match the parent colony’s conditions over time, not instantly. Watch color and polyp extension. Healthy frags hold color and begin encrusting.
If you use LEDs, avoid making large spectrum changes during the healing period. Keep the photoperiod stable. If you recently upgraded lights, wait before fragging. Coral stress stacks quickly. For more placement help, see SPS coral care guide. It covers common PAR ranges and placement strategy for different SPS types.
Water Flow
Flow is critical after fragging SPS corals. It helps remove mucus, keeps oxygen high, and reduces waste buildup around the cut. Moderate to strong turbulent flow is usually best. The key word is turbulent. Random movement works better than a harsh direct stream.
Too little flow lets detritus settle on fresh cuts. That can irritate tissue and invite algae. Too much direct flow can strip tissue or keep the frag from extending polyps. If the frag leans hard all day, the pump may be too direct. If slime hangs on the coral for long periods, flow may be too weak.
Observe the frag from several angles. You want gentle tissue movement and quick clearing of mucus. In mixed reefs, flow patterns can be tricky because LPS and soft corals prefer different conditions. A frag rack near the upper half of the tank often gives SPS a better healing zone than the sand bed.
Feeding and Nutrition
SPS corals rely heavily on light, but nutrition still matters. A healthy frag heals faster in a tank with balanced nutrients. Ultra low nutrients can lead to pale tissue and weak recovery. Excess nutrients can fuel algae and reduce color. Aim for stability, not extremes.
Many SPS benefit from dissolved nutrients, fish waste, and occasional fine coral foods. You do not need to target feed every fresh frag. In fact, heavy feeding around a new cut can irritate tissue if food settles on it. Instead, feed the tank normally and maintain export through skimming, filtration, and water changes.
Fish load often helps SPS systems more than beginners expect. A lightly stocked tank can run too clean. If your frags look pale and stop growing, review nitrate and phosphate before chasing trace elements. For a deeper look at nutrient balance, read nitrate and phosphate in reef tanks.
Compatibility in a Reef Tank
Fresh SPS frags are vulnerable to both fish and coral neighbors. Most reef safe fish ignore them, but some species nip polyps. Certain angelfish and butterflyfish are obvious risks. Crabs and hermits can also knock over new frags if the glue bond is weak. Secure mounting prevents many headaches.
Coral compatibility is just as important. Keep healing SPS away from aggressive LPS with long sweeper tentacles. Euphyllia, Galaxea, and some chalices can sting from surprising distances. Soft corals may also compete chemically in smaller tanks. Good carbon use and spacing help reduce that pressure.
Pests are another compatibility issue. Acropora eating flatworms, red bugs, and montipora nudibranchs can turn a simple fragging session into a disaster. Inspect every colony closely before cutting. Quarantine and dipping protocols matter, especially if you plan to trade or sell frags to other hobbyists.
Propagation and Fragging Techniques
Branching SPS
Branching species are the easiest place to start. Acropora, Birdsnest, Stylophora, and Pocillopora usually frag well from healthy branch tips. Cut a clean section, leave room above the glue line, and mount the frag upright. Over time, the base will encrust and strengthen.
Plating Montipora
Plating Montipora can be snapped by hand in some cases, though tools are safer. Break a healthy edge, then glue the underside or edge to a plug. Think ahead about growth direction. A poorly mounted plate may shade itself or other corals later.
Encrusting SPS
Encrusting SPS often require removing a small section of rock or plug with the coral attached. Trying to peel tissue from hard rock usually causes damage. If possible, cut the substrate beneath the coral instead of the coral itself.
Common Problems
Why is my SPS frag turning white?
White tissue can mean bleaching or tissue loss. Bleaching often follows sudden light stress. Tissue loss often starts at the cut or base after instability. Check alkalinity first. Then review temperature, salinity, and recent lighting changes. Move the frag to slightly lower light if bleaching seems likely.
Why is the tissue peeling from the base?
Base recession can result from poor flow, unstable alkalinity, pests, or glue irritation. Inspect closely for bite marks or flatworms. Improve random flow around the frag. Make sure the glue is on skeleton, not living tissue. If recession continues, cut above the damaged area and remount the healthy section.
Why are there no polyps after fragging?
Temporary polyp withdrawal is normal. Give the frag a few days. If the tissue still looks glossy and intact, it may simply be adjusting. If the frag stays closed and dull, review flow, pests, and stability. Some species extend more at night, so check after lights out.
Why did the frag fall off the plug?
This usually happens because the base was too wet or slimy during gluing. Dry the skeleton better next time. Use thicker gel glue. Press firmly for longer. Some reef keepers use a glue and epoxy combo for larger frags, though that is often unnecessary for small SPS pieces.
Frequently Asked Questions
Can beginners frag SPS corals?
Yes, but start with hardy branching species. Birdsnest and some Montipora are easier than sensitive Acropora. Practice on fast growers first.
How long does an SPS frag take to heal?
Initial healing often starts within days. Visible encrusting may take one to three weeks. Full establishment can take longer depending on species and tank stability.
Should I dip SPS frags after cutting?
Sometimes, but not always. A reef safe dip may help in certain cases. It can also add stress. Use dips carefully and only as directed.
What is the easiest SPS coral to frag?
Birdsnest is often one of the easiest. Many Montipora species are also beginner friendly. Thick branching corals are usually simpler than encrusting forms.
Can I frag a dying SPS colony to save it?
Yes. Cut well into healthy tissue above the dead area. Mount the healthy pieces quickly. Then fix the underlying tank issue that caused the decline.
Fragging SPS corals becomes much less stressful once you understand the basics. Work cleanly. Cut only healthy tissue. Keep parameters stable. Give new frags moderate flow and sensible light. Most failures happen after the cut, not during it. Good aftercare is what turns a fresh fragment into a thriving new colony.
Was this helpful?
Related Posts
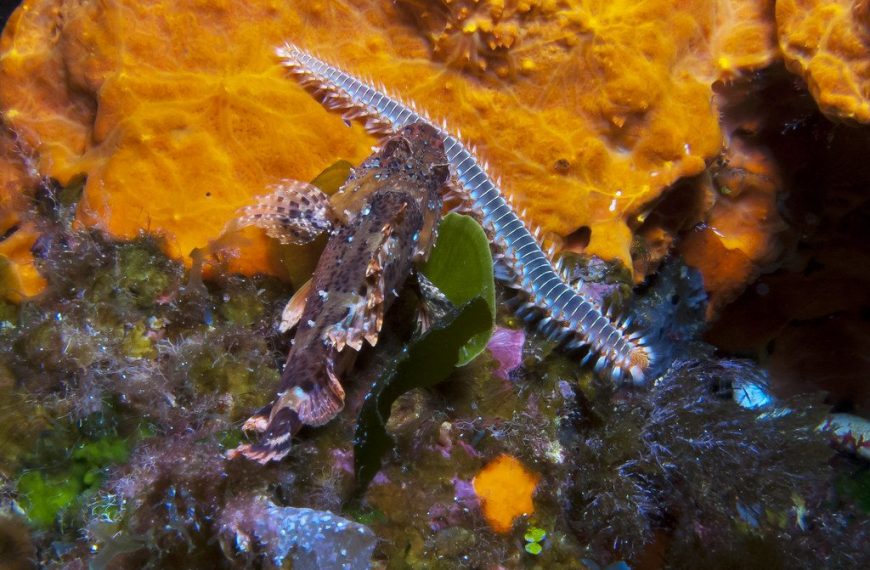
Bristleworms
Bristleworms are usually helpful reef tank scavengers. Learn how to identify them, control numbers, and spot the rare…
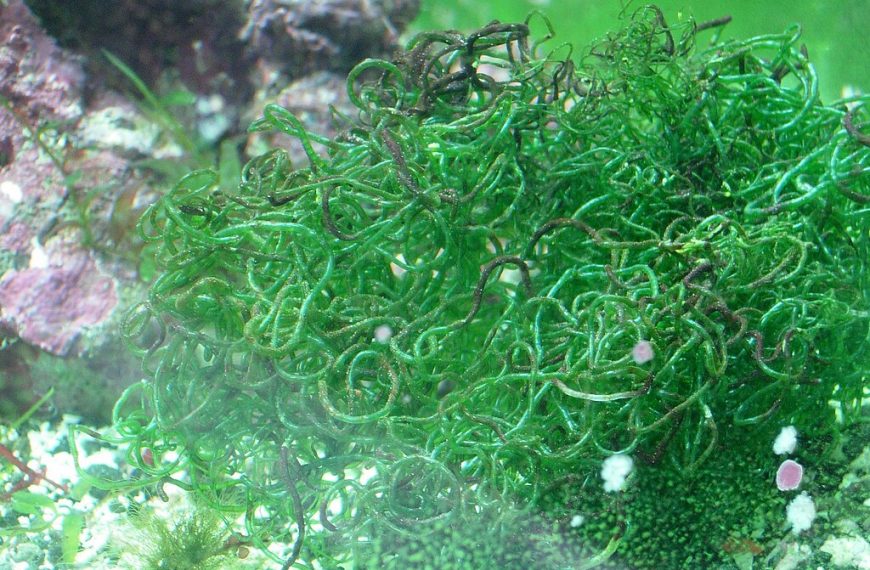
What is a Chaeto Reactor, and How Does it Help Control Nutrients?
A chaeto reactor grows macroalgae in a sealed chamber to remove nitrate and phosphate, helping reef tanks control…