
Adding a new coral can improve your reef fast. It can also introduce pests, toxins, and instability. The safest approach is slow and deliberate. Quarantine, dip, inspect, and acclimate every coral. Stable placement and close observation protect both the new frag and your established tank.
Many reef keepers lose corals during the first week. Others trigger problems across the whole aquarium. A single frag can carry flatworms, nudibranchs, algae, or bacterial issues. It can also stress nearby corals through chemical warfare. This guide explains how to introduce a new coral safely. You will learn how to inspect it, dip it, acclimate it, place it, and monitor it after arrival. I will also cover common mistakes that kill corals or destabilize reef tanks.
Quick Reference Table
| Step | What to Do | Why It Matters |
|---|---|---|
| Inspect | Check plug, tissue, and underside | Find pests, eggs, algae, and damage |
| Dip | Use a coral dip as directed | Reduces hitchhikers and infections |
| Quarantine | Observe in a separate tank if possible | Prevents pests from entering display |
| Acclimate | Match temperature and salinity slowly | Reduces shock |
| Light Acclimation | Start lower, then move up gradually | Prevents bleaching |
| Placement | Match flow and spacing to coral type | Improves extension and growth |
| Monitor | Watch for stress for 7 to 14 days | Catches problems early |
Use this table as your checklist every time you buy a frag. Consistency prevents most avoidable losses.
Why New Corals Can Harm a Reef Tank
Most hobbyists focus on the new coral surviving. That matters, but your display tank also needs protection. New corals often arrive stressed from shipping. Stressed corals produce mucus and may shed tissue. If the coral is unhealthy, it can foul a small system quickly. This risk is higher in nano reefs.
Pests are the bigger danger. Coral-eating flatworms, nudibranchs, vermetid snails, and nuisance algae often hitchhike on plugs. Some pests stay hidden for weeks. By the time you see damage, they may already be established. Corals can also release defensive chemicals. Soft corals and some LPS species are especially aggressive. If placed too close, they may sting or suppress nearby colonies.
This is why a careful introduction process matters. It protects your investment. It also protects the stability you worked hard to build. If you are still setting up your system, read our anchor text and anchor text for a stronger foundation.
Step-by-Step: How to Introduce a New Coral Safely
The safest method uses quarantine, dipping, and gradual acclimation. Skipping steps increases risk. Here is the process I recommend for most reef tanks.
- Prepare clean containers before the coral arrives.
- Float the bag for temperature equalization.
- Check salinity if the coral looks stressed.
- Inspect the coral and frag plug under bright light.
- Remove rubble or excess plug material if needed.
- Dip the coral using the product instructions.
- Rinse it in clean saltwater after the dip.
- Place it in quarantine if you have one.
- Start the coral in lower light.
- Adjust placement over several days.
- Observe tissue, color, and polyp extension daily.
Keep tools dedicated to coral work. Use gloves and eye protection. Some corals contain irritants. Zoanthids need special caution due to palytoxin risk. Never scrub a coral aggressively. Never pour bag water into your display. Shipping water often contains waste and contaminants.
Coral Inspection and Quarantine
Inspection is your first line of defense. Remove the coral from the bag and examine it closely. Look at the base, plug, crevices, and underside. Use a flashlight or magnifying glass. Search for eggs, tiny snails, flatworms, algae tufts, or jelly-like tissue. Many pests hide where tissue meets the plug.
If possible, quarantine every coral. A simple coral quarantine tank works well. It does not need to be fancy. You need stable salinity, heater control, moderate flow, and suitable lighting. Bare bottom tanks make pests easier to spot. Observation for one to four weeks is ideal. During that time, repeat dips if needed and watch for eggs hatching. Dips rarely kill eggs. That is why quarantine matters so much.
Quarantine also helps stressed corals recover. They avoid fish nipping and competition from established colonies. If you want stronger long-term success, our anchor text and anchor text can help you keep parameters stable.
How to Dip a New Coral Correctly
A coral dip is not optional in my book. It is one of the best habits in reef keeping. Use a commercial coral dip and follow the label exactly. Different products target different pests. Some are stronger than others. More is not better. Overdosing can damage tissue badly.
Mix the dip with tank water in a separate container. Place the coral in the solution for the recommended time. Gently baste the coral with a turkey baster during the dip. This helps dislodge pests from folds and branches. After the dip, transfer the coral into a rinse container with clean saltwater. Never add dip solution to your tank.
Remember that dips are helpful, not perfect. They may not kill eggs. They also do not fix severe shipping damage. If a coral arrives with heavy tissue loss, isolate it and improve flow around the damaged area. Keep alkalinity stable. Avoid repeated handling. Stress stacking often finishes off a coral that might have recovered.
Temperature, Salinity, and Acclimation
Most corals handle short shipping better than rapid parameter swings. Temperature and salinity are the main concerns. Float the sealed bag for about 15 to 20 minutes. This helps equalize temperature. If the coral is from a trusted local source with similar salinity, a long drip acclimation is often unnecessary. Extended acclimation in dirty shipping water can do more harm than good.
If salinity differs a lot, acclimate more gradually. Move the coral into a clean container and add small amounts of tank water over 15 to 30 minutes. Keep the coral submerged during transfers when possible. Delicate fleshy LPS corals dislike rough handling. Avoid exposing them to air for long periods if they are inflated.
Once acclimated, place the coral in a low-stress area. Do not glue it permanently on day one unless you are sure about placement. Temporary frag racks are useful. They let you watch the coral and adjust light and flow safely.
Lighting Requirements During Introduction
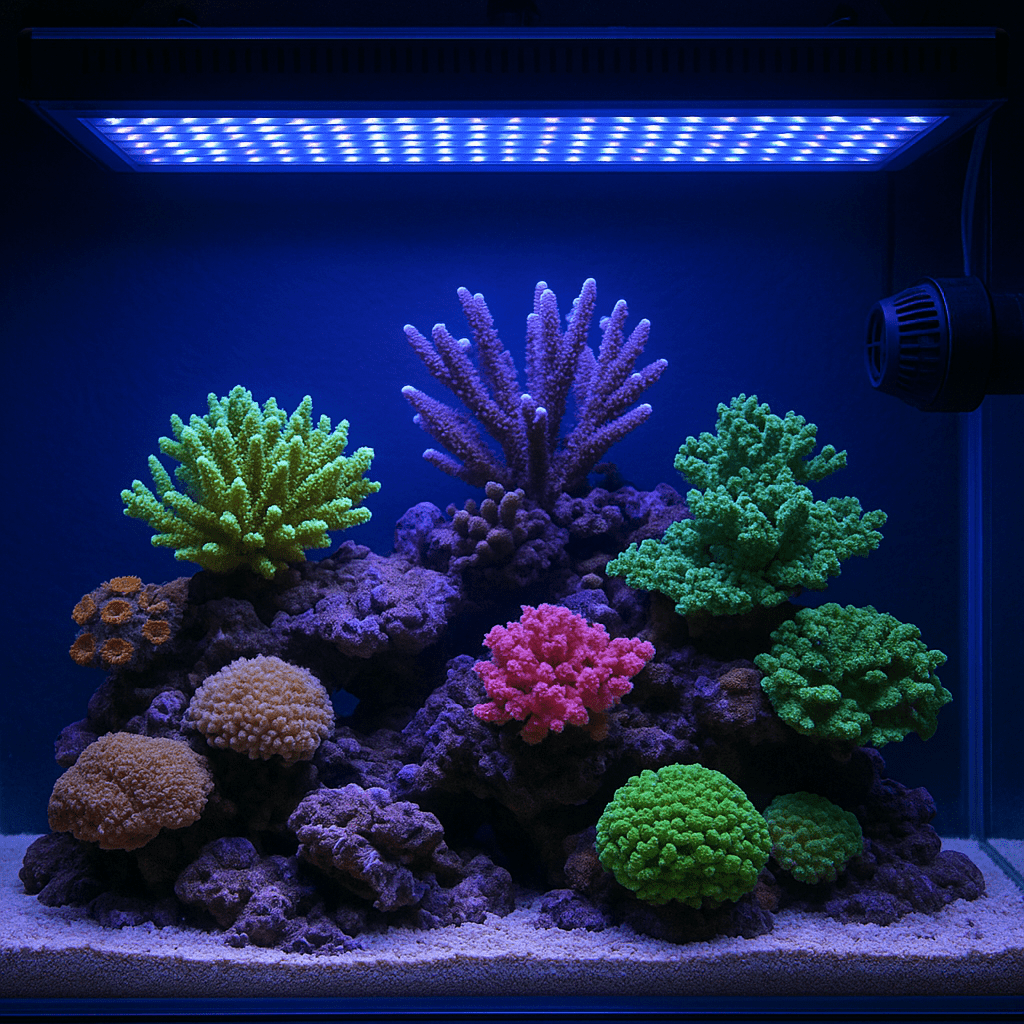
Light shock kills many new corals. A frag that came from dim holding tanks can bleach under strong reef LEDs. Even hardy corals can react badly to sudden PAR changes. Start lower than you think. Then move the coral upward over several days or weeks.
Soft corals and many LPS usually adapt best with moderate light at first. SPS often need stronger light long term, but they still need gradual acclimation. If your lights have an acclimation mode, use it. If not, shorten intensity or use shading screens. Watch for signs of stress. Bleaching means too much light. Browning often means too little light, excess nutrients, or both.
Polyp extension is useful, but not perfect. Some corals extend well even when unhappy. Use several clues together. Look at color, inflation, feeding response, and tissue recession. Stable alkalinity is also critical during this period. Corals tolerate lower light better than unstable chemistry.
Water Flow and Placement
Flow should match the coral type. Too little flow allows detritus to settle. Too much flow tears tissue or prevents polyp extension. Euphyllia prefer indirect, swaying flow. Acropora need stronger, turbulent flow. Mushrooms and many zoanthids prefer gentler movement.
Placement also affects aggression. Leave space between corals. LPS corals can send out sweeper tentacles at night. Soft corals release chemicals into the water. Running fresh activated carbon helps reduce this issue. In mixed reefs, spacing matters as much as lighting. Never wedge a new coral tightly between established colonies. It will face stings, shade, and poor flow all at once.
Secure frags only after they show signs of settling in. Good signs include normal inflation, feeding response, and stable color. A coral that keeps falling over will stay stressed. Glue or epoxy it once you are confident in the location.
Feeding and Early Recovery
Many new corals do not need heavy feeding right away. They need stability first. Still, some corals benefit from targeted feeding after they settle. Acanthastrea, blastomussa, scolymia, and other fleshy LPS often respond well to small meaty foods. Feed lightly. Overfeeding can spike nutrients and irritate damaged tissue.
Corals fresh from shipping may stay closed for a day or two. That alone is not a crisis. Resist the urge to keep moving them. Constant handling slows recovery. Keep nitrate and phosphate in a reasonable range. Ultra-low nutrients can starve corals. Excess nutrients can fuel algae on damaged tissue. Aim for consistency over perfection.
If your coral is photosynthetic, good light and stable chemistry do most of the work. Feeding is support, not a cure. For better nutrient management, our anchor text offers practical guidance for reef keepers.
Compatibility With Fish, Corals, and Invertebrates
New corals often fail because of tank mates. Some angelfish, butterflyfish, and even certain wrasses may nip polyps. Peppermint shrimp sometimes pick at fleshy LPS. Emerald crabs can irritate frags while climbing. Hermit crabs may knock loose frags onto the sand.
Coral-to-coral compatibility matters too. Euphyllia can sting nearby corals. Galaxea has very long sweepers. Leathers can suppress stony corals in smaller systems. Zoanthids can overgrow slower neighbors. Plan for future growth, not just current size. A tiny frag can become a major colony within a year.
If a coral repeatedly stays closed, watch the tank after lights out. Many aggression issues happen at night. Use a flashlight with a red lens if possible. Night checks often reveal sweepers, crabs, or fish behavior you never see during the day.
Common Problems
Why is my new coral not opening?
Short-term closure is common after shipping and dipping. Give it time first. Then check flow, light, salinity, and nearby aggression. Look for pests on the plug and underside. Avoid moving it repeatedly. Stability usually helps more than constant adjustment.
Why did my coral bleach after I added it?
Bleaching usually points to light shock or sudden chemistry changes. Move the coral lower and reduce intensity if possible. Check alkalinity swings. Review recent salinity changes. Bleached corals can recover if tissue remains intact and conditions stay stable.
Why is tissue peeling or receding?
Tissue recession can come from bacterial stress, poor flow, pests, stings, or unstable alkalinity. Inspect closely for damage and pests. Improve indirect flow around the coral. Remove nearby aggressors. In severe cases, fragging healthy tissue may save part of the colony.
Can a new coral crash a tank?
Yes, but it is uncommon in larger stable systems. The risk is higher in nano tanks. A dying coral can pollute the water. Pests or toxins can also create wider problems. Remove melting tissue quickly. Run carbon and perform a water change if other livestock react.
Propagation and Fragging Considerations
When to frag a new coral
Do not frag a new coral immediately unless you must remove dying tissue. Let it settle first. Shipping stress plus cutting stress is a bad combination. Wait until the coral is open, stable, and feeding normally.
How to handle emergency fragging
If a branching coral has rapid tissue loss on one section, cut well above the damaged area. Use clean tools. Dip the saved piece and place it in stable flow. This will not always work, but it can save healthy tissue from a progressing problem.
Frequently Asked Questions
Should I dip every new coral?
Yes. Dip every coral, even from trusted stores or friends. Good systems still get pests.
How long should I quarantine a new coral?
Two to four weeks is ideal. One week is better than none. Longer observation catches egg hatch cycles.
Can I place a new coral directly on the sand bed?
Yes, for light acclimation. Just make sure detritus will not collect around the tissue.
Do I need to remove the frag plug?
Not always. Remove it if it has nuisance algae, vermetids, eggs, or unwanted hitchhikers.
What is the biggest mistake beginners make?
They rush placement. Too much light, no dip, and repeated moving cause many early losses.
Final Tips for a Safe Coral Introduction
Success comes from a repeatable routine. Inspect every coral. Dip every coral. Quarantine when possible. Start with lower light. Match flow to the species. Leave enough space for growth and aggression. Then watch the coral closely for two weeks.
Do not chase perfection on day one. New corals need time to adjust. Your job is to remove avoidable stress. Stable salinity, temperature, alkalinity, and nutrient levels matter most. If you build that habit now, your reef will stay healthier and your coral losses will drop sharply.
Was this helpful?
Related Posts
What to Do During a Power Outage
A reef tank power outage demands fast action. Protect oxygen, temperature, and circulation first to keep fish and…
 By
By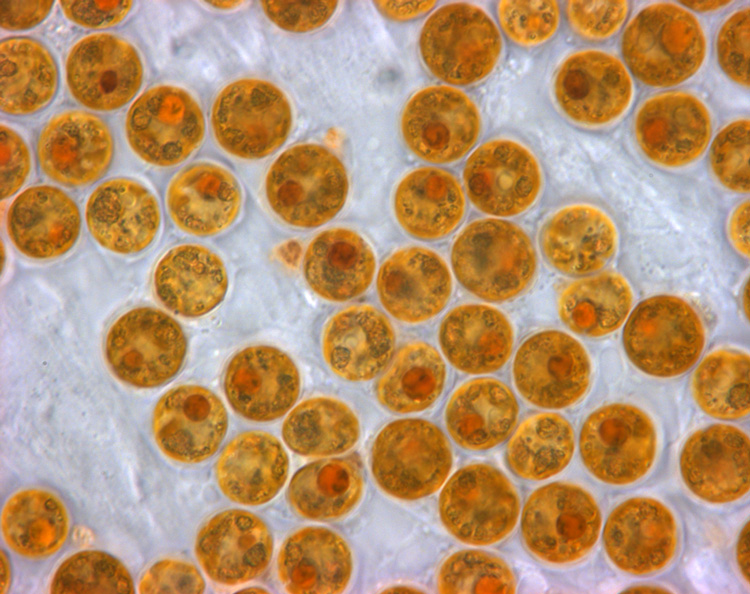
What is Zooxanthellae, and What Role Does it Play in Coral Survival?
Zooxanthellae are symbiotic algae that power coral growth through photosynthesis. They are essential to coral color, health, and…
 By
By