An aquarium overflow moves surface water from the display tank to the sump. It is one of the most important parts of a reef system. A good overflow improves gas exchange, removes film from the water surface, and keeps water moving safely. This guide explains how overflows work, how to choose one, how to set one up, and how to fix common problems before they become floods.
Many reef keepers focus on lights, corals, and fish first. That makes sense. Those are the fun parts. But the overflow is the heart of the system’s water movement. If it is noisy, unstable, or poorly sized, the whole tank feels harder to manage. If it is designed well, the tank runs quietly and safely. You also get better skimming, cleaner surface water, and more reliable sump performance. In this article, I will walk through overflow basics, box styles, drain methods, setup tips, maintenance, and troubleshooting. Whether you are planning your first reef or upgrading an existing system, this guide will help you make smart decisions.
Quick Reference Table
| Topic | Best Practice |
|---|---|
| Primary purpose | Move surface water to the sump safely |
| Best for new builds | Drilled internal or external overflow |
| Quietest drain style | BeanAnimal |
| Common simple option | Herbie drain |
| Minimum goal | Stable water level and silent operation |
| Maintenance | Clean teeth, box, and standpipes monthly |
| Main risk | Clogs, poor tuning, or siphon failure |
| Emergency planning | Use an emergency drain whenever possible |
Use this table as a starting point. Every tank is different. Pipe size, return pump strength, sump design, and stand layout all affect overflow performance. Still, these basics apply to most reef systems. If you are building from scratch, choose safety and simplicity first. It is much easier to enjoy a reef when the overflow is predictable.
What an Overflow Does
An overflow skims the top layer of water from the display. That top layer often holds proteins, oils, and fine waste. Sending that water to the sump helps your skimmer remove waste more efficiently. It also prevents the slick film that can block gas exchange and reduce water clarity.
The overflow also controls the display tank water level. Water rises to the weir or overflow teeth. Then it spills into the box and drains down to the sump. A return pump sends water back up to the display. This creates a loop. The overflow does not pull water by itself. Gravity does the draining. The return pump sets the pace.
In reef tanks, stable surface skimming matters a lot. Corals need oxygen-rich water. Fish benefit from strong gas exchange too. A good overflow supports both. It also lets you hide heaters, probes, and filtration gear in the sump. That gives the display a cleaner look. If you want a polished reef system, the overflow is part of that foundation.
Types of Aquarium Overflows
There are two main categories. The first is a drilled overflow. The second is a hang-on-back overflow. Drilled systems are usually the better long-term choice. They are more reliable and cleaner in appearance. Most modern reef-ready tanks use drilled overflows.
Internal overflows sit inside the tank. They are simple and common. They take up some display space, but they work well. External overflows place the box behind the tank. These save space inside the display. They also allow longer weirs for better surface skimming. Many hobbyists like external boxes for that reason.
Hang-on-back overflows are often used when a tank is not drilled. Some use a siphon to move water over the rim. These can work, but they need more attention. Air buildup, siphon loss, and restart issues can create risk. If you use one, choose a proven design and test it carefully. For most reef keepers, a drilled overflow is the safer option.
Drain Styles: Durso, Herbie, and BeanAnimal
The drain style matters as much as the overflow box. A Durso uses one standpipe with air mixed into the drain. It is simple and cheap. It can work well on smaller setups. But it is often louder and less forgiving than newer designs.
A Herbie uses two drains. One is a full siphon. The other is an emergency drain. The full siphon runs quietly when tuned with a gate valve. The emergency drain stays mostly dry during normal operation. This design is popular because it is quiet and much safer than a single drain.
A BeanAnimal uses three drains. One is a full siphon. One is an open channel. One is a dry emergency. This is the gold standard for silence and redundancy. It takes more space and planning, but it is excellent for reef tanks. If your tank and overflow can support it, BeanAnimal is hard to beat. For many hobbyists, Herbie is the best mix of simplicity and safety.
How to Size an Overflow Correctly
Many people chase high turnover through the sump. That is usually not necessary. Reef tanks often do well with moderate sump turnover. In many systems, three to five times display volume per hour is enough. Internal circulation pumps handle most in-tank flow for corals.
For example, a 75-gallon reef may only need 225 to 375 gallons per hour through the sump after head loss. Some hobbyists run more. That can be fine. But too much flow can make the overflow noisy and the sump harder to manage. It can also reduce skimmer efficiency if water passes too quickly.
Match the overflow and drain size to the real return rate, not the pump’s box rating. Head height, elbows, pipe diameter, and manifolds all reduce flow. Always leave safety margin. A drain should not run at its limit. Quiet systems are rarely pushed to the edge. If you are unsure, oversize the drains and tune the return pump down.
Step-by-Step Overflow Setup
- Choose the overflow style based on your tank. Drilled is best when possible.
- Pick a drain method. Herbie or BeanAnimal are ideal for reef systems.
- Confirm glass is drillable before making any holes.
- Install bulkheads correctly. Gaskets usually go on the flange side.
- Dry fit all plumbing first. Check alignment before gluing.
- Use a gate valve on the full siphon line. Avoid a ball valve for fine tuning.
- Set sump water height and return pump flow.
- Start the system and tune the siphon slowly.
- Test power-off restart several times.
- Simulate a partial clog and confirm the emergency drain handles it.
Take your time with setup. Most overflow issues begin during installation. Small mistakes can lead to noise, unstable water levels, or leaks. Always test with freshwater first if possible. That gives you time to adjust plumbing without salt creep and livestock stress. Once tuned, mark your valve position. Also note normal sump operating level. These simple habits make future maintenance much easier.
Aquarium Setup and Placement Tips
The overflow should fit the tank and aquascape. Large internal boxes can cast shade and reduce rock options. External boxes save room, but they need clearance behind the tank. Measure the stand, wall space, and plumbing path before buying anything.
Keep the overflow accessible. You will need to clean algae, snail shells, and detritus from it. If the box is impossible to reach, maintenance becomes frustrating. That leads to neglect. Leave room to remove standpipes and bulkheads if needed.
Think about livestock too. Snails, anemones, and fish can enter overflow boxes. Overflow guards and strainers help. So do clean teeth and proper spacing. In tanks with wandering anemones, extra protection is wise. A clogged drain can become serious fast. Build for maintenance and prevention from day one. It saves a lot of stress later.
Noise Control and Tuning
Most hobbyists want a quiet reef tank. Overflow noise usually comes from air, splashing, or unstable siphon behavior. The cure depends on the drain style. With a Herbie, the goal is a full siphon on the main drain and a nearly dry emergency line. Adjust the gate valve in tiny increments. Then wait for the system to settle.
If you hear flushing or gurgling, the water level in the box may be swinging too much. The return pump may also be overpowering the drain setup. Slow the return if needed. You do not need a raging sump flow. You need stable flow. That is different.
Use soft tubing or proper supports to reduce vibration. Submerged drain outlets can help with splashing, but they must be designed carefully. Too much submersion can trap air. In many systems, the quietest setup comes from balanced flow, proper venting, and patient tuning. Do not rush this part. A few extra minutes can remove hours of annoyance.
Maintenance and Safety Checks
Overflow maintenance is simple but important. Clean the weir teeth or overflow slots regularly. Algae, coralline, and snail eggs can reduce flow. Remove detritus from the box. Check standpipes for buildup. Inspect bulkheads for salt creep or slow leaks.
Test your emergency drain often. Do not assume it works because it worked last year. A blocked emergency line defeats the whole point of having one. Also test power outages. Turn off the return pump and watch the sump. Make sure it can hold all drain-down water. Then restart the system and confirm the overflow resumes normal operation.
These checks matter even more on mixed reefs with expensive corals. Stability protects livestock. A flood or pump burnout can ruin a system quickly. Add maintenance reminders to your calendar. Monthly checks are enough for most tanks. Heavy feeding, lots of snails, or high coralline growth may require more frequent cleaning.
Common Problems
Why is my overflow so loud?
The usual causes are poor tuning, too much return flow, or a drain design that mixes too much air. Start by checking the water level in the overflow box. If it rises and falls, tune the gate valve more slowly. If the pump is too strong, reduce flow. Also inspect the drain outlet in the sump for splashing or trapped air.
Why does my overflow lose siphon?
This applies mostly to hang-on-back siphon overflows. Air can collect in the siphon tube. Poor design or weak flow makes this worse. Clean the unit and confirm proper flow rate. If siphon reliability is still questionable, consider drilling the tank or replacing the overflow with a safer design.
Why is my display water level too high?
A partial clog is common. Check the teeth, standpipes, and drain lines for snails, algae, or debris. Make sure valves have not shifted. A return pump upgrade can also push more water than the drains handle. Compare current pump output to the overflow’s real capacity.
Why are there microbubbles in my sump or display?
Air entering the drain line is the main cause. That can happen from an open channel, poor standpipe design, or splashing in the sump. Check drain outlet depth and sump baffles. In some cases, reducing flow slightly solves the issue. Stable drains make fewer bubbles.
What if a snail blocks the drain?
This is why emergency drains matter. Use strainers or guards where needed. Keep the overflow clean. If you only have one drain, the risk is much higher. Upgrading to a two- or three-drain system is one of the best safety improvements you can make.
Frequently Asked Questions
Do I need an overflow on a reef tank?
If you use a sump, yes. The overflow is how water returns to the sump safely. It also improves surface skimming and gas exchange.
Which overflow is best for beginners?
A drilled overflow with a Herbie drain is a great beginner choice. It is quiet, reliable, and easier to tune than many single-drain setups.
How much flow should go through my sump?
Moderate flow is usually best. Around three to five times display volume per hour works well for many reef tanks after head loss.
Can I use a hang-on-back overflow?
Yes, but it needs careful selection and testing. Drilled overflows are usually safer and easier to trust long term.
How often should I clean my overflow?
Check it weekly and clean it monthly in most systems. Clean sooner if algae, snails, or detritus build up quickly.
Final Thoughts
A reef overflow should be quiet, stable, and safe. That is the goal. Fancy plumbing is not required. Good planning is. Choose a design with redundancy when possible. Size it for realistic flow. Test it before livestock goes in. Then maintain it like any other critical life-support system. Your reef will be easier to manage, your sump will work better, and you will worry less about floods or failures. If you are still planning your build, now is the perfect time to get the overflow right.
Related reading: reef tank sump setup, return pump sizing guide, reef tank plumbing basics, how to cycle a reef tank, reef tank maintenance schedule.
Was this helpful?
Related Posts
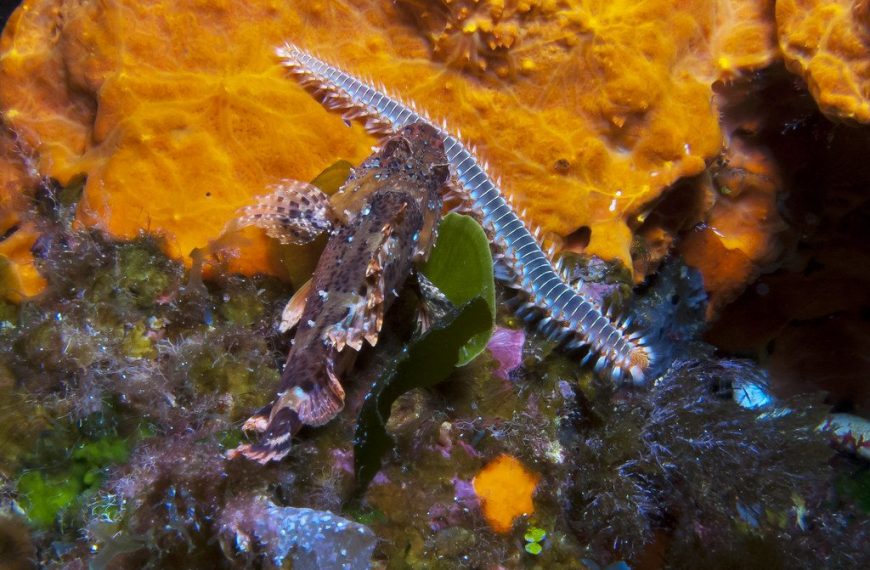
Bristleworms
Bristleworms are usually helpful reef tank scavengers. Learn how to identify them, control numbers, and spot the rare…
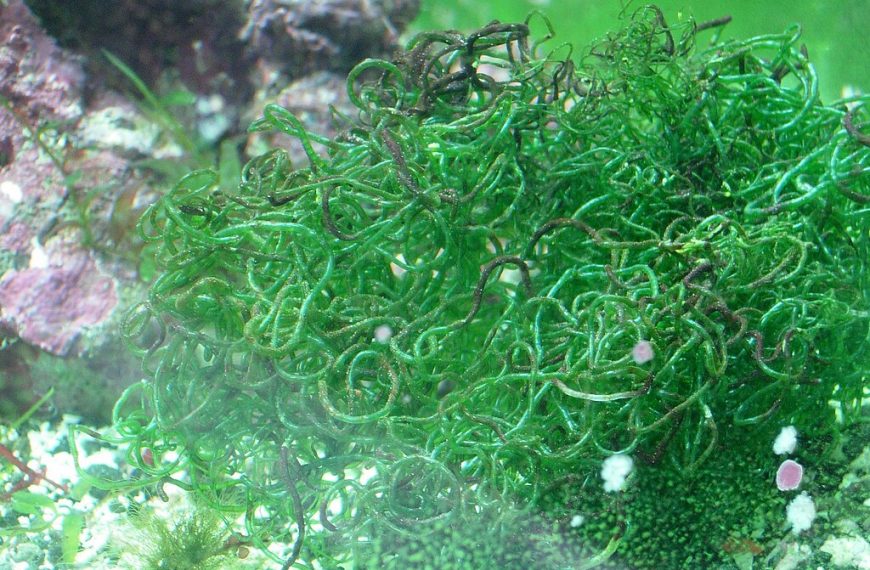
What is a Chaeto Reactor, and How Does it Help Control Nutrients?
A chaeto reactor grows macroalgae in a sealed chamber to remove nitrate and phosphate, helping reef tanks control…