Reef tanks look amazing in person. Photos often look blue, blurry, or noisy. A few simple steps can fix that fast.
Start with a clean tank and stable settings
Clean glass first. Use a magnet scraper inside and a microfiber cloth outside. Remove salt spray from the rim and lights. Clean gear one hour before shooting. This lets microbubbles settle.
Turn off wavemakers for 5 to 10 minutes. Leave the return pump on for oxygen. Still water reduces shimmer and distortion. It also helps coral polyps hold position.
Set your camera to shoot RAW if possible. RAW keeps color data for later edits. Use a fast shutter for fish. Try 1/250 to 1/500 seconds. For corals, start at 1/125 second.
Keep ISO as low as you can. Aim for ISO 200 to 800 on most cameras. Raise ISO only if shutter speed drops too far. Use a tripod for coral shots. It lets you use ISO 100 to 400.
- Wipe the front panel again right before shooting.
- Darken the room to reduce reflections.
- Hold the lens flat against the glass.
Fix blue light and get accurate reef color
Heavy blue LEDs confuse auto white balance. Your camera will guess wrong. Use a custom white balance when you can. Point at a white frag plug or a gray card in the tank.
If a custom balance is not available, use Kelvin mode. Start at 10,000K for mixed lighting. For heavy blue, try 14,000K to 20,000K. Take three test shots and compare coral tissue color.
Orange filters help phones and some cameras. Clip-on gel filters also work. Use them when the tank is mostly actinic. Keep exposure the same and retest white balance. You will regain reds and yellows.
Do not chase glow at the cost of accuracy. Buyers and friends want true color. Aim for natural whites and realistic sand tone. For editing, adjust white balance first. Then lower highlights and raise shadows slightly.
- Use custom white balance with a white plug or gray card.
- Try 14,000K to 20,000K under strong blue LEDs.
- Use an orange filter for phone shots under actinic.
Composition, focus, and common troubleshooting
Pick one subject per photo. Get close and fill the frame. Use the rule of thirds for fish placement. Leave space in front of a swimming fish. It makes the shot feel natural.
Use single-point autofocus for coral. Place the focus point on the polyp tips. For fish, use continuous AF if you have it. Burst mode helps a lot. Shoot 10 frames and keep the sharpest one.
Backscatter is a common problem. It comes from particles in the water. Run a filter sock and fresh carbon for 24 hours. Wait after feeding or dosing. Also, avoid shooting at an angle through the glass.
Distortion happens near curved glass and corners. Shoot through the flattest panel. Keep the lens centered on the subject. If you see banding, change the shutter speed. Try 1/100 or 1/160 under LEDs.
- For fish: 1/250 to 1/500 second, burst mode, continuous AF.
- For corals: tripod, 1/60 to 1/125 second, single-point AF.
- For LED banding: test 1/100, 1/125, and 1/160 seconds.
For more setup help, review our reef tank lighting guide. If your water looks hazy, see our water clarity checklist. For fish health before photo sessions, use our quarantine tank setup.
Great reef photos come from small habits. Clean glass, steady settings, and correct white balance matter most. Practice with test shots and notes. Your tank will look like it does in real life.
Sources: Digital Photography School (aquarium photography concepts); Nikon Learn & Explore (shutter speed and ISO basics); Apple iPhone User Guide (camera exposure and burst mode)
Was this helpful?
Related Posts
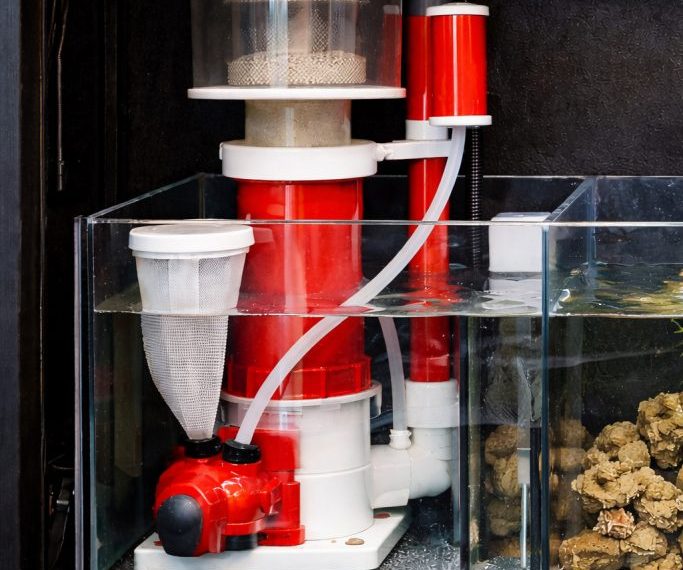
Protein Skimmer Reef Tank Guide
Learn how a protein skimmer works, how to size one, and how to tune it for a cleaner,…
 By
By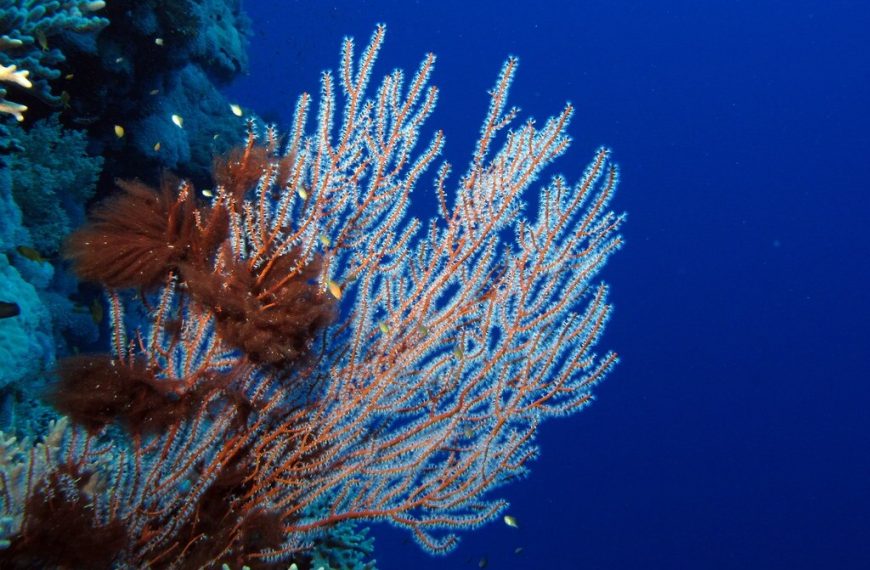
Reef Aquarium Water Parameters
Learn the ideal reef aquarium water parameters, safe ranges, and how to keep salinity, alkalinity, nutrients, and pH…