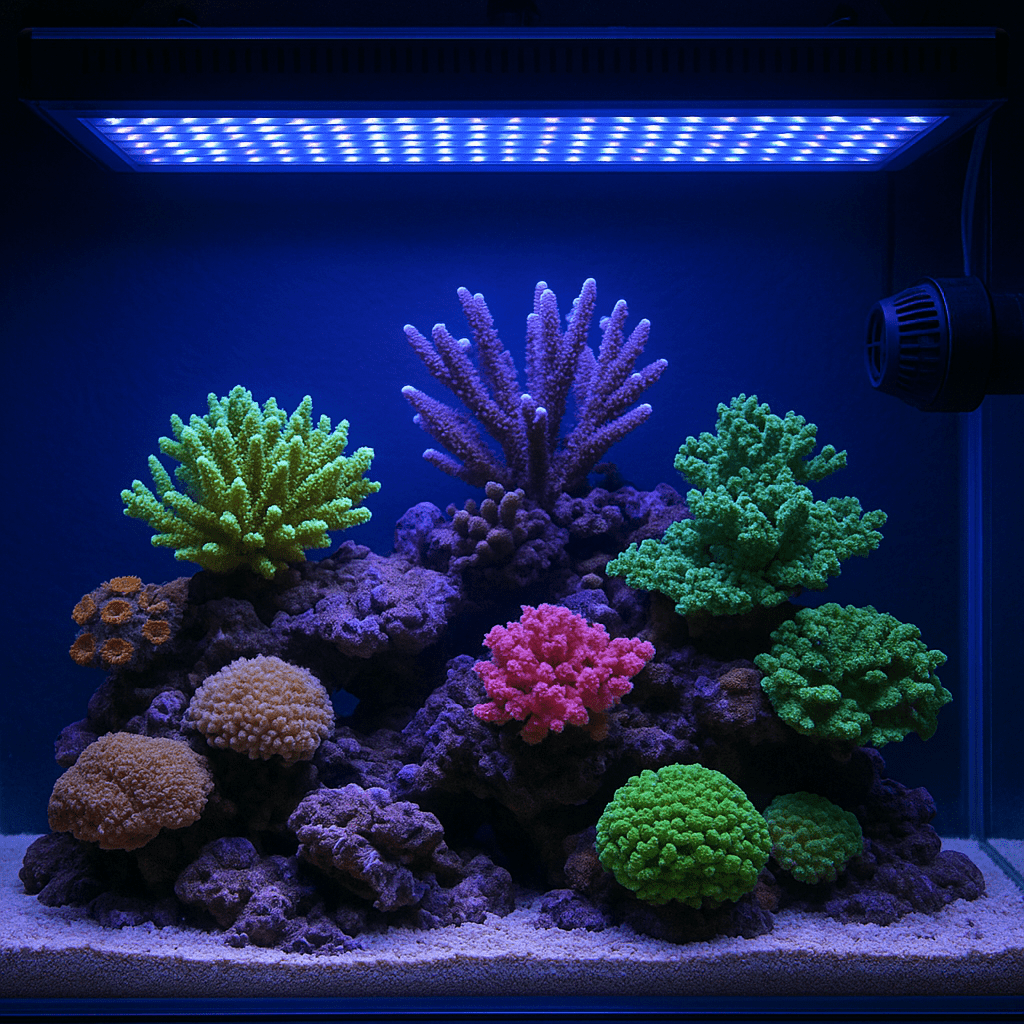
An RO/DI system gives reef keepers clean source water. It removes chlorine, metals, nitrate, phosphate, and silicate. That means fewer algae issues and better coral health. A proper setup also saves money over time. It gives you control over every water change and top-off.
Many reef problems start with poor source water. Tap water often looks fine, but it carries dissolved contaminants. Those contaminants build up in saltwater systems. They can stress fish, fuel nuisance algae, and interfere with coral growth. This guide explains how to set up an RO/DI unit the right way. You will learn what each stage does, how to install the unit, how to test it, and how to keep it running efficiently. If you are building your first reef or improving an older system, this guide will help you start with stable, predictable water.
RO/DI Quick Reference Table
| Component | Purpose | Typical Replacement |
|---|---|---|
| Sediment filter | Removes rust, sand, and debris | Every 6 months |
| Carbon block | Removes chlorine and chloramine | Every 6 months |
| RO membrane | Removes most dissolved solids | Every 2 to 5 years |
| DI resin | Polishes water to 0 TDS | When output rises above 0 TDS |
| Pressure gauge | Shows feed pressure | Replace if faulty |
| TDS meter | Measures dissolved solids | Calibrate or replace as needed |
This table gives you the basics. Actual replacement time depends on your tap water quality and usage. Heavy sediment, high chlorine, or frequent production can shorten filter life. Testing matters more than guessing.
What an RO/DI System Does
RO/DI stands for reverse osmosis and deionization. The system works in stages. Each stage removes a different group of contaminants. The sediment filter catches physical particles first. The carbon block then removes chlorine and many chemicals. This protects the membrane. The RO membrane does the heavy work. It rejects most dissolved solids in the water. The DI resin acts as the final polishing stage. It removes the remaining ions and brings water to 0 TDS.
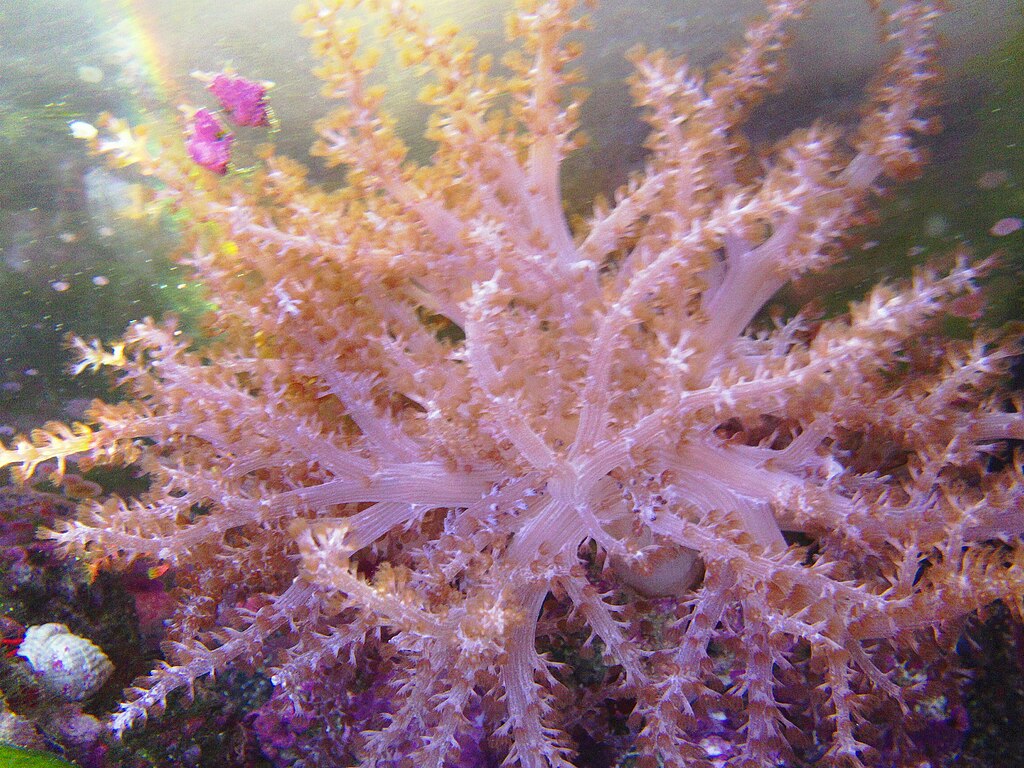
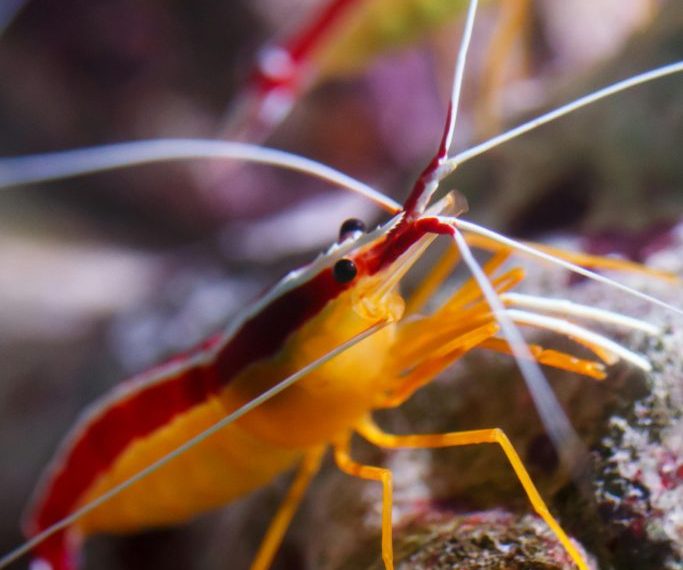
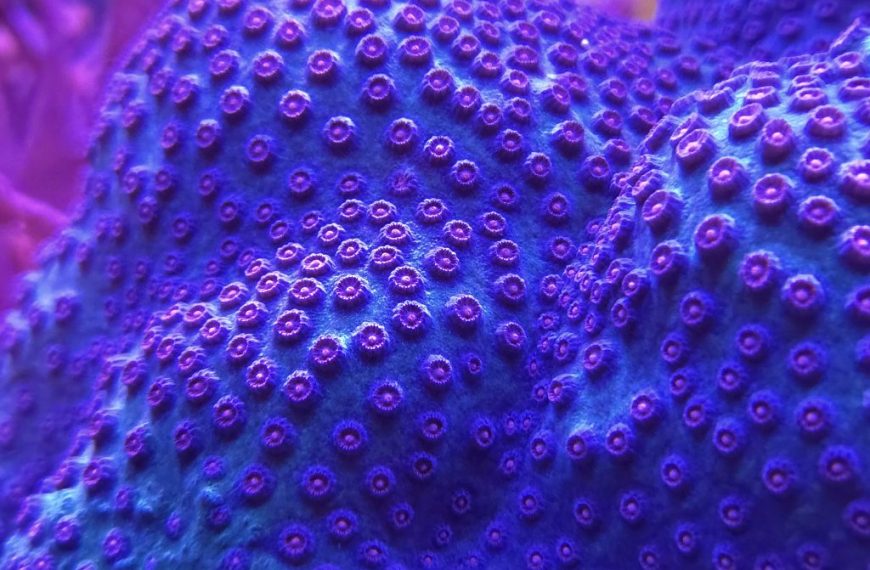
For reef tanks, this matters a lot. Corals and invertebrates need stable chemistry. Source water with nitrate or phosphate can create long-term issues. Silicate can feed diatoms. Copper and other metals can harm sensitive animals. Clean water gives you a blank slate. You add only what your salt mix or dosing program provides. That makes your tank easier to manage. If you want to learn more about source water and nutrients, see water chemistry basics, reef tank algae control, and mixing saltwater for reef tanks.
Choosing the Right RO/DI Unit
Most hobbyists do well with a 4-stage or 5-stage unit. A basic reef system should include a sediment filter, carbon block, RO membrane, and DI resin. If your city uses chloramine, make sure the carbon stage is rated for it. Some units add a second carbon block for better protection. That is often a smart upgrade.
Production is rated in gallons per day. Common sizes are 50, 75, and 100 GPD. Bigger is not always better. A 75 GPD membrane often gives an excellent balance of output and rejection. Good rejection means less TDS reaches the DI resin. That extends resin life. Also look for a pressure gauge, flush valve, and dual inline TDS meter. Those features make maintenance easier. If your home water pressure is low, consider a booster pump. Most membranes perform best around 60 to 80 psi. Low pressure reduces output and can hurt efficiency.
Where to Install Your RO/DI System
Choose a location with a cold water line, a drain, and enough room for filter changes. Laundry rooms work well. Utility sinks are ideal. Some hobbyists mount the unit under a sink. Others install it in a garage or fish room. Keep the system out of direct sun. Avoid hot spaces. Heat can damage components and encourage bacterial growth.
You also need to think about storage. Product water should go into a clean food-safe container. Brute trash cans are popular. Label containers clearly. Use one for fresh RO/DI water and one for mixed saltwater if possible. Never store purified water in containers that held soap or chemicals. If you automate top-off, place the reservoir where leaks will not damage flooring. It helps to install a leak detector and shutoff valve. Those simple precautions can prevent major messes.
Step-by-Step RO/DI Setup Guide
Start by unpacking the unit and checking all fittings. Make sure the filters and membrane are seated correctly. Many units ship with cartridges installed, but always verify. Mount the bracket securely on a wall or board. Keep enough clearance below the canisters for future removal.
Next, connect the feed water line. This usually attaches to a faucet adapter, saddle valve, or under-sink fitting. Use cold water only. Hot water can ruin the membrane. Install the drain line after that. The waste line must flow freely to a drain. Do not kink it.
Connect the product water line to your storage container. If your unit includes an auto shutoff kit and float valve, install both now. Double-check every push-connect fitting. Push tubing in fully. Pull back lightly to confirm it is locked.
Turn on the feed water slowly. Check for leaks at every stage. Let the system pressurize. New carbon blocks often release fine dust. New membranes also need flushing. Follow the manufacturer instructions. In many cases, you flush the carbon stages first, then flush the membrane separately. Discard the first batch of product water. Once the system stabilizes, test TDS from the tap, after the membrane, and after the DI stage. Final product water should read 0 TDS.
Understanding TDS, Rejection Rate, and Waste Water
TDS means total dissolved solids. It does not identify each contaminant, but it is still very useful. Tap water may range from 50 to over 500 TDS. After the RO membrane, that number should drop sharply. A good membrane often removes 96 to 99 percent. The DI resin then removes the rest.
Membrane rejection rate matters because it affects DI life. If your tap water is 200 TDS and your post-membrane reading is 8 TDS, the membrane is performing well. If post-membrane TDS climbs much higher, the membrane may be damaged, exhausted, or running under poor pressure. Waste water is normal. RO membranes need a waste stream to carry away rejected solids. Do not judge a unit only by how much waste it makes. Too little waste can foul the membrane. Many systems run near a 3:1 or 4:1 waste-to-product ratio, though this varies by pressure and design.
Using RO/DI Water in a Reef Tank
RO/DI water is used for two main jobs. First, it replaces evaporation through your auto top-off system. Second, it is the base for mixing saltwater. Never top off with saltwater. Evaporation removes pure water, not salt. Top-off water should always be plain RO/DI.
When mixing saltwater, use a clean container, heater, and pump. Add salt to water, not water to dry salt. Mix until fully dissolved and stable. Check salinity before use. Starting with pure water gives you a more accurate final mix. That means fewer surprises in alkalinity, calcium, and magnesium. If you are planning a new tank, read reef tank setup guide and beginner coral care for the next steps after water preparation.
Maintenance Schedule and Best Practices
Routine maintenance keeps the system efficient. Replace sediment and carbon filters on schedule. Six months is a common interval. If your pressure drops early or chlorine breaks through, change them sooner. Carbon failure can destroy a membrane quickly. That is why regular service matters.
Monitor TDS often. A dual inline meter makes this simple. Watch the reading after the membrane and after the DI stage. If final water rises above 0 TDS, the DI resin likely needs replacement. If post-membrane TDS worsens, check pressure, water temperature, and membrane condition. Sanitize the system during major filter changes if the manufacturer recommends it. Keep spare cartridges on hand. Reef tanks depend on consistent water production. Running out of clean water during a problem is never fun.
Common Problems
Why is my RO/DI water not reading 0 TDS?
The most common cause is exhausted DI resin. Check the final stage first. If the resin is old, replace it. If the post-membrane TDS is also high, the membrane may be underperforming. Low pressure can also reduce rejection. Test feed pressure and compare it to the membrane rating.
Why is my unit producing water very slowly?
Low water pressure is the usual reason. Cold winter water also slows production. Clogged sediment or carbon filters can restrict flow. A fouled membrane can do the same. Check pressure, replace prefilters if needed, and inspect the flow restrictor. If your home pressure is always low, a booster pump is worth it.
Why is the DI resin changing color so fast?
Fast resin exhaustion usually points to high TDS reaching the DI stage. That means poor membrane rejection, low pressure, or very high source water TDS. It can also happen if chloramine is not being handled correctly. Review your carbon stage and membrane performance. Solve the cause before burning through more resin.
Why does the system leak at the fittings?
Most leaks come from tubing not pushed in fully. Cut the tube end clean and square. Reinsert it firmly. Check that the collet grips the tubing. Threaded fittings may also need proper thread seal tape. Do not overtighten plastic parts. That can crack housings and adapters.
Frequently Asked Questions
Can I use distilled water instead of RO/DI water?
Yes, but it is usually less practical long term. Distilled water can work for top-off and mixing. Buying it regularly gets expensive. An RO/DI unit is more convenient for most reef keepers.
Do I need RO/DI for a fish-only saltwater tank?
It is still strongly recommended. Fish-only systems can tolerate more than reefs, but poor source water still causes algae and instability. Clean water makes any marine tank easier to maintain.
How long can I store RO/DI water?
Stored in a clean covered container, it can last for weeks. Keep the container sealed and away from contaminants. For best results, use food-safe containers and occasional circulation if storing large volumes.
Should I remineralize RO/DI water for a reef tank?
No, not before mixing saltwater or using it for top-off. Your salt mix provides the needed minerals. Top-off water should remain pure so it does not alter salinity or chemistry unexpectedly.
Is a 4-stage system enough for reef use?
Often yes. A quality 4-stage unit can work very well. If your water has chloramine or very high TDS, a 5-stage setup may perform better and protect the membrane more effectively.
Final Tips for Long-Term Success
Think of your RO/DI unit as life support equipment. It is not just a filter. It is the foundation of stable reef chemistry. Test it often. Replace filters before they fail. Keep a log of TDS, pressure, and cartridge changes. That record helps you spot problems early.
If you are new to reefing, start simple. Make clean water first. Then focus on mixing salt correctly, cycling the tank, and stocking slowly. Good source water will not solve every reef problem, but poor source water can create many. A well-installed RO/DI system removes one of the biggest variables in the hobby. That gives your fish, corals, and invertebrates a much better chance to thrive.
Was this helpful?
Related Posts
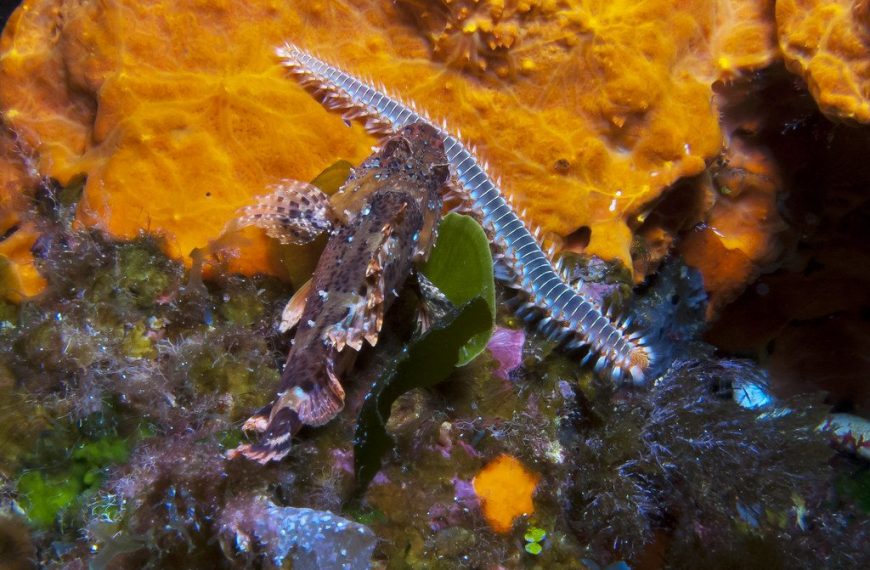
Bristleworms
Bristleworms are usually helpful reef tank scavengers. Learn how to identify them, control numbers, and spot the rare…
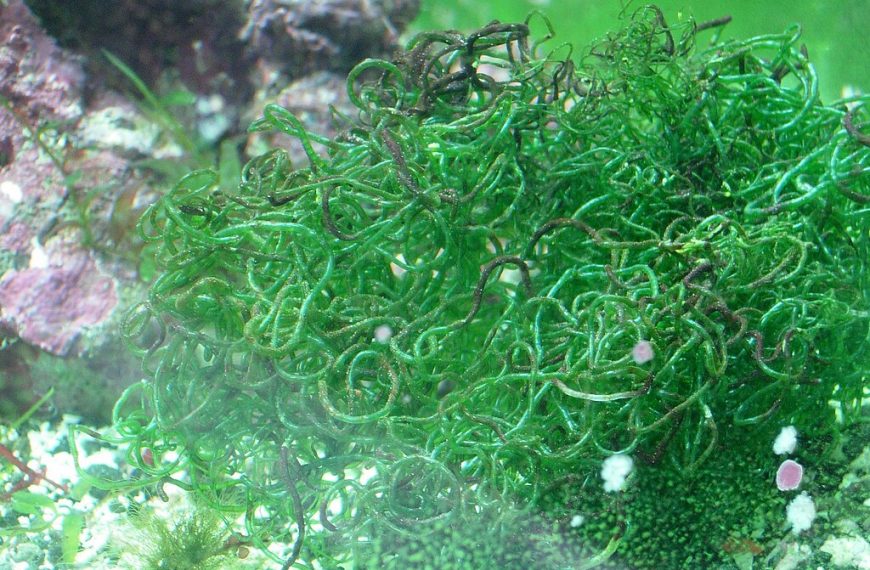
What is a Chaeto Reactor, and How Does it Help Control Nutrients?
A chaeto reactor grows macroalgae in a sealed chamber to remove nitrate and phosphate, helping reef tanks control…