

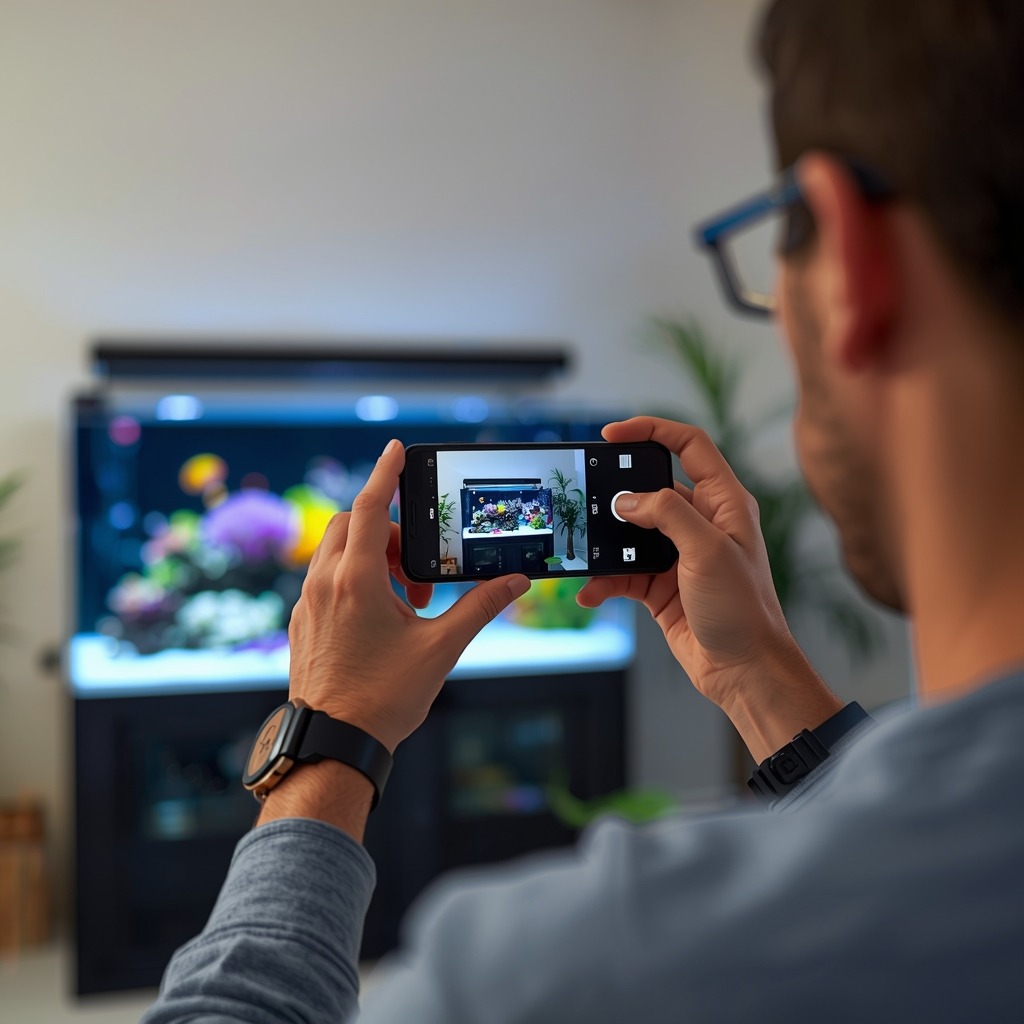
Modern phones can capture sharp, colorful reef tank photos when you control light, angle, and stability. With a few simple techniques, you can reduce blue washout, avoid blur, and produce coral images that look far better than quick snapshots.
Reef photography used to mean a dedicated camera, a macro lens, and lots of patience. That is no longer true for most hobbyists. Today’s phones have excellent sensors, strong image processing, and useful manual controls. They can produce impressive photos of corals, fish, and full tank shots. The challenge is not the phone itself. The challenge is the reef aquarium environment. Blue-heavy lighting, moving water, reflective glass, and active livestock can all ruin a photo fast. In this guide, you will learn how to use modern phones for reef photography, which settings matter most, and how to get cleaner, more accurate images without expensive gear.
Quick Reference Table
| Topic | Best Practice |
|---|---|
| Clean glass | Wipe inside and outside glass before every session |
| Flow | Turn off wavemakers for coral close-ups |
| Lighting | Reduce heavy blue channels if possible |
| Phone stability | Use two hands, a tripod, or brace against the stand |
| Focus | Tap the coral or fish eye on screen |
| Exposure | Lower exposure slightly to protect highlights |
| Lens choice | Use the main lens for best quality |
| Filters | Use orange or yellow reef filters under blue LEDs |
| Editing | Correct white balance and crop lightly |
| Best time | Shoot during full daytime photoperiod |
Why Modern Phones Work So Well for Reef Photography
Modern phones are surprisingly capable in a reef room. Their sensors gather more light than older models. Their software also corrects color, sharpness, and noise very quickly. This matters in reef tanks because conditions change fast. Fish move. Polyps sway. Surface shimmer shifts every second.
Phones also make reef photography more approachable. You likely already have one. That means more practice and faster results. Practice matters more than gear for most hobbyists. A well-timed phone shot often beats a rushed camera shot.
Still, phones have limits. Small sensors struggle in dim light. Digital zoom lowers image quality. Strong blue LEDs can confuse auto white balance. Knowing these limits helps you work around them. If you use the main lens, improve stability, and manage your lighting, your phone can deliver excellent reef images for social media, forums, and tank journals.
Prepare the Tank Before You Take Any Photos
Preparation is the biggest quality upgrade most reef keepers miss. Start by cleaning the glass well. Even a thin film of algae softens detail. Salt spray on the outside glass also reduces contrast. Use an algae scraper inside. Then wipe the exterior with a microfiber cloth.
Next, pause water movement if you want coral close-ups. Turn off wavemakers and return pumps for a few minutes if your system allows it safely. This reduces polyp sway and surface shimmer. Your photos will look much sharper. Fish shots are different. You may want some flow left on if it keeps fish behaving naturally.
Finally, tidy the scene. Move algae clips, magnets, and tools out of view. Remove floating food particles. If you want a full tank shot, straighten cords and equipment where possible. A clean presentation makes even a simple phone image look more polished. For overall display improvements, see: reef aquarium aquascaping basics.
Step-by-Step Guide to Better Reef Photos With a Phone
Use this simple process each time you shoot.
- Clean both sides of the glass.
- Turn off pumps for coral close-ups.
- Use the main rear lens, not digital zoom.
- Hold the phone flat against the glass plane.
- Tap your subject to set focus.
- Lower exposure slightly if highlights blow out.
- Take several shots, not just one.
- Review images and adjust angle or brightness.
- Edit white balance and crop afterward.
- Turn pumps back on immediately after shooting.
This routine works because it removes the most common problems first. Dirty glass, motion blur, bad angles, and overexposure cause most failed reef photos. Once you control those, your results improve fast. Save your best settings if your phone camera app allows presets. That speeds up future sessions.
Lighting and White Balance Under Reef LEDs
Reef lighting is beautiful in person. It is difficult for phones. Heavy blue spectrum makes corals glow, but it also creates unnatural photos. Whites look purple. Sand looks blue. Fish can lose their true color. The phone often guesses wrong.
The easiest fix is reducing blue channels during photography. If your lights are programmable, create a short photo mode. Increase white, violet balance, or daylight channels carefully. Do not shock livestock with a dramatic change. A mild adjustment for five minutes is usually enough.
If you prefer to keep your normal spectrum, use a clip-on orange or yellow reef filter over the phone lens. These filters help neutralize blue light. They are especially useful for coral fluorescence shots. After that, fine-tune white balance in editing. If your camera app has a Pro mode, set white balance manually. This gives more consistent results than full auto. For more on reef lighting choices, visit: reef lighting guide for beginners.
Best Phone Camera Settings for Coral and Fish Photos
The main lens is usually your best lens. It has the strongest sensor and best low-light performance. Avoid digital zoom whenever possible. It magnifies flaws and lowers detail. Instead, move closer if you can. If your phone has a telephoto lens, test it in bright conditions. Some telephoto lenses perform well. Many struggle under aquarium lighting.
Tap to focus on the coral tissue or the fish eye. This tells the phone where detail matters most. Then adjust exposure manually if your app allows it. Slightly darker images often preserve fluorescent highlights better. Bright areas can clip quickly under LEDs.
Use burst mode for fish. It increases your chance of catching a sharp pose. For corals, use standard photo mode or a Pro mode with a faster shutter speed if available. Night mode is usually poor for reef tanks. It can create ghosting from moving polyps and fish. If you shoot in RAW, you gain more editing flexibility. That helps with difficult blue lighting and highlight recovery.
Composition Tips for Full Tank Shots and Coral Close-Ups
Good composition separates a record shot from a memorable image. For full tank shots, center the aquarium carefully and keep vertical lines straight. Shoot from chest height, not too high. This keeps proportions natural. Leave a little space around the tank so the frame does not feel cramped.
For coral close-ups, fill the frame with the subject but leave room for shape. Avoid cutting off attractive growth edges. Look for contrast between coral color and the background rock. Side angles can reveal texture. Straight-on angles often show polyp structure best.
Background clutter is a common issue. A frag rack, powerhead, or overflow can distract from the coral. Shift your angle slightly to hide distractions behind rockwork. With fish, wait for the subject to turn toward the light. That brings out scales and eye detail. If you enjoy showcasing coral placement, read: best coral placement in a reef tank.
Useful Accessories That Actually Help
You do not need many accessories, but a few are worth buying. A clip-on orange or yellow filter is the most useful for blue LED tanks. It improves color quickly. A small tripod or phone clamp also helps a lot. Stability matters more than people think. Even tiny hand movement softens detail.
A lens cloth is essential. Keep one near the tank. Fingerprints ruin contrast. A remote shutter or timer can help for full tank shots. That avoids shake when pressing the screen. Macro clip-on lenses can be fun, but quality varies widely. Cheap ones often add blur near the edges. Buy carefully if you want true close-up coral texture.
Finally, consider a black background sheet for temporary use behind the tank if your room is busy. It can improve contrast and reduce visual noise. Accessories should support technique, not replace it. Clean glass, stable hands, and smart lighting still matter most.
Common Problems
Why do my reef photos look too blue?
This is the most common problem in phone reef photography. Your LEDs likely have strong blue output. The phone cannot balance the spectrum correctly. Reduce blue channels briefly, use a reef filter, or adjust white balance manually. Editing can help, but it works best when the original image is close.
Why are my coral photos blurry?
Blur usually comes from movement. The coral may be swaying. Your hands may be shaking. Surface shimmer can also distort focus. Turn off pumps, brace the phone, and use the main lens. Tap to focus carefully. Take several images. One will often be sharper than the rest.
Why do fish photos look soft or smeared?
Fish move too quickly for slow shutter speeds. Use bright lighting, burst mode, and patience. Shoot when the fish pauses or turns. Avoid zooming in too much. Step closer instead. If your app offers shutter control, choose a faster speed when possible.
Why do I get reflections in the glass?
Room lights, windows, and bright clothing can reflect strongly. Turn off nearby room lights. Shoot at a slight angle if needed, but not so much that distortion appears. Hold the phone close to the glass. A dark shirt also helps reduce visible reflections.
Why do my photos look good on my phone but bad online?
Social platforms compress images heavily. Over-sharpening and heavy saturation can look harsh after upload. Edit lightly. Export at a reasonable size. Keep colors natural. A realistic reef photo usually ages better than an overly processed one. Stable water and healthy coral also improve photography over time. For that foundation, see: reef tank water parameters guide.
Editing Tips That Keep Reef Photos Honest
Editing should improve accuracy, not create fantasy colors. Start with white balance. This is the biggest correction for reef photos. Then adjust exposure slightly if needed. Pull back highlights if fluorescent areas look blown out. Add a little contrast only if the image feels flat.
Be careful with saturation. Reef tanks already contain intense color. Too much saturation makes corals look fake and can hide fine detail. Sharpen gently. Heavy sharpening creates halos around polyps and branches. Crop to improve composition, but do not crop so much that quality falls apart.
Try to match what your eye saw in person under the chosen lighting. Honest images are more useful for documenting coral health, growth, and coloration over time. They also build trust if you share frags or livestock photos with other hobbyists.
Frequently Asked Questions
Can I photograph corals with just my phone?
Yes. Most modern phones can produce excellent coral photos. Good technique matters more than expensive gear.
What is the best time to photograph a reef tank?
Shoot during your main daytime photoperiod. Corals are open, and light output is stable and bright.
Should I turn off flow before taking coral photos?
Yes, for close-ups. Reduced flow limits motion blur and makes polyps easier to capture sharply.
Do reef phone filters really help?
Yes. They are very helpful under heavy blue LEDs. They improve color balance and reduce editing time.
Is RAW worth using for reef photography?
RAW is useful if your phone supports it. It gives more control over white balance and highlight recovery.
Final Thoughts
Using modern phones for reef photography is practical, affordable, and effective. The key is controlling the tank environment first. Clean glass, reduced flow, proper angle, and better white balance will improve your photos more than any gimmick. Start simple. Learn how your tank lighting affects color. Practice with both full tank shots and coral close-ups. With repetition, your phone can become one of your best reef tools. It can document growth, help diagnose problems, and let you share your reef in a way that actually reflects the beauty you see every day.
Was this helpful?
Related Posts
Reef Tank Basics
Learn reef tank basics, from setup and cycling to lighting, flow, and water chemistry, so your first reef…
 By
By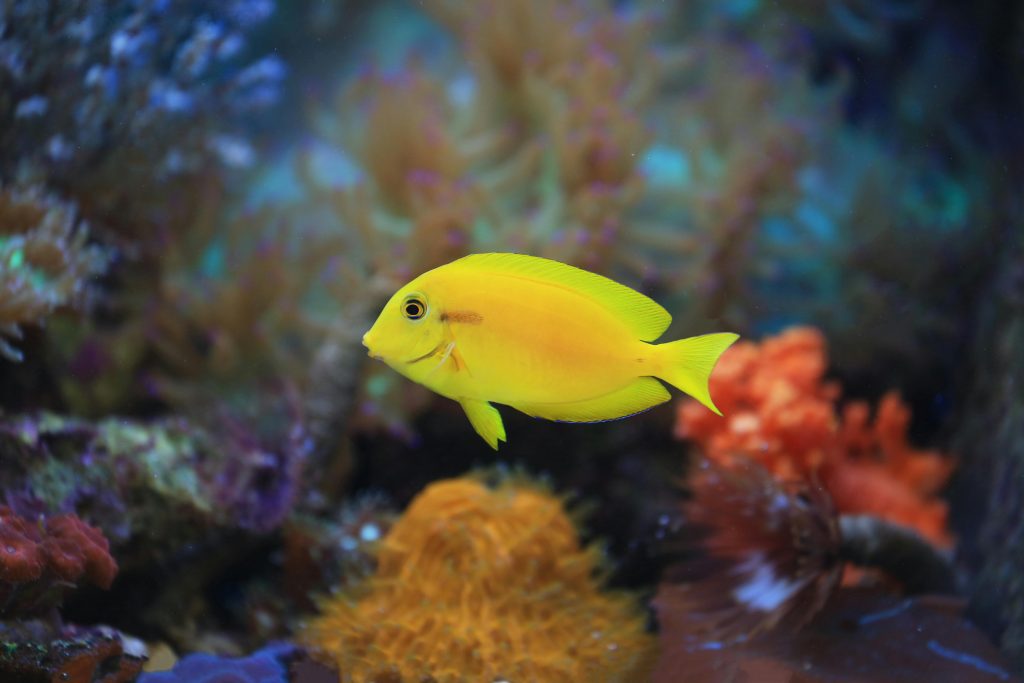
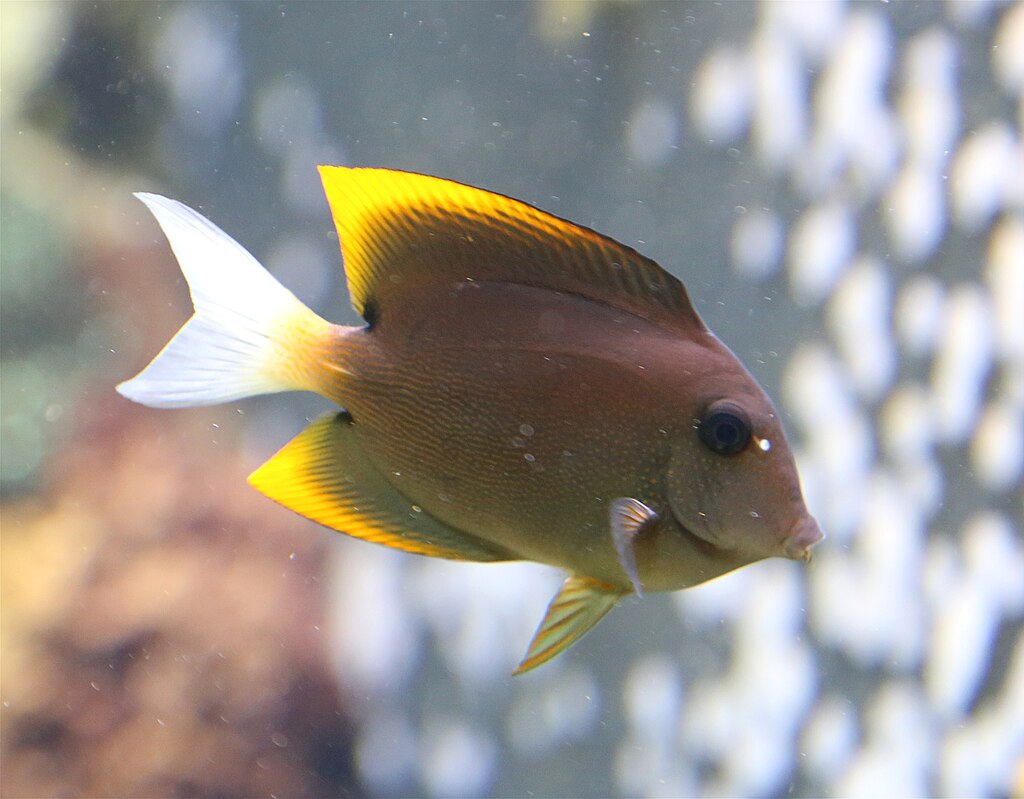
Juvenile Orange Shoulder (acanthurus Olivaceus)
Juvenile orange shoulder tangs are bright, hardy, and reef safe, but they grow large and need a spacious…
[favorite_button]
My Bookmarks:
To see full list click here
[user_favorites user_id="" include_links="true" site_id="" post_types="" include_thumbnails="true" thumbnail_size="thumbnail" include_excerpt="false"]