

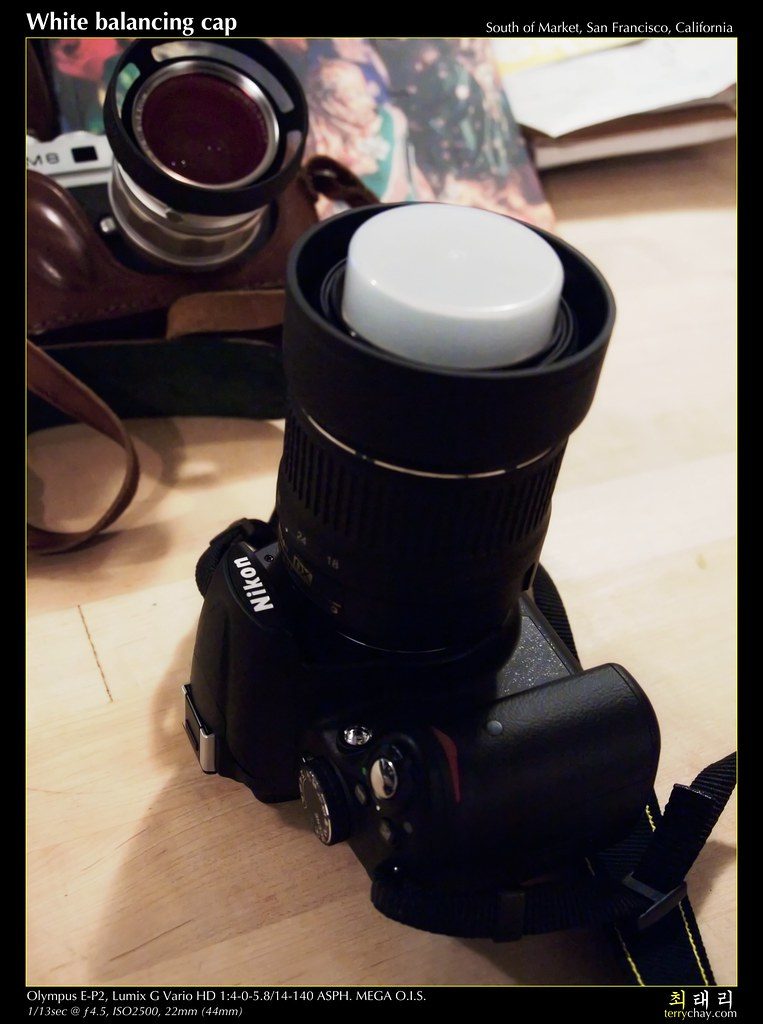
Getting accurate reef tank photos starts with proper white balance. It fixes blue-heavy images, restores coral color, and helps your aquarium look closer to what your eyes actually see.
Many reef hobbyists struggle with photos that look too blue, too purple, or washed out. That problem usually comes from aquarium lighting, not your coral. Modern reef LEDs produce strong blue and violet output. Cameras often misread that spectrum. In this guide, you will learn what white balance does, how to adjust it, when to use auto or manual settings, and how to get cleaner coral photos with a phone or camera. These tips work for quick tank shots, coral sale photos, and full aquarium pictures.
Quick Reference Table
| Situation | Best White Balance Approach | Why It Helps |
|---|---|---|
| Full tank shot under blue LEDs | Manual white balance or custom Kelvin | Reduces heavy blue cast |
| Coral close-up | Custom white balance with orange filter | Restores natural tissue color |
| Phone photography | Use Pro mode or reef photo app | Gives more control than auto mode |
| Mixed white and blue lighting | Set white balance after adjusting lights | Matches the actual viewing spectrum |
| Editing RAW images | Adjust white balance in post | Allows precise correction later |
Use this table as a fast starting point. Fine tuning still matters. Every tank has different lighting, glass thickness, and room reflections.
What White Balance Means in Reef Photography
White balance tells the camera what should appear neutral white. Once the camera knows that, it adjusts other colors around it. In a reef tank, this becomes difficult. Most reef tanks run strong blue light for coral health and fluorescence. That light makes sand look blue and coral skeletons look purple. It can also hide reds, oranges, and yellows.
Your eyes adapt better than a camera sensor. You may see a coral as pink and green. The camera may record it as blue and teal. Good white balance closes that gap. It does not mean making the tank look warm or unnatural. It means balancing the image so coral colors remain believable. This is especially important when documenting growth, sharing frags, or listing corals for sale. Accurate photos build trust and help you track changes over time.
Why Reef Tank Lighting Confuses Cameras
Reef lights are very different from household bulbs. Most popular fixtures use strong royal blue, blue, violet, and UV-adjacent channels. These wavelengths excite coral fluorescence. They also overwhelm automatic camera settings. Auto white balance works best under common lighting. Reef LEDs are not common lighting.
Heavy blue spectrum creates several problems. First, the image becomes overly cool. Second, contrast can drop. Third, fluorescent areas may blow out and lose detail. Fourth, some cameras add too much magenta while trying to compensate. If your tank uses a very blue AB+ style schedule, these issues become even stronger. This is why many hobbyists think their camera is bad. In reality, the camera just needs better instructions. Once you control white balance, reef images improve fast.
Auto White Balance vs Manual White Balance
Auto white balance is fine for casual snapshots. It is quick and easy. It may work reasonably well if your tank has more white channels active. It usually struggles under deep blue settings. The camera keeps guessing, and each photo may look different.
Manual white balance gives you consistency. You set the color temperature or use a custom reference. This keeps a series of coral photos looking similar. That matters if you compare growth over weeks or months. It also helps if you photograph multiple frags for a sales post. Buyers can judge color more accurately.
If your device allows Kelvin adjustment, test a few settings and compare results. If it allows custom white balance from a neutral target, even better. Manual control takes more time at first. After a few sessions, it becomes routine.
Best White Balance Tips for Reef Tank Photos
- Reduce blue channels slightly before taking photos if possible.
- Use orange or yellow lens filters for blue-heavy tanks.
- Shoot in RAW if your camera supports it.
- Avoid room light reflections on the front glass.
- Clean the glass inside and outside first.
- Use one consistent light schedule for photo sessions.
- Take test shots and review coral whites and sand color.
- Do not trust the phone screen alone under bright room light.
These small steps make a major difference. White balance works best when the rest of the scene is controlled too. Dirty glass, surface ripples, and mixed room lighting can still ruin color accuracy.
Step-by-Step: How to Set White Balance for Aquarium Photos
Start by cleaning the front glass. Wipe salt spray from the outside. Scrape algae from the inside. Turn off room lights behind you. Reflections change how the camera meters the scene.
Next, decide whether you want a full tank shot or a coral close-up. For full tank photos, consider raising the white channel slightly for the photo only. For coral close-ups, keep your normal viewing spectrum if that is the look you want to document.
Now set your camera or phone to the most manual mode available. If possible, choose RAW capture. Set white balance manually. If your device uses Kelvin, test a range until sand and white frag plugs look neutral. If your device supports custom white balance, use a white or gray reference card near the glass.
Take several shots. Review coral tissue, not just the background. If reds disappear, the image is still too cool. If the tank looks yellow or brown, you corrected too far. Make small changes. Repeat until the photo matches the tank as you see it.
White Balance Tips for Phone Cameras
Phone cameras are convenient, but they often struggle under reef lighting. Most default camera apps rely heavily on auto processing. That software may boost contrast, crush shadows, and guess wrong on color. The result is a bright but inaccurate image.
Use a phone app with manual controls if possible. Look for white balance adjustment, exposure control, and RAW support. Clip-on orange filters also help a lot. They remove some blue before it reaches the sensor. This gives the phone an easier job. Hold the phone square to the glass. Shooting at an angle adds distortion and glare.
Tap to focus on the coral, then lower exposure slightly. Fluorescent corals often blow out under blue light. Slight underexposure preserves detail. You can brighten the image later. It is much harder to recover lost highlights.
White Balance Tips for DSLR and Mirrorless Cameras
Dedicated cameras offer much more control. That makes them ideal for coral photography. Set the camera to shoot RAW. This gives you the most flexibility later. Use manual white balance or set a custom Kelvin value. Avoid auto mode if you want consistent results.
A macro lens helps with coral close-ups. A tripod helps with sharpness. Turn off flow for a minute if polyps are moving too much. Use a lens hood close to the glass to block reflections. Keep the lens parallel to the pane. This improves sharpness across the frame.
If your camera supports a custom white balance reference, use it. A neutral card placed against the glass can work well. Just avoid casting shadows into the tank. Once dialed in, save those settings for future sessions. Consistency is one of the biggest advantages of a dedicated camera.
Editing White Balance After the Photo
Post-processing is often necessary. Even good in-camera settings may need a small correction. This is normal. RAW files are best for this because they keep more color data. You can shift temperature and tint without hurting the image as much.
Start by adjusting temperature. Move slowly until white areas look neutral. Then adjust tint to remove extra green or magenta. Watch coral skeletons, frag plugs, and sand for reference. Next, check saturation carefully. Do not overdo it. Many reef photos online look unnatural because the editor pushed color too hard.
Your goal is honest color, not exaggerated color. If you sell or trade coral, this matters even more. A realistic image avoids disappointment and protects your reputation.
Common Problems
Why do my reef photos look too blue?
This is the most common issue. The tank likely has strong blue channels, and the camera is using auto white balance. Lower the blue intensity for the photo, use an orange filter, or switch to manual white balance. Shooting RAW also helps.
Why do white corals look purple?
The camera is overcompensating for blue light or adding magenta tint. Reduce magenta in post, or use a custom white balance reference before shooting. Check if room lights are mixing with tank light.
Why do my coral colors look dull in photos?
Exposure may be too high, which washes out fluorescence. Lower exposure slightly and refocus. Also check dirty glass and surface shimmer. Both reduce clarity and color separation.
Why do two photos of the same coral look different?
Auto white balance changes from shot to shot. So does auto exposure. Use manual settings for both. Keep your lighting schedule the same for every photo session.
Frequently Asked Questions
What is the best white balance setting for reef tanks?
There is no single perfect setting. It depends on your light spectrum. Manual white balance or custom Kelvin works best in most reef tanks.
Should I turn down blue lights for photos?
Yes, for full tank shots it often helps. For coral documentation, keep lighting consistent with your goal. Just note the spectrum used.
Do orange filters really help reef photography?
Yes. They are very useful under blue LED lighting. They reduce the blue cast before it reaches the sensor.
Is RAW necessary for aquarium photos?
It is not required, but it helps a lot. RAW makes white balance correction easier and preserves more detail.
Can I get good reef photos with a phone?
Yes. Use a manual camera app, an orange filter, clean glass, and stable lighting. Those steps improve phone photos dramatically.
Final Tips for More Accurate Coral Color
Keep your process simple and repeatable. Photograph the tank at the same time of day. Use the same light schedule each time. Save your camera settings if possible. Clean the glass before every session. Turn off pumps briefly for close-ups if needed. Most important, aim for realism. A balanced photo is more useful than an exaggerated one.
If you want to improve your reef images further, read our guides on reef tank lighting schedule, coral placement basics, aquarium algae control, and reef tank water parameters. Better husbandry often leads to better photos too. Healthy corals simply photograph better.
Was this helpful?
Related Posts
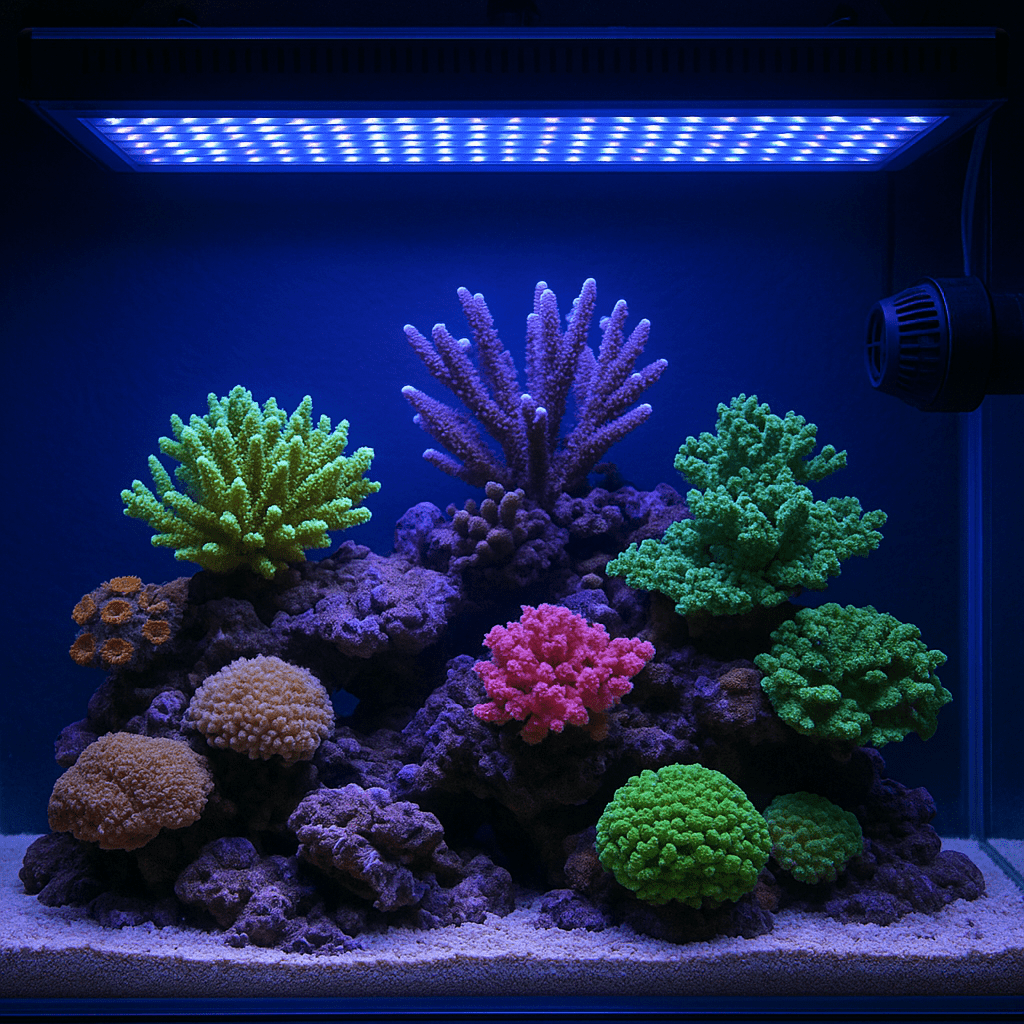
Powerhead Placement for Reef Tanks
Dial in reef tank flow with smart powerhead placement. Learn proven layouts, targets, and troubleshooting for cleaner sand…
 By
By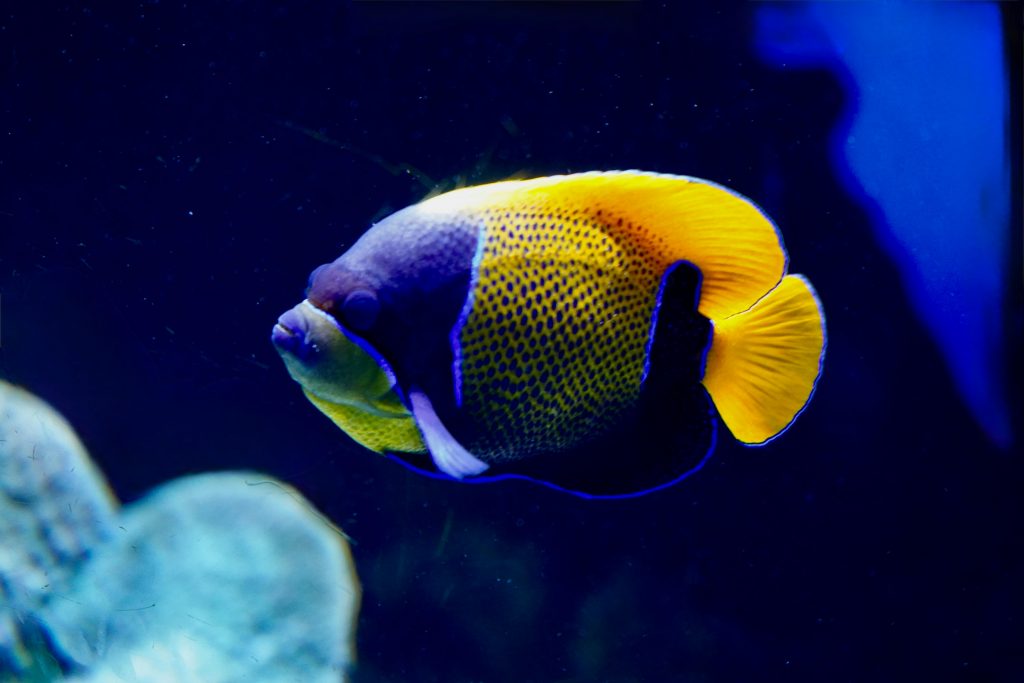
Majestic Blue Girdled Angelfish (Pomacanthus Navarchus)
Majestic Angelfish care requires a large stable tank, varied sponge-based foods, and caution in reefs due to coral…
[favorite_button]
My Bookmarks:
To see full list click here
[user_favorites user_id="" include_links="true" site_id="" post_types="" include_thumbnails="true" thumbnail_size="thumbnail" include_excerpt="false"]