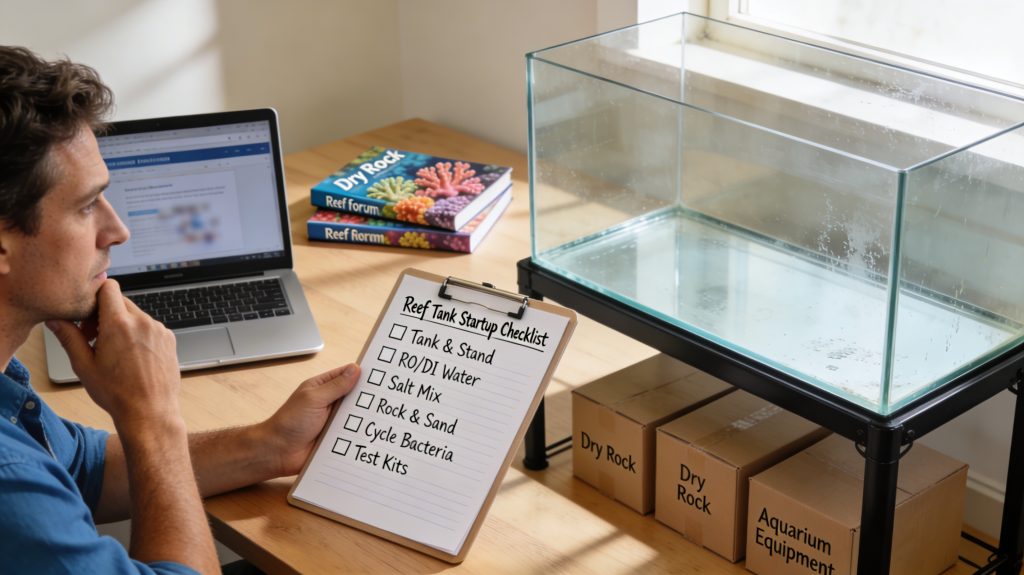
Starting a reef tank is easier when you follow a clear plan. This reef tank startup checklist covers the gear, water, cycling, livestock timing, and early maintenance steps that help new reef keepers avoid common mistakes.
A new reef aquarium can feel overwhelming at first. There are many choices. Tank size, rock, salt mix, lighting, flow, and filtration all matter. Small mistakes early on can lead to algae blooms, livestock losses, and unstable water chemistry. The good news is that a simple checklist keeps the process organized. In this guide, you will learn how to plan your setup, choose equipment, mix saltwater, cycle the tank, and add livestock safely. You will also learn what to test, what to avoid, and how to build stability from day one. If you want a smoother start and fewer surprises, this checklist will help.
Quick Reference Startup Checklist
| Step | What to Do | Why It Matters |
|---|---|---|
| Choose tank size | Pick the largest practical tank | Larger tanks are more stable |
| Select equipment | Heater, return pump, powerheads, lights, ATO, skimmer | Reliable gear prevents early problems |
| Use RODI water | Mix with reef salt to 1.025 specific gravity | Reduces nuisance algae and contamination |
| Build aquascape | Secure rock with open flow paths | Improves circulation and coral placement |
| Add sand and water | Rinse sand if needed and fill slowly | Limits cloudiness and detritus traps |
| Start cycle | Add ammonia source and bacteria | Builds biological filtration |
| Test water | Track ammonia, nitrite, nitrate, salinity, temperature | Confirms cycle progress |
| Add cleanup crew | Only after ammonia and nitrite reach zero | Prevents livestock losses |
| Add fish slowly | Quarantine first if possible | Reduces disease risk |
| Add corals last | Wait for stable nutrients and parameters | Improves coral survival |
Use this table as your quick roadmap. The full checklist below explains each step in more detail.
1. Plan the Tank Before You Buy Anything
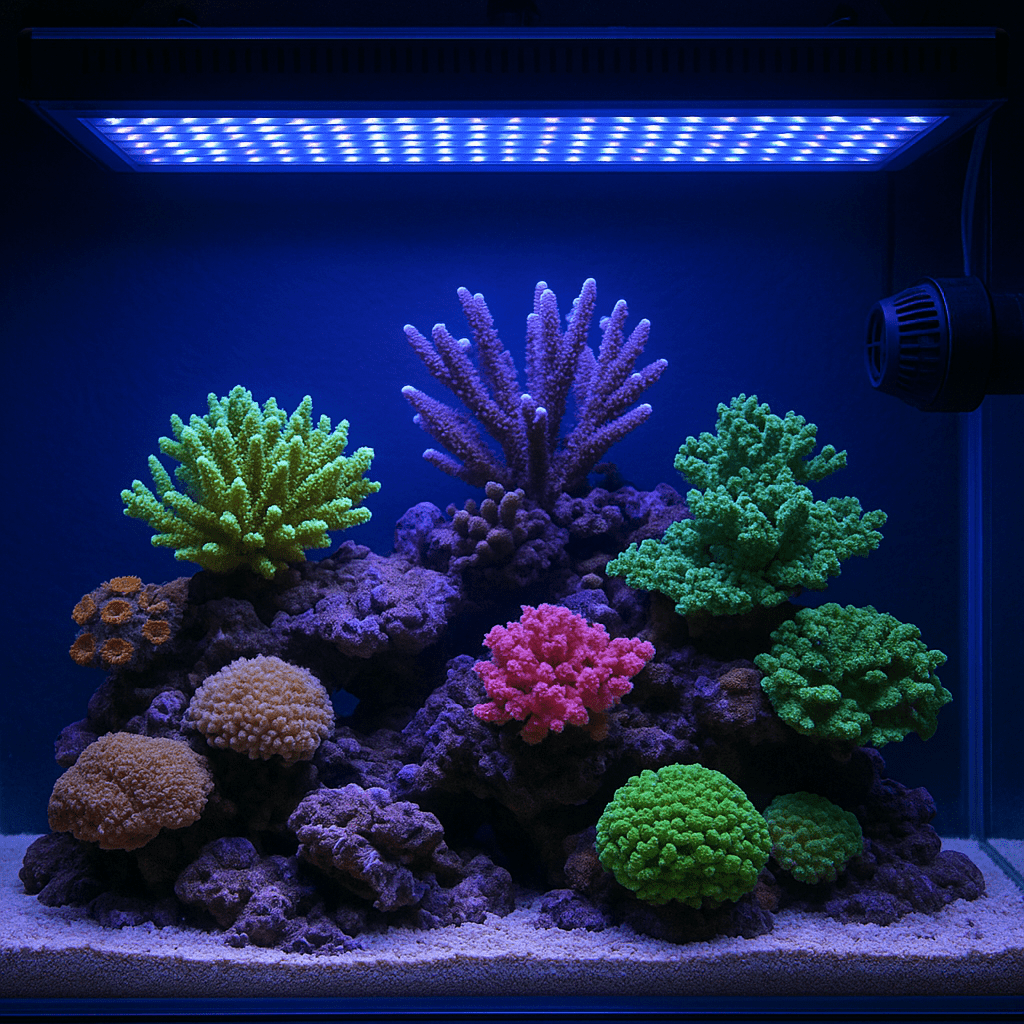
Good reef tanks start with planning. This step saves money and frustration later. First, choose a realistic tank size. Bigger tanks are usually easier to keep stable. A 20-gallon nano can work, but it changes fast. A 40 to 75-gallon system gives beginners more room for error. Next, decide what you want to keep. Soft corals, LPS corals, SPS corals, and reef fish all have different needs. Your stocking goals will shape your equipment choices.
Think about where the tank will sit. Avoid direct sunlight. Make sure the floor can support the weight. Check access to power outlets and water. Plan for noise too. Sumps, skimmers, and overflows can be loud in quiet rooms. Write down your budget before shopping. Include test kits, salt, buckets, and backup items. New hobbyists often forget these. If you need help with system design, read our internal guides on reef tank aquascaping basics, choosing a reef tank size, and reef aquarium filtration options.
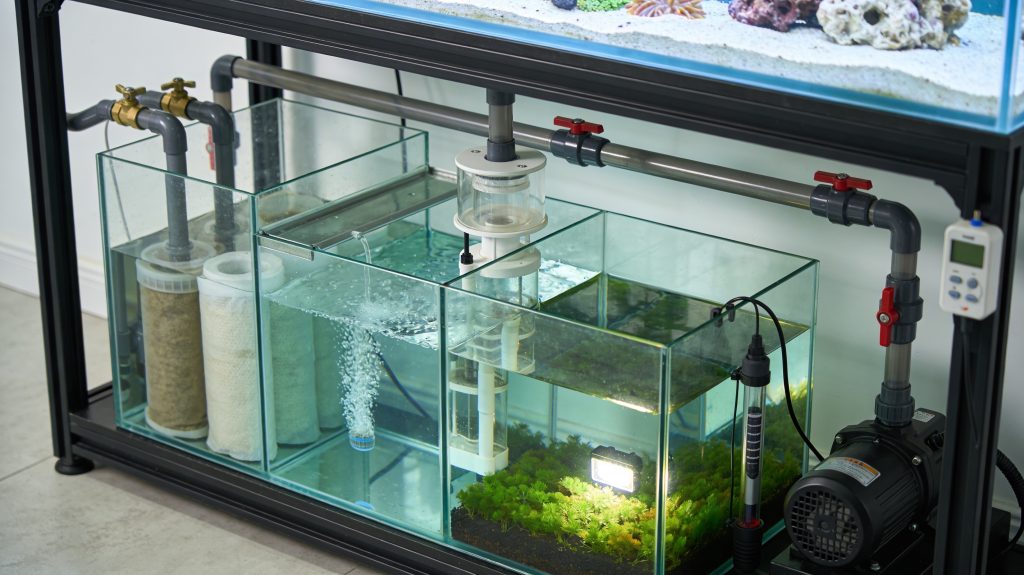
2. Gather the Essential Equipment
Your equipment determines how stable the tank will be. Buy dependable gear first. Start with the tank, stand, and sump if you plan to use one. You will need a heater, thermometer, return pump, and powerheads for flow. A quality light is essential if you plan to keep corals. Many beginners also benefit from an auto top-off system. Evaporation changes salinity fast. An ATO keeps salinity more stable.
A protein skimmer is helpful, though not always mandatory on small systems. It removes waste before it breaks down. You also need a refractometer or digital salinity meter. Do not rely on swing-arm hydrometers alone. Add test kits for ammonia, nitrite, nitrate, alkalinity, calcium, magnesium, and phosphate. RODI water is strongly recommended. Tap water often adds silicates, nitrate, copper, and other unwanted compounds. Keep spare heater and pump parts if possible. Equipment fails at the worst times. Reliable gear reduces stress and protects livestock.
3. Prepare Rock, Sand, and Saltwater
Live rock or dry rock forms the backbone of your reef. It provides structure and biological filtration. Dry rock is popular because it is clean and pest-free. Live rock can speed up biodiversity, but it may bring hitchhikers. Choose porous rock with lots of surface area. Avoid dense rock that blocks flow. If you use dry rock, rinse off dust before aquascaping. Some hobbyists cure dry rock first to reduce phosphate leaching.
Sand is optional, but many reef keepers like the natural look. Use reef-safe aragonite sand. Fine sand looks great, but it can blow around under high flow. Medium grain is easier to manage. Mix saltwater with RODI water in a clean container. Let it circulate with a pump and heater. Match salinity to about 1.025 specific gravity. Aim for 76 to 78 degrees Fahrenheit. Never add dry salt directly to a filled display with livestock. Fully dissolve and aerate the water first. Stable, clean saltwater gives your tank the best start.
4. Build the Aquascape With Flow in Mind
Aquascaping is more than stacking rocks. It shapes flow, fish territory, and coral placement. Build an open structure with caves, arches, and shelves. Leave space between the rock and glass. This makes cleaning easier. It also improves circulation. Avoid creating a solid wall of rock. Dead spots trap detritus and fuel algae. Secure unstable pieces with reef-safe mortar, epoxy, or super glue gel. Rock collapses can crack glass and injure livestock.
Think ahead about coral growth. Corals expand over time. Give them room. SPS corals often need high light and strong flow near the top. Many LPS corals prefer moderate flow and more space from neighbors. Fish also need places to hide. Good hiding spots reduce stress. If you are unsure how to lay out the rock, our article on reef tank aquascaping basics can help. A smart aquascape supports both beauty and long-term function.
5. Fill the Tank and Start All Equipment
Once the rock and sand are in place, fill the tank slowly. Pour water onto a plate or plastic bag to avoid disturbing the sand bed. Start the return pump, powerheads, heater, and skimmer if installed. Expect some cloudiness at first. That is normal. Check for leaks around plumbing, bulkheads, and fittings. Verify the heater is working correctly. Confirm the salinity after the system mixes fully. Sumps change the total water volume, so check again after top-off.
Adjust flow so there are no stagnant areas. You want broad, random movement, not a harsh jet blasting one spot. Set your light schedule conservatively during the cycle. Long photo periods can fuel nuisance algae before the tank matures. Many hobbyists run reduced lighting or no main lighting at first. This is a good time to label plugs and organize wires. Clean cable management helps when you need to troubleshoot quickly.
6. Cycle the Tank the Right Way
Cycling builds the bacteria that process waste. This step is essential. Do not rush it. Add a known ammonia source. Pure ammonium chloride is the cleanest option. You can also use fish food, but it is less precise. Many reef keepers add bottled nitrifying bacteria to speed things up. During the cycle, test ammonia, nitrite, and nitrate every few days. Ammonia rises first. Nitrite follows. Nitrate appears later.
Your tank is ready for the first hardy livestock only when ammonia and nitrite both read zero after dosing ammonia. Nitrate will usually be present. That is normal. Perform a water change before adding animals. This lowers nitrate and refreshes trace elements. Avoid adding fish to “start the cycle.” That old method causes stress and unnecessary losses. Patience here pays off later. If you want a deeper look at this process, see our guide on how to cycle a reef tank.
7. Dial In Core Water Parameters
New reef keepers often focus only on ammonia and nitrate. That is not enough for a reef. Temperature, salinity, alkalinity, calcium, magnesium, phosphate, and pH all matter. For most mixed reefs, target 76 to 78 degrees Fahrenheit, 1.025 specific gravity, alkalinity around 8 to 9 dKH, calcium around 400 to 450 ppm, and magnesium around 1250 to 1350 ppm. Keep phosphate and nitrate low but not zero. Corals need some nutrients.
The key is stability. Chasing perfect numbers causes more problems than slightly imperfect but steady values. Test often in the first weeks. Write results in a log. This helps you spot trends before they become problems. Calibrate salinity tools regularly. Salinity errors are common in new systems. If alkalinity swings, check your salt mix and water change routine. As coral demand increases later, dosing may become necessary. Early on, regular water changes usually handle the basics.
8. Add Livestock in the Correct Order
The right stocking order reduces risk. Start with a small cleanup crew after the cycle and first water change. Snails are usually safer than large hermits in new tanks. Add fish slowly after that. One or two small fish at a time is enough. This gives the biofilter time to adjust. Quarantine is strongly recommended. Marine ich, velvet, and bacterial infections can wipe out a new tank fast. A separate quarantine tank protects your display.
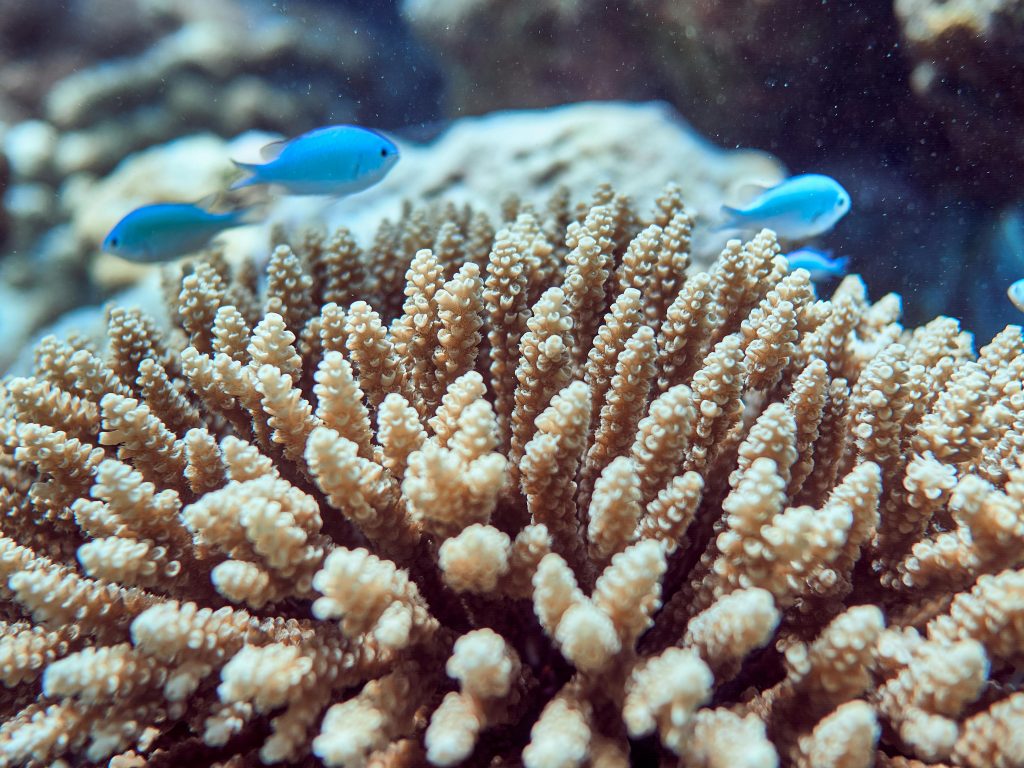
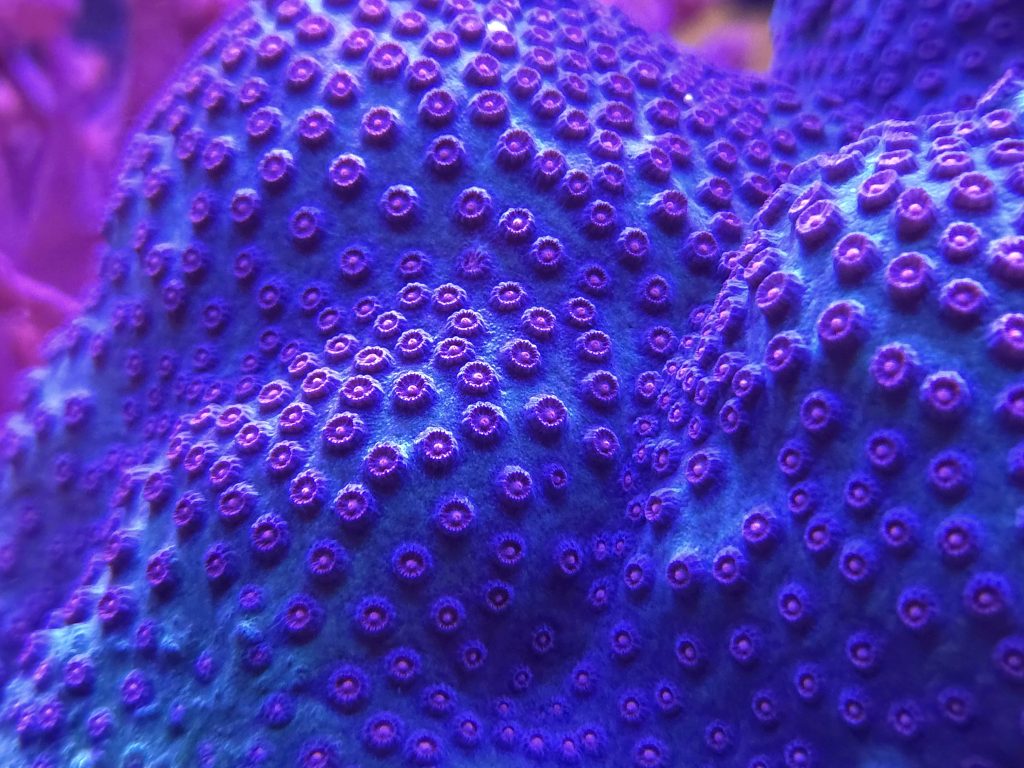
Wait on corals until the tank shows some stability. A very fresh tank often swings in nutrients and alkalinity. Soft corals and hardy LPS usually do better first than demanding SPS. Dip all corals before adding them. This helps prevent pests like flatworms and nudibranchs. Avoid impulse buys. Research each fish and coral for adult size, aggression, and care level. Our internal articles on beginner reef fish and coral dipping guide are useful before you stock your first animals.
9. Set a Simple Maintenance Routine
Consistency matters more than complexity. Build a routine you can actually keep. Top off evaporation daily if you do not use an ATO. Check temperature and equipment every day. Feed lightly at first. Overfeeding is a major cause of early algae and nutrient spikes. Clean the skimmer cup weekly. Empty filter socks or mechanical media often. Dirty media becomes a nutrient trap.
Perform weekly or biweekly water changes, depending on tank size and stocking. Test salinity, alkalinity, nitrate, and phosphate regularly. Clean the glass before algae gets thick. Inspect pumps for reduced flow. Salt creep around plumbing can reveal small leaks. Keep extra mixed saltwater on hand for emergencies. A simple checklist on your phone works well. Reef success often comes from boring habits done on time. Small routine tasks prevent bigger problems later.
Common Problems During Reef Tank Startup
Brown diatoms covering sand and rock
This is very common in new tanks. Diatoms often appear during the first weeks. They feed on silicates and fade as the tank matures. Use RODI water, avoid overfeeding, and keep up with basic maintenance. Snails can help. Do not panic and start changing many things at once.
Cloudy water after setup
Cloudiness usually comes from fine sand dust or a bacterial bloom. Improve mechanical filtration and give it time. Check that the skimmer and pumps are running correctly. If the cloudiness appears after overdosing bacteria or additives, stop and let the system stabilize.
Ammonia will not drop
Make sure your test kit is accurate. Confirm you did not overdose ammonia. Add more bottled bacteria if needed. Check for dead material hidden in the rock or sand. Do not add livestock until ammonia and nitrite both stay at zero.
Algae blooms after adding lights
New tanks often grow algae when lights ramp up too fast. Shorten the photo period. Reduce feeding. Use RODI water only. Increase export with water changes, skimming, and media if needed. Most early algae phases improve with patience and stable husbandry.
Frequently Asked Questions
How long does a reef tank take to cycle?
Most reef tanks take two to six weeks to cycle. The exact time depends on the ammonia source, bacterial seeding, and temperature. Test results matter more than the calendar.
Can I use tap water in a reef tank?
It is not recommended. Tap water often contains nutrients, metals, and other contaminants. RODI water gives you a cleaner and more predictable starting point.
When should I add my first fish?
Add fish only after the cycle is complete, ammonia and nitrite are zero, and you have completed a water change. Add fish slowly, not all at once.
When can I add corals?
You can add hardy corals after the tank is cycled and stable. Many hobbyists wait a few extra weeks so nutrients and alkalinity settle down first.
What is the biggest startup mistake beginners make?
Rushing the process is the biggest mistake. Fast stocking, weak testing habits, and poor source water cause many early failures. Slow, steady steps work better.
A reef tank startup checklist keeps your first months much smoother. Focus on clean source water, reliable equipment, a proper cycle, and slow stocking. Stability beats speed every time. If you build good habits early, your reef will be easier to manage and more enjoyable to grow.
Was this helpful?
Related Posts
Sump Setup Basics
Learn sump setup basics for a reef tank, including layout, plumbing, return pumps, water levels, and common mistakes…
Beginner Reef Tank Guide
Learn how to build a beginner reef tank with the right equipment, stable water, easy corals, and simple…