

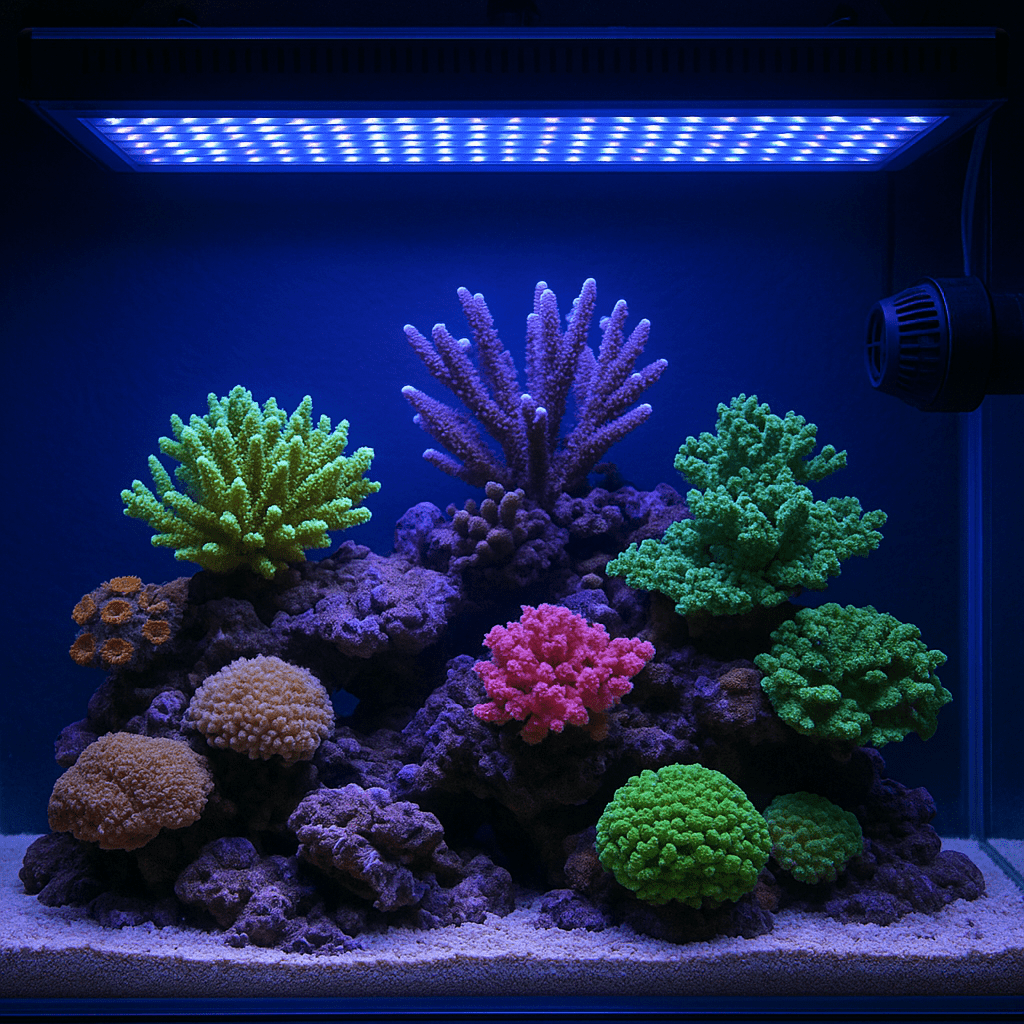
Coral acclimation reduces stress after shipping and lowers the risk of tissue loss, bleaching, and pest transfer. The safest approach is simple. Match temperature first, dip the coral, then slowly adjust salinity and place it in lower light and moderate flow before moving it to its final spot.
Many new reef keepers lose corals in the first few days, not because the coral was unhealthy, but because the transition was too fast. Shipping water often has low pH, unstable oxygen, and waste buildup. Your display tank may also have stronger light, different salinity, and faster flow. A careful acclimation routine bridges those gaps. In this guide, you will learn a practical step-by-step coral acclimation process, when to drip acclimate, how to dip corals safely, where to place new frags, and how to troubleshoot common problems after introduction.
Quick Reference Table
| Step | What to Do | Typical Time | Why It Matters |
|---|---|---|---|
| 1. Inspect bag | Check temperature, smell, leaks, and tissue condition | 1–2 minutes | Helps you spot shipping damage early |
| 2. Float for temperature | Float sealed bag in tank or sump | 10–15 minutes | Prevents sudden temperature shock |
| 3. Prepare dip | Use tank water in a clean container and add coral dip | 2–3 minutes | Removes many pests and hitchhikers |
| 4. Salinity adjustment | Add small amounts of tank water to container | 10–20 minutes | Reduces osmotic stress |
| 5. Dip and rinse | Dip coral, then rinse in clean tank water | 5–10 minutes | Limits pests entering the display |
| 6. Place low first | Start on sand bed or lower rockwork | 3–7 days | Prevents light shock |
| 7. Observe closely | Watch polyp extension, tissue, and color | First 1–2 weeks | Catches problems before they worsen |
What You Need Before You Start
Set up everything before opening the coral bag. This keeps the process calm and quick. You will need a clean container or two, a coral dip, tank water, gloves, eye protection, and a turkey baster or pipette. Bone cutters help if the frag plug needs trimming. A refractometer is useful if you suspect large salinity differences.
Use separate containers for dipping and rinsing. Never pour shipping water into your display tank. That water may contain pests, bacteria, or excess waste. Keep towels nearby. Some corals release mucus during handling. Good preparation prevents rushed decisions. It also reduces the time the coral spends sitting in poor shipping water.
If possible, acclimate in a quarantine or coral observation tank first. This gives you a safer place to watch for flatworms, nudibranchs, and algae hitchhikers. For more on stable water chemistry, see water parameters for reef tanks. If you are new to placement strategy, our guide to coral placement basics can also help.
Step-by-Step Coral Acclimation
Step 1: Inspect the Coral on Arrival
Look at the bag before opening it. Check the water color and smell. Cloudy water or a strong rotten odor suggests heavy stress. Inspect tissue recession, broken branches, loose flesh, or exposed skeleton. Some slime is normal. Severe tissue loss is not.
Take a quick photo. This helps with vendor communication if there is a problem. It also gives you a baseline for later comparison. Do not panic if the coral looks retracted. Many corals close tightly during shipping. Zoanthids, LPS, and acans often look worse in the bag than they do a day later.
Step 2: Match Temperature First
Float the sealed bag in your sump or display for 10 to 15 minutes. Keep bright lights off during this time. Temperature shock is one of the fastest ways to stress a coral. Matching temperature first makes the next steps gentler.
Do not leave the bag floating too long. Shipping water can have low oxygen and high waste. Once the temperature is close, move to the next step. If the coral arrived very cold or very hot, extend this stage slightly. Avoid sudden jumps either way.
Step 3: Open the Bag and Check Salinity
After temperature matching, open the bag and pour the coral and shipping water into a clean container. If you have a refractometer, test the shipping water salinity. Many vendors ship at lower salinity. Your display may run higher. A big jump can stress fleshy corals and freshly cut frags.
If the salinity difference is small, around 0.001 to 0.002, a short adjustment is enough. If the difference is larger, add small amounts of tank water to the container over 10 to 20 minutes. This is a mild acclimation, not a long fish-style drip. Coral shipping water can foul quickly. Long drips are often unnecessary and sometimes harmful.
Step 4: Dip the Coral
Prepare a coral dip using tank water and follow the product directions exactly. Different dips have different strengths and contact times. Place the coral in the dip and gently baste it with a turkey baster. This helps dislodge flatworms, pods, nudibranchs, and eggs from crevices.
Dipping is one of the most important steps. It protects the rest of your reef. However, dips can stress sensitive corals if overdosed or left too long. Never guess on concentration. Some corals, especially fleshy LPS, may need a gentler approach. If a coral is already badly damaged, shorten the dip and handle it carefully.
Step 5: Rinse Before Placement
Move the coral from the dip into a second container of clean tank water. Swish it gently to rinse off dip residue and loosened pests. This step is easy to skip. It should not be skipped. You do not want concentrated dip chemicals entering the display tank.
Inspect the frag plug, underside, and dead skeleton edges. This is where pests often hide. If needed, trim away excess plug material or glue over problem areas. Some hobbyists remove corals from vendor plugs entirely. That can reduce pest risk, but it also adds handling stress. Use judgment based on the coral type and condition.
Step 6: Start in Lower Light
New corals should begin in lower light than their final position. This is true even for high-light SPS. Shipping and handling reduce their tolerance. Place the coral on the sand bed, frag rack, or lower rockwork with moderate indirect flow. Then move it upward over several days or weeks.
Light shock often looks like bleaching, faded color, or tissue recession. Corals from dim holding systems are especially vulnerable. If you run strong LEDs, use acclimation mode when possible. You can also shorten the photoperiod for a few days. Our LED reef lighting guide explains this in more detail.
Step 7: Provide Appropriate Water Flow
Flow should match the coral type. Most new corals do best with moderate, indirect movement at first. Strong direct flow can tear tissue on fleshy LPS. Weak flow can let detritus settle and encourage infection. The goal is gentle movement that keeps the coral clean without blasting it.
Watch how the coral responds. Euphyllia should sway, not whip. Zoanthids should open fully without bending flat. SPS should show polyp extension without tissue peeling. If you are unsure, start gentler and adjust slowly. Sudden changes are rarely helpful.
Natural Habitat and Why It Matters
Most reef corals come from shallow tropical marine habitats. These areas have stable salinity, high oxygen, intense but filtered sunlight, and constant water movement. Corals are adapted to consistency. They do not enjoy fast swings in temperature, alkalinity, or salinity.
That is why acclimation matters so much. Shipping exposes corals to darkness, waste, and unstable water. Your job is to restore stability without forcing a sudden transition. Think of acclimation as recreating a calm shoreline after a storm. Slow, measured changes help the coral regain normal function. This is also why stable reef tank maintenance beats constant correction. For a broader foundation, see beginner reef tank mistakes.
Aquarium Setup for New Coral Additions
Your tank should be stable before any coral arrives. Temperature should stay around 76 to 79 degrees Fahrenheit. Salinity should remain near 1.025 to 1.026 specific gravity. Alkalinity, calcium, and magnesium should be consistent. Nitrate and phosphate should be present but controlled. Corals dislike zero nutrients as much as they dislike dirty water.
Aquascaping also affects success. Leave room for future growth and flow around the coral. Avoid placing a new frag where fish will constantly brush against it. Keep aggressive corals away from fresh additions. If you are adding several corals at once, use a frag rack to compare their response before final mounting. This makes adjustment easier and prevents crowding mistakes.
Lighting Requirements After Acclimation
Different corals want different light levels, but all new arrivals need a gentler start. Soft corals and many LPS often adapt well to low or moderate PAR first. SPS usually prefer higher PAR long term, but they still need a transition period. Raising intensity too quickly can bleach even hardy frags.
Move corals upward in stages. Wait several days between moves. Watch color and extension more than a fixed schedule. Pale tissue, shrinking polyps, and a glossy stressed look suggest too much light. Darkening or stretching upward can suggest too little. A PAR meter helps, but careful observation also works well.
Feeding New Corals
Do not rush to feed on day one. Let the coral settle first. Many corals will not feed normally right after shipping. Once polyps extend, you can offer suitable foods. LPS often accept mysis, reef roids, or small pellet foods. SPS benefit more from stable nutrients and fine particulate foods than large target feedings.
Feed lightly at first. Overfeeding a stressed coral can foul the area and invite bacterial issues. If the coral shows strong feeding response after a few days, continue on a modest schedule. Healthy fish waste and stable nutrient levels also support coral recovery. Feeding is helpful, but stability remains the main priority.
Compatibility With Fish, Corals, and Invertebrates
New corals need peace. Avoid placing them near stinging neighbors, aggressive sweepers, or fast-growing encrusters. Euphyllia, galaxea, and some chalices can damage nearby frags at night. Soft corals may also release chemicals that irritate stony corals in smaller tanks.
Fish can also cause problems. Some angelfish nip coral tissue. Clownfish may host fleshy LPS and keep them closed. Shrimp and crabs sometimes steal food or pick at damaged areas. If a coral stays closed, look for physical harassment before blaming water chemistry. Compatibility problems often hide in plain sight.
Propagation and Fragging Notes
When to Frag a New Coral
Do not frag a coral immediately after arrival unless you must remove damaged tissue. Let it recover first. A healthy coral heals better and handles cutting with less risk. Wait until you see stable extension, feeding response, and normal coloration.
How to Handle Fresh Cuts
Freshly cut frags need extra flow, stable parameters, and lower stress. Dip only when needed, and avoid repeated handling. A new frag and a newly shipped coral are both vulnerable. Combining both stressors can slow recovery.
Common Problems
Coral Will Not Open
This is common in the first day or two. Likely causes include shipping stress, too much light, too much flow, or irritation from nearby corals. Start by reducing stress. Check placement, inspect for pests, and give it time. Do not keep moving it every few hours.
Bleaching After Introduction
Bleaching usually points to light shock or sudden chemistry changes. Move the coral lower, reduce intensity, and confirm salinity and alkalinity. Avoid major corrections all at once. Corals recover better under stable conditions than under constant adjustment.
Tissue Recession or Brown Jelly
Rapid tissue loss needs fast action. Check for damage, excessive flow, bacterial infection, or stings from nearby corals. Remove dead tissue if needed, perform an appropriate dip, and isolate the coral if the problem spreads. Keep the area clean and oxygenated.
Pests Found After Dipping
If you see flatworms, nudibranchs, or eggs, do not place the coral directly into the display if you can avoid it. Use a coral quarantine system and repeat inspection. Dips rarely kill every egg. Follow-up checks are essential.
Frequently Asked Questions
Do I need to drip acclimate corals?
Usually only briefly. Temperature match first, then make a short salinity adjustment if needed. Long drip acclimation is often unnecessary for corals.
Should I always dip new corals?
Yes, in most cases. Dipping helps prevent pests from entering your reef. Follow the product instructions and rinse afterward.
How long should I keep a new coral low in the tank?
Most corals benefit from several days to two weeks in lower light. Move them gradually based on their response.
Can I add the shipping water to my tank?
No. Discard shipping water. It may contain waste, pathogens, and pests.
How soon should a coral open after acclimation?
Some corals open within hours. Others need one to three days. As long as tissue looks intact, patience is often the best move.
A careful coral acclimation routine protects both the new coral and your established reef. Keep the process simple. Match temperature, dip properly, adjust salinity briefly if needed, and start with lower light and moderate flow. Then observe closely and avoid sudden changes. That steady approach gives new corals the best chance to settle, color up, and grow.
Was this helpful?
Related Posts
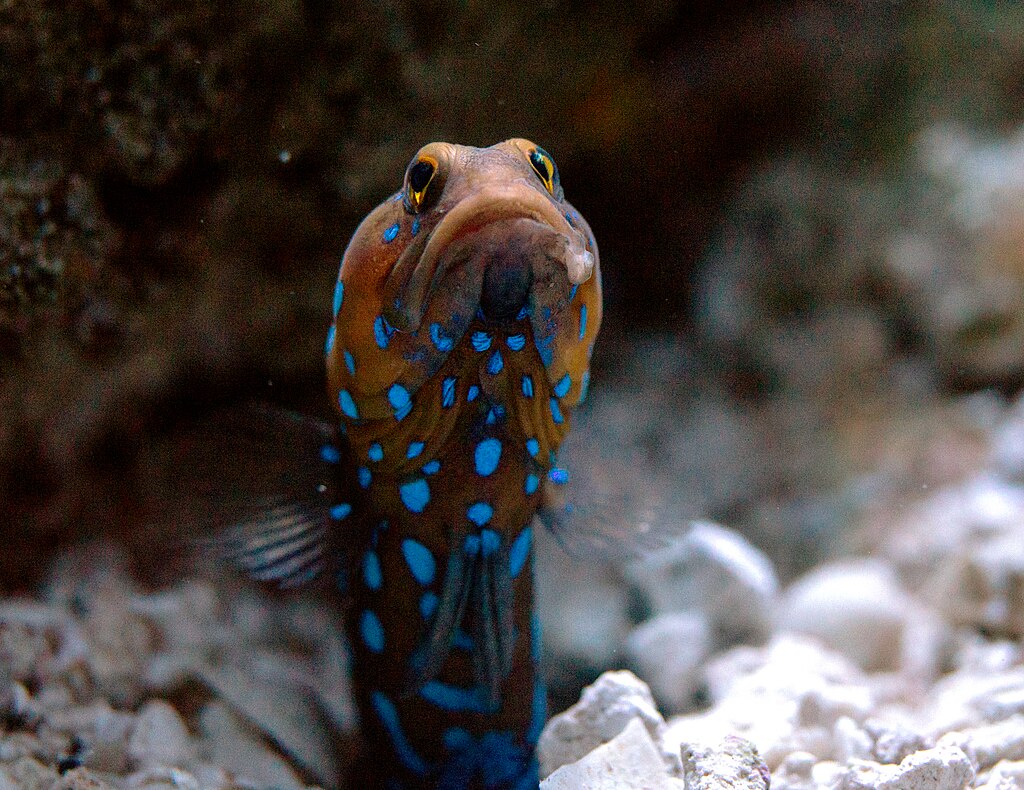
Blue Dot Jawfish (Opistognathus Rosenblatti)
Blue Dot Jawfish need cool water, deep sand, and a tight lid. Learn how to keep Opistognathus rosenblatti…
 By
By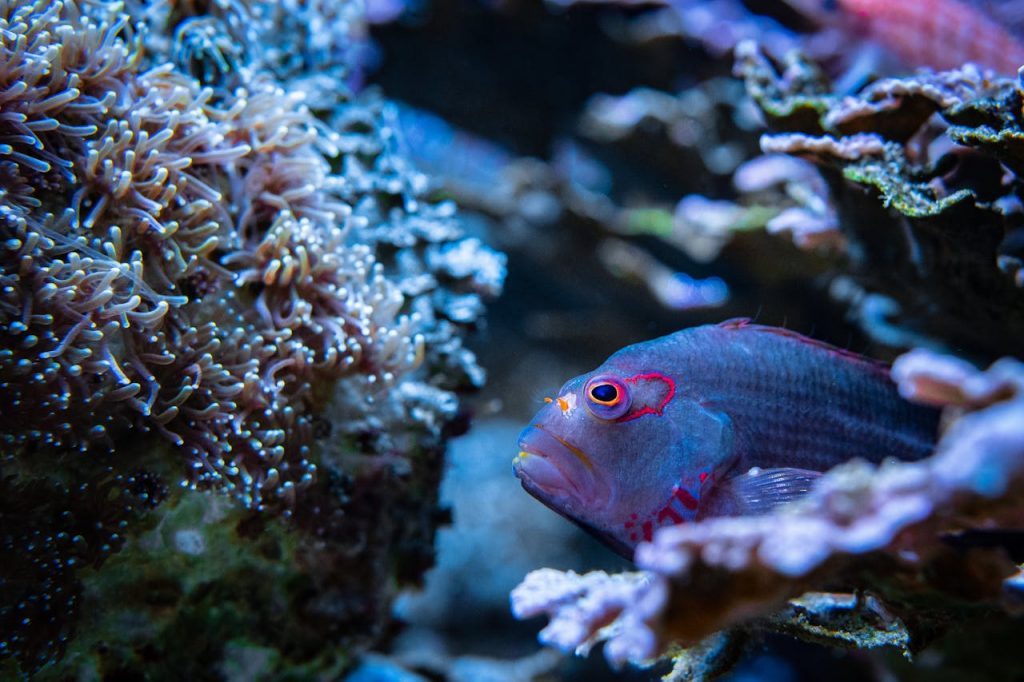
Arc Eye Hawkfish (Paracirrhites arcatus)
Arc Eye Hawkfish care is simple in a stable tank. Learn tank size, feeding, reef safety, and shrimp…
[favorite_button]
My Bookmarks:
To see full list click here
[user_favorites user_id="" include_links="true" site_id="" post_types="" include_thumbnails="true" thumbnail_size="thumbnail" include_excerpt="false"]