Setting up a reef tank for the first time feels complex. It gets much easier with a clear plan. This guide covers equipment, cycling, aquascaping, stocking, and maintenance so you can build a stable beginner reef tank that supports healthy fish and corals.
Why beginner reef tanks succeed or fail
Most beginner reef tanks fail from instability, not bad luck. New hobbyists often add too much too soon. They also chase numbers instead of keeping conditions steady. A successful reef starts with patience. It also starts with realistic goals.
Your first reef tank does not need rare corals or expensive gadgets. It needs reliable equipment. It needs stable salinity. It needs good biological filtration. It also needs time for bacteria to mature. If you focus on those basics, you avoid many common problems.
For most beginners, a simple mixed reef works best. Start with hardy fish and easy corals. Learn how your tank reacts to feeding, water changes, and evaporation. Then expand slowly. That approach saves money and frustration. It also gives your reef the best chance to thrive long term.
Quick reference table for a beginner reef setup
| Category | Beginner Recommendation |
|---|---|
| Tank size | 20 to 40 gallons for easier stability |
| Tank type | All-in-one reef tank or standard tank with sump |
| Lighting | Reef-capable LED with timer |
| Flow | Moderate, random water movement |
| Filtration | Live rock, filter media, protein skimmer if possible |
| Heater | Reliable heater with controller if available |
| Salinity | 1.025 specific gravity |
| Temperature | 76 to 78°F |
| Cycle time | Usually 3 to 6 weeks |
| First corals | Mushrooms, zoanthids, green star polyps |
| First fish | Clownfish, firefish, watchman goby |
| Water changes | 10 to 15% weekly |
Use this table as a starting point. Every reef tank differs slightly. Your equipment, room temperature, and coral choices will affect the final setup. Still, these ranges work well for most beginner reef systems.
Choosing the right tank size
Many beginners assume a nano reef is easier. In practice, very small tanks swing fast. Salinity rises quickly from evaporation. Temperature also changes faster. Nutrients can spike after a single heavy feeding.
A 20 to 40 gallon tank is usually the best starting size. It offers more stability. It still fits in most homes. It also gives you room for a small fish community and beginner corals. If your budget allows, a 40 breeder or a 32 gallon all-in-one makes an excellent first reef.
Think about maintenance access before buying. Can you reach the bottom glass? Can you clean the back wall? Can you remove equipment easily? A tank that is easy to service gets better care. That matters more than chasing the perfect dimensions.
Essential equipment for a beginner reef tank
You do not need every reef gadget on day one. You do need dependable core equipment. Start with the tank, stand, heater, return pump or filter pump, powerhead, reef light, thermometer, and refractometer. These items support the basic needs of fish, corals, and beneficial bacteria.
A quality LED light is important. Cheap lights often produce weak output or poor spread. That limits coral choices later. Water movement matters just as much. Corals need flow to bring oxygen and remove waste. One or two small wavemakers usually work well in beginner tanks.
A protein skimmer helps, but it is not mandatory on every small reef. Many all-in-one tanks run well with regular water changes and good feeding control. An auto top off system is one of the best upgrades. It keeps salinity stable. That stability protects both fish and corals.
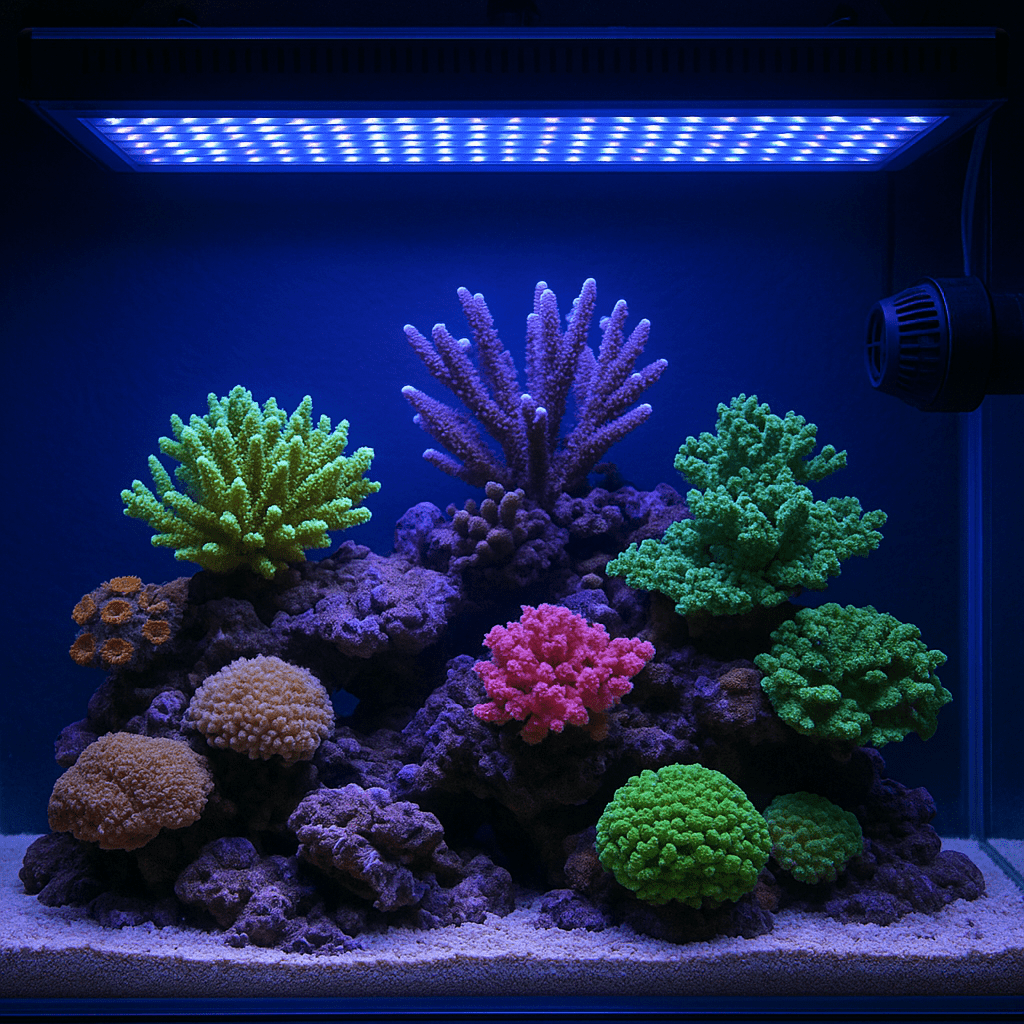
Aquarium setup and aquascaping basics
Rinse the empty tank if needed. Place it on a level stand. Add dry rock or cured live rock first. Then add sand if you want a sand bed. Many beginners use aragonite sand. It looks natural and supports burrowing fish and invertebrates.
Build an open aquascape. Leave space around the rock for flow and cleaning. Avoid stacking rock against the glass. Create shelves and ledges for future coral placement. Make sure each rock is stable. Falling rock can crack glass or crush coral frags.
Use reef-safe epoxy or super glue gel if needed. Keep the structure lower than you think. Corals grow outward and upward over time. A crowded rockscape traps detritus. It also limits swimming space. Open layouts look better later. They also make maintenance much easier.
Water, salt mix, and target parameters
Start with RO/DI water if possible. Tap water often contains nitrate, phosphate, silicate, copper, or chloramine. Those contaminants cause algae issues and stress reef animals. Mix your saltwater in a clean container. Use a powerhead and heater. Let it mix fully before use.
For most beginner reefs, target a salinity of 1.025 specific gravity. Keep temperature between 76 and 78°F. Aim for alkalinity around 8 to 9 dKH, calcium around 400 to 450 ppm, and magnesium around 1250 to 1350 ppm. Nitrate and phosphate should be present, but controlled.
Do not obsess over hitting an exact number every day. Stability matters more. Sudden swings cause more trouble than slightly imperfect values. Test regularly. Record results in a notebook or app. Patterns are easier to spot when you track them over time.
Step-by-step guide to starting a beginner reef tank
- Choose a tank between 20 and 40 gallons.
- Install the stand and confirm it is level.
- Add rock and sand, then fill with mixed saltwater.
- Start the heater, pump, and powerheads.
- Set salinity to 1.025 and temperature to 77°F.
- Add a bacterial source and an ammonia source.
- Test ammonia, nitrite, and nitrate during the cycle.
- Wait until ammonia and nitrite reach zero.
- Perform a water change after the cycle finishes.
- Add the first hardy fish slowly.
- Wait a few weeks before adding beginner corals.
- Increase stocking gradually over several months.
This slow method protects your tank from overload. It also gives your biofilter time to strengthen. Fast starts often look exciting. They also create algae blooms, fish stress, and coral losses. Slow reefing wins almost every time.
How to cycle a reef tank properly
Cycling builds the bacterial colonies that process waste. Those bacteria turn toxic ammonia into nitrite, then nitrate. Without them, fish and invertebrates cannot survive. Many new hobbyists rush this stage. That mistake causes many early losses.
You can cycle with bottled bacteria and a measured ammonia source. You can also use cured live rock, though that method is less predictable. Test every few days. At first, ammonia rises. Then nitrite appears. Later, both should drop to zero while nitrate rises.
When your tank can process ammonia within about a day, the cycle is close to complete. Do a water change before adding animals. Start with a small bioload. The tank still needs time to mature beyond the initial cycle. That maturation improves stability and biodiversity.
Lighting requirements for a beginner reef
Reef lighting does not need to be complicated at first. Most beginner corals prefer moderate light. A reef LED with a timer and acclimation mode is ideal. Keep your schedule consistent. Eight to ten hours of full lighting works well for many systems.
Avoid running bright lights on a fresh tank for too long. New tanks often go through algae phases. Excess light can fuel that growth. Start lower and increase slowly as corals are added. If your light has separate channels, avoid extreme settings just for visual pop.
Coral placement matters too. Mushrooms often prefer lower light. Zoanthids handle moderate light well. Many leather corals adapt to a range of conditions. Watch coral response. Bleaching, shrinking, or stretching often points to a lighting mismatch.
Water flow and circulation
Flow keeps oxygen high and waste suspended. It also delivers food and nutrients to corals. Dead spots allow detritus to collect. That can lead to nuisance algae and poor coral health. Most beginner reefs need moderate, random flow instead of a harsh direct blast.
Place powerheads so currents intersect. Aim for movement across the rock and around the back of the aquascape. Watch how food particles move in the tank. If debris settles in one area, adjust the pumps. Small changes in angle can improve circulation a lot.
Soft corals usually enjoy gentle to moderate flow. LPS corals often prefer indirect movement. Strong direct flow can tear tissue or prevent polyp extension. As your coral collection grows, you may fine tune pump placement more often.
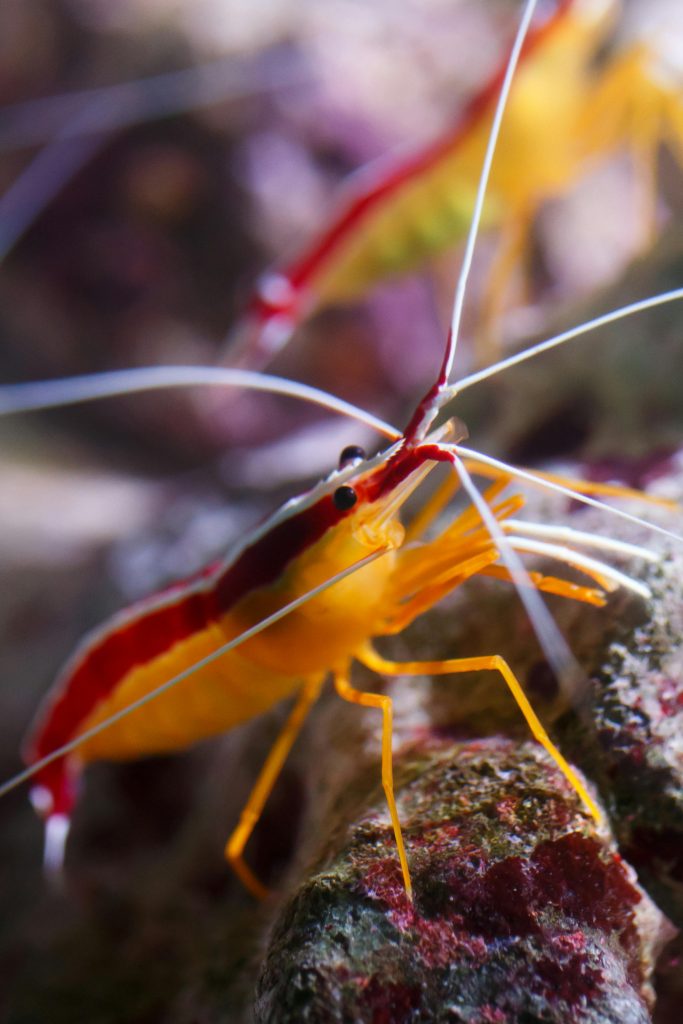
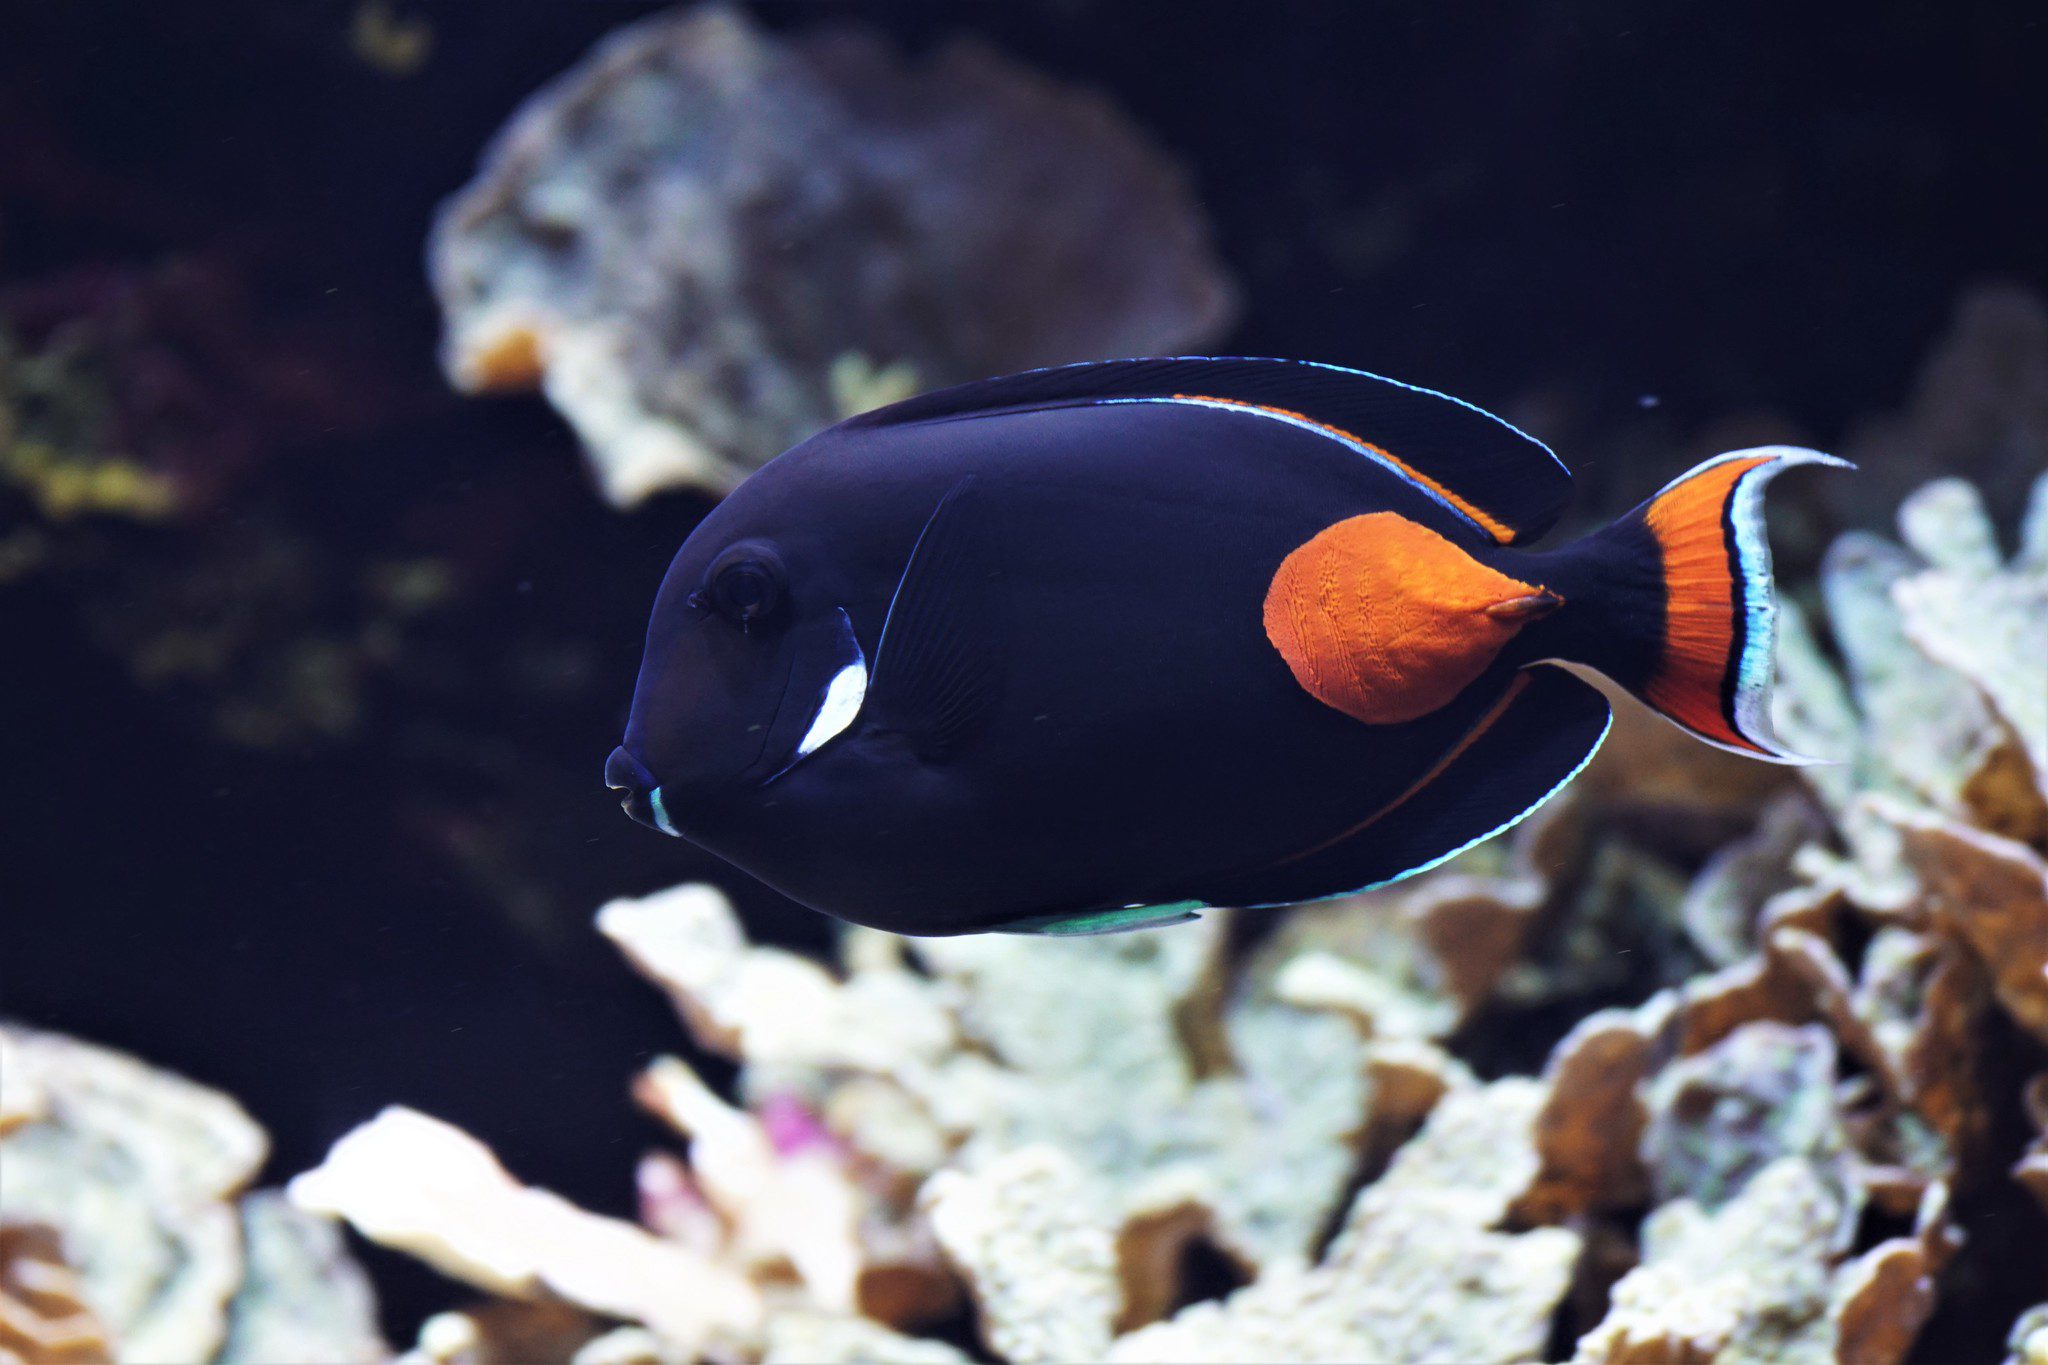
Best beginner fish and corals
Choose hardy animals that tolerate small mistakes. Good beginner fish include ocellaris clownfish, firefish, royal grammas, and yellow watchman gobies. Avoid fish with specialized diets at first. Also avoid aggressive species that make later stocking difficult.
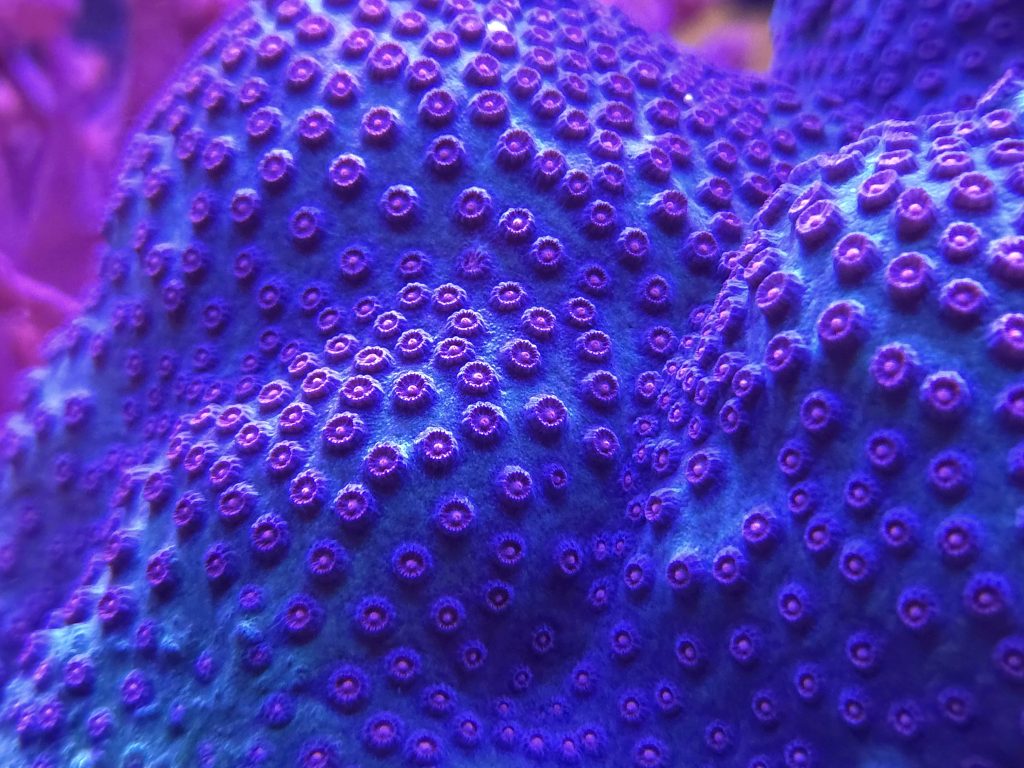
For corals, start with mushrooms, zoanthids, green star polyps, toadstool leathers, and some easy LPS once the tank matures. These corals adapt to a range of conditions. They also show clear signs when something is off.
Resist the urge to buy many animals at once. Add one fish, then wait. Observe feeding, waste production, and behavior. Add corals in small groups. This slower pace helps you learn your tank. It also keeps nutrient swings manageable.
Feeding and regular maintenance
Feed lightly at first. Overfeeding is one of the fastest ways to create nitrate and phosphate problems. Offer only what fish eat within a minute or two. Remove excess food if needed. Variety helps fish health. Rotate pellets, frozen foods, and algae-based options.
Maintenance should be simple and consistent. Top off evaporated water with fresh RO/DI water, not saltwater. Clean the glass several times each week. Empty the skimmer cup if you use one. Replace or rinse filter floss often. Perform weekly water changes of 10 to 15%.
Test salinity, temperature, alkalinity, nitrate, and phosphate regularly. As coral demand increases, you may later dose alkalinity and calcium. In the beginning, water changes often cover those needs. Keep your routine boring and repeatable. Reefs respond well to consistency.
Common problems in beginner reef tanks
Ugly stage algae blooms
Brown diatoms, green film algae, and some hair algae are common in new tanks. They usually appear as the tank matures. Reduce white light intensity if needed. Use RO/DI water. Avoid overfeeding. Keep up with water changes. Add a modest cleanup crew once the tank is ready.
Corals staying closed
Closed corals often point to unstable salinity, poor placement, weak flow, or recent stress. Check salinity first. Then review lighting and flow. Look for pests if the issue affects one coral only. Give new corals time to adjust before moving them repeatedly.
Fish stress or disease
Rapid breathing, flashing, and white spots need fast attention. Quarantine is the best prevention. New fish can carry parasites even when they look healthy. Keep aggression low by choosing compatible fish and adding them slowly. Stable water quality also reduces stress.
Low alkalinity or parameter swings
Falling alkalinity becomes more common as coral growth increases. Test at the same time of day. If alkalinity drops steadily, your tank may need dosing. Start slowly. Large corrections can shock corals. For beginners, stable moderate values beat aggressive adjustments.
Frequently asked questions
How long does a beginner reef tank take to set up?
You can assemble the tank in a day. The full cycle usually takes 3 to 6 weeks. Maturation takes longer. Expect several months before the tank feels stable and predictable.
What is the easiest reef tank size for beginners?
A 20 to 40 gallon tank is usually easiest. It offers better stability than very small tanks. It also stays more affordable than large systems.
Can I use tap water in a reef tank?
It is not recommended. Tap water often brings nutrients and contaminants. RO/DI water gives you much better control and fewer algae headaches.
When can I add corals to a new reef tank?
Add easy corals after the cycle finishes and the first fish settle in well. Many hobbyists wait a few weeks longer for added stability.
Do beginner reef tanks need a protein skimmer?
Not always. Many small reefs do fine without one. Strong maintenance, careful feeding, and regular water changes can work very well at first.
Helpful next reads
- how to cycle a reef tank
- reef tank water parameters
- best beginner reef corals
- reef tank clean up crew guide
- reef tank maintenance schedule
A beginner reef tank does not need to be perfect. It needs to be stable, simple, and well planned. Choose reliable equipment. Stock slowly. Test often. Stay patient. Those habits build the foundation for a healthy reef that becomes easier and more rewarding every month.
Was this helpful?
Related Posts
Choosing The Right Corals
Learn how to choose the right corals for your reef tank based on lighting, flow, tank size, and…
Nano Reef Stability Tips
Nano reef stability depends on consistency. Learn how to control salinity, nutrients, feeding, and maintenance in small reef…