

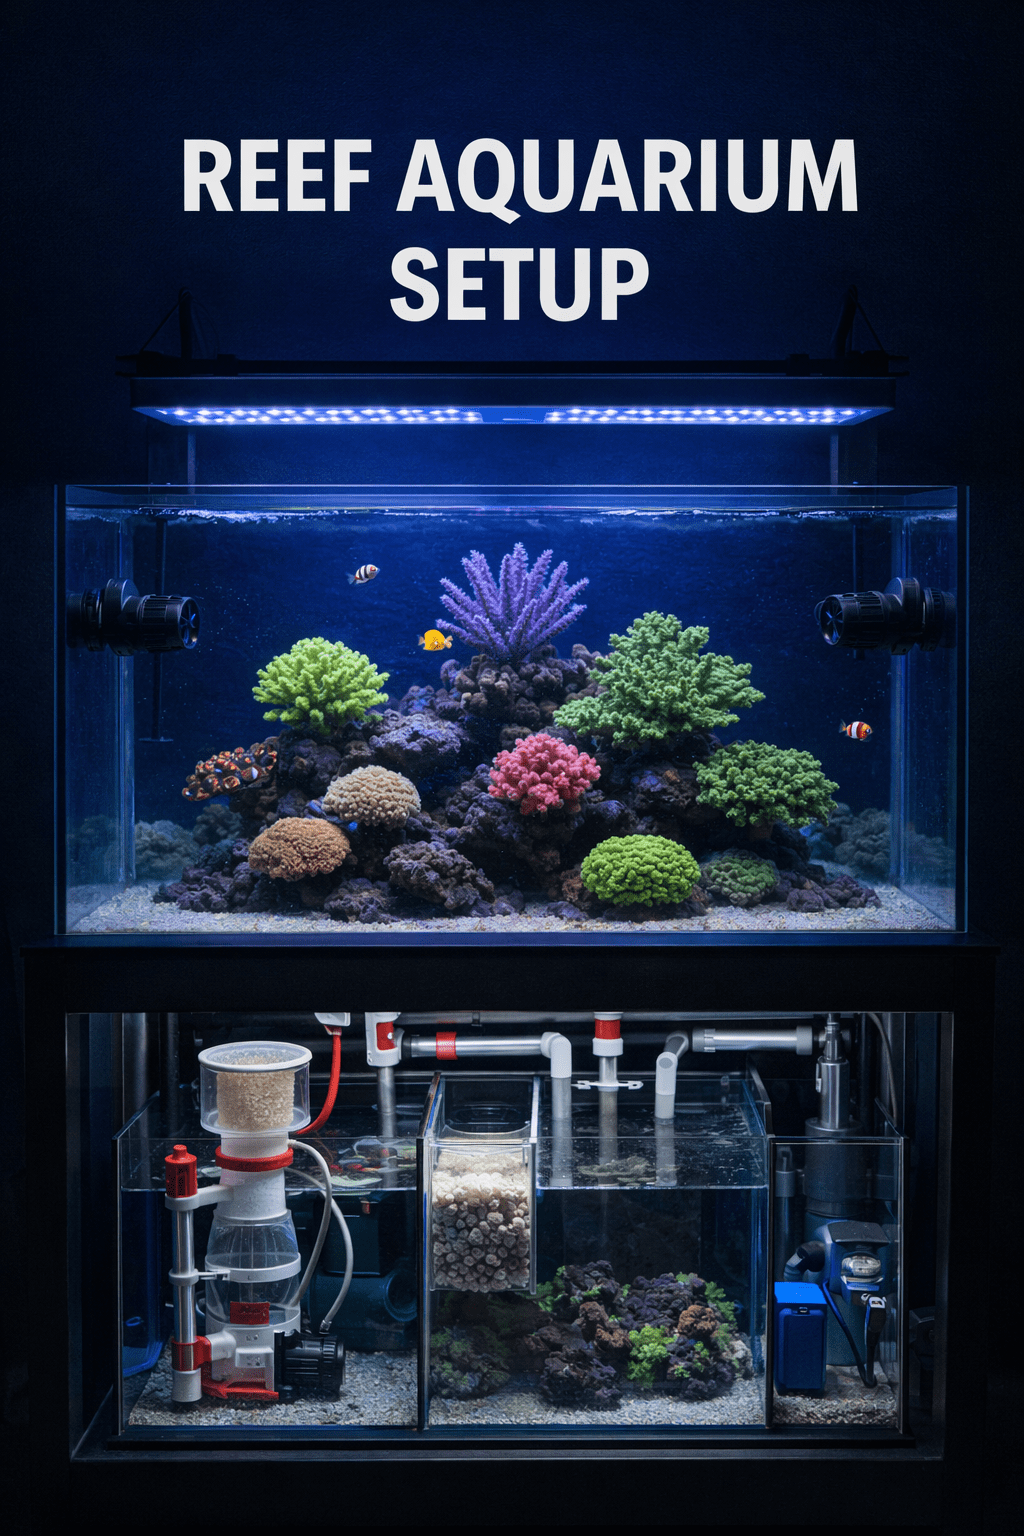
Setting up a reef tank is easier when you follow a clear plan. Start with the right equipment, stable water chemistry, and a slow stocking pace to build a healthy marine aquarium that supports fish, corals, and beneficial bacteria.
A successful reef aquarium begins long before the first coral enters the tank. Good planning prevents many common problems. New hobbyists often rush equipment choices, livestock additions, or cycling. That usually leads to algae blooms, stressed animals, and unstable water parameters. This reef tank setup guide walks you through each core step. You will learn how to choose a tank, pick essential gear, mix saltwater, cycle the system, and prepare for your first fish and corals. You will also learn how to avoid expensive mistakes. The goal is simple. Build a stable reef tank from day one.
Quick Reference Table
| Category | Recommended Starting Point |
|---|---|
| Tank size | 40 to 75 gallons for beginners |
| Temperature | 76 to 78°F |
| Salinity | 1.025 specific gravity |
| pH | 8.1 to 8.4 |
| Alkalinity | 8 to 9 dKH |
| Calcium | 400 to 450 ppm |
| Magnesium | 1250 to 1350 ppm |
| Nitrate | 2 to 15 ppm for mixed reefs |
| Phosphate | 0.03 to 0.10 ppm |
| Lighting | Reef-capable LED with timer |
| Flow | 20 to 40 times tank volume hourly |
| Cycle time | 2 to 6 weeks |
Use this table as a starting point. Exact targets can vary by coral type and stocking plan. Stability matters more than chasing perfect numbers.
Why Reef Tank Planning Matters
Reef tanks reward patience. They also punish shortcuts. A marine aquarium contains fish, corals, bacteria, algae, and tiny invertebrates. All depend on stable conditions. When one part swings too fast, the whole system feels it. That is why planning matters so much.
Start by deciding what type of reef you want. A soft coral tank needs less intense lighting than an SPS-dominant reef. A clownfish and anemone tank has different needs than a mixed reef with wrasses and LPS corals. Your livestock goals shape every equipment choice.
Budget also matters. Buy reliable core gear first. Focus on the tank, heater, return pump, powerheads, light, test kits, and an RODI unit if possible. Fancy add-ons can wait. A simple reef with stable water beats an expensive setup with poor husbandry.
Choosing the Right Tank Size
Bigger tanks are usually easier to keep stable. More water dilutes waste and slows sudden swings. That gives beginners more room for error. A 40-gallon breeder, 50-gallon lagoon, or 75-gallon tank is often ideal for a first reef.
Nano reefs can look amazing. They are not always beginner friendly. Small tanks change fast. Salinity rises quickly from evaporation. Nutrients spike faster after overfeeding. Temperature can also swing more easily. If you choose a nano reef, add an auto top-off system early.
Think about dimensions too. Long tanks offer more swimming room. Wider tanks make aquascaping easier. Extra front-to-back depth helps with coral placement and flow patterns. If possible, choose a tank with an overflow and sump. A sump hides equipment and adds water volume.
Essential Reef Tank Equipment
You do not need every gadget on day one. You do need dependable basics. Start with a quality aquarium, stand, heater, thermometer, protein skimmer if your system supports one, return pump, and at least two powerheads. Strong, random flow is critical in reef tanks.
Lighting is another major choice. Buy a reef-safe LED that matches your future coral plans. Many beginners upgrade too soon because they bought a weak light. Choose one with proven coral growth, a timer, and adjustable intensity.
Use a refractometer for salinity. Avoid guessing with cheap swing-arm hydrometers. Test kits are also essential. At minimum, keep kits for ammonia, nitrite, nitrate, pH, alkalinity, calcium, magnesium, and phosphate. An RODI filter is one of the best long-term purchases. Clean source water prevents many nuisance algae issues.
Aquascaping and Rockwork
Live rock or dry rock forms the biological backbone of a reef tank. It houses nitrifying bacteria. It also creates shelter, coral mounting space, and natural swimming lanes. Good aquascaping balances function and appearance.
Build open structures. Leave gaps between rock and glass. This improves flow and makes cleaning easier. Avoid stacking rock into one solid wall. Dense rock walls trap detritus and create dead spots. Fish also prefer caves, arches, and shaded areas.
Secure unstable rocks with reef-safe mortar, epoxy, or acrylic rods. Reef tanks contain snails, urchins, and strong fish. Loose rock can fall and crack coral or glass. Add sand only after the rock is stable. That prevents burrowing animals from undermining the structure later.
How to Mix Saltwater Correctly
Always mix saltwater before adding it to the tank. Never pour dry salt directly into a stocked aquarium. Start with RODI water in a clean mixing container. Add a heater and circulation pump. Then slowly add marine salt mix according to the manufacturer’s instructions.
Let the water mix for several hours. Overnight is even better. Check salinity with a calibrated refractometer. Aim for 1.025 specific gravity for most reef systems. Also check temperature before use. Cold water can shock livestock and bacteria.
Consistency matters. Use the same salt mix while learning your tank. Switching brands too often can shift alkalinity, calcium, and trace element levels. Mark your mixing barrel with fill lines. That makes future water changes faster and more accurate.
Step-by-Step Reef Tank Setup
1. Place and level the tank
Set the tank on a proper stand. Check that the floor can support the weight. Keep the tank away from direct sunlight and HVAC vents. Level the stand before adding water.
2. Install equipment
Mount the heater, pumps, sump gear, and lighting. Test everything with freshwater if possible. Confirm there are no leaks and that power cords have drip loops.
3. Add rock and sand
Place rock directly on the tank bottom or on supports. Then add rinsed sand around it. Keep the aquascape stable and open.
4. Fill with mixed saltwater
Add prepared saltwater slowly. Start pumps and heater. Check salinity and temperature again after full circulation.
5. Begin the nitrogen cycle
Add a bottled bacteria product and an ammonia source. Then test regularly. Wait until ammonia and nitrite read zero after processing a measured ammonia dose.
6. Add the first cleanup crew and fish slowly
Once the cycle is complete, add a few hardy snails and your first quarantined fish. Feed lightly. Test nutrients often. Avoid adding many animals at once.
Understanding the Nitrogen Cycle
The nitrogen cycle is the foundation of every reef tank. Fish waste and uneaten food produce ammonia. Ammonia is highly toxic. Beneficial bacteria convert ammonia into nitrite. Other bacteria then convert nitrite into nitrate.
Nitrate is less toxic than ammonia or nitrite. Still, it must stay in a reasonable range. Corals can tolerate some nitrate. In fact, many mixed reefs do better with low measurable nutrients. Zero nutrients often causes pale coral and poor growth.
Do not trust time alone. Test the cycle. A tank is not ready because two weeks passed. It is ready when it can process ammonia safely and consistently. This is one of the most important reef tank setup lessons for beginners.
Lighting Requirements for a New Reef
Corals depend on light for energy. Most host symbiotic algae called zooxanthellae. These algae use light to support coral growth. That is why reef lighting matters so much.
For a beginner mixed reef, choose a quality LED with a blue-heavy spectrum and programmable intensity. Start lower than you think. New tanks often suffer algae outbreaks when lights are too strong too soon. Begin with a shorter photoperiod. Six to eight hours of peak intensity is enough at first.
Match coral placement to light demand. Soft corals and many LPS corals prefer moderate light. SPS corals usually need stronger PAR and more stability. If you want help planning coral placement, read our coral placement guide, beginner reef lighting tips, and mixed reef stocking ideas.
Water Flow and Circulation
Flow is easy to underestimate. Corals need moving water to deliver oxygen and nutrients. Flow also carries away waste and prevents detritus buildup. Dead spots often lead to algae and cyanobacteria.
Use at least two powerheads in most reef tanks. Place them so their streams intersect and create random movement. Avoid blasting corals directly for long periods. That can strip tissue from some LPS corals and irritate soft corals.
Watch coral behavior. Polyps that sway gently usually indicate good flow. Tissue recession, sandstorms, or corals staying tightly closed may signal too much direct flow. Adjust pumps slowly. Small changes can make a big difference.
First Fish and Coral Choices
Start with hardy, reef-safe livestock. Good first fish include ocellaris clownfish, firefish, royal grammas, and some gobies. Quarantine every fish if possible. Marine ich and velvet spread fast in new systems.
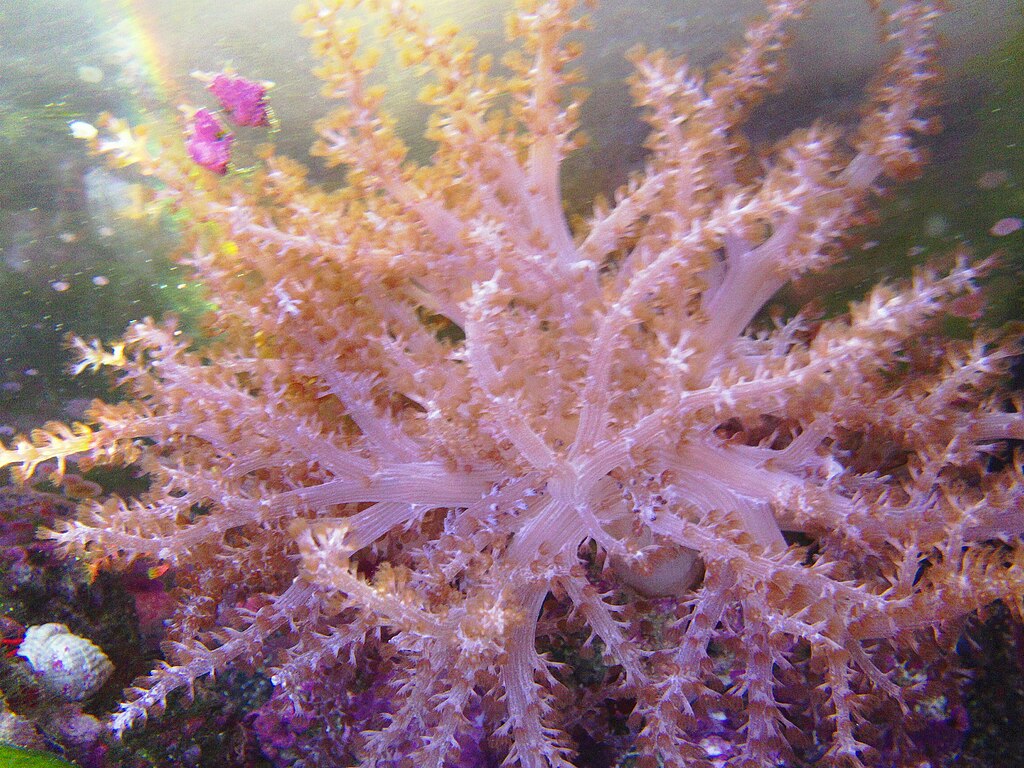
For beginner corals, try zoanthids, mushroom corals, green star polyps with isolation, toadstool leather corals, and many easy LPS like candy cane coral. Add corals slowly. This lets you learn how your tank responds to feeding, dosing, and nutrient changes.
Research compatibility before buying. Some fish nip corals. Some corals sting neighbors. Some invertebrates are not reef safe. Our reef fish compatibility chart and cleanup crew guide can help you avoid common stocking mistakes.
Water Chemistry Targets and Stability
Stable chemistry matters more than perfect chemistry. Sudden swings stress fish and corals. For a new mixed reef, keep temperature at 76 to 78°F and salinity near 1.025. Maintain alkalinity around 8 to 9 dKH. Keep calcium near 400 to 450 ppm and magnesium near 1250 to 1350 ppm.
Nitrate and phosphate should not be ignored. Corals need some nutrients. A good beginner target is 2 to 15 ppm nitrate and 0.03 to 0.10 ppm phosphate. If both bottom out, corals may pale and nuisance dinoflagellates can appear.
Test often in the first months. Write results down. Trends matter more than single numbers. Once coral demand rises, you may need kalkwasser, two-part dosing, or a calcium reactor later.
Common Problems
Brown algae in a new reef tank
Brown dusting is often diatoms. They are common in young tanks. Silicates and immature biology usually cause them. Use RODI water, avoid overfeeding, and give the tank time. Snails often help.
Cloudy water after setup
Cloudy water can come from unwashed sand, bacterial blooms, or disturbed substrate. Improve mechanical filtration, reduce feeding, and let the tank settle. Confirm ammonia is not rising.
Corals not opening
Check salinity first. Then test alkalinity, nitrate, phosphate, and temperature. Also inspect flow and lighting intensity. New corals often need time to adjust, but persistent closure points to stress.
High nitrate in a new reef
Overfeeding, too many fish, and weak export are common causes. Feed less, siphon detritus, perform water changes, and improve skimming or filtration. Add livestock slowly.
Frequently Asked Questions
How long does a reef tank take to set up?
The physical setup takes a day or two. The biological setup takes longer. Most tanks need two to six weeks to cycle. Maturing the reef takes several months.
What is the best reef tank size for beginners?
A 40 to 75 gallon tank is a great beginner range. It offers better stability than a nano reef while staying manageable in cost and maintenance.
Can I use tap water in a reef tank?
It is not recommended. Tap water often contains nitrate, phosphate, silicate, copper, and other contaminants. RODI water gives you a cleaner starting point.
When should I add corals to a new reef tank?
You can add hardy beginner corals after the cycle is complete and the tank is stable. Many hobbyists wait a few extra weeks for better consistency.
Do I need a protein skimmer?
Not every small reef needs one immediately. Still, a skimmer helps with oxygenation and nutrient export. It becomes more useful as stocking and feeding increase.
Final Tips for Long-Term Reef Success
Go slow. Test often. Add livestock one step at a time. Those habits prevent most beginner reef mistakes. Keep your hands out of the tank when possible. Clean equipment on a schedule. Top off evaporated water daily or use an ATO.
Most important, do not chase every small number change. A reef tank thrives on consistency. If your animals look healthy and parameters stay steady, you are doing well. Build good habits early, and your reef tank setup will become a stable, thriving marine ecosystem.
Was this helpful?
Related Posts
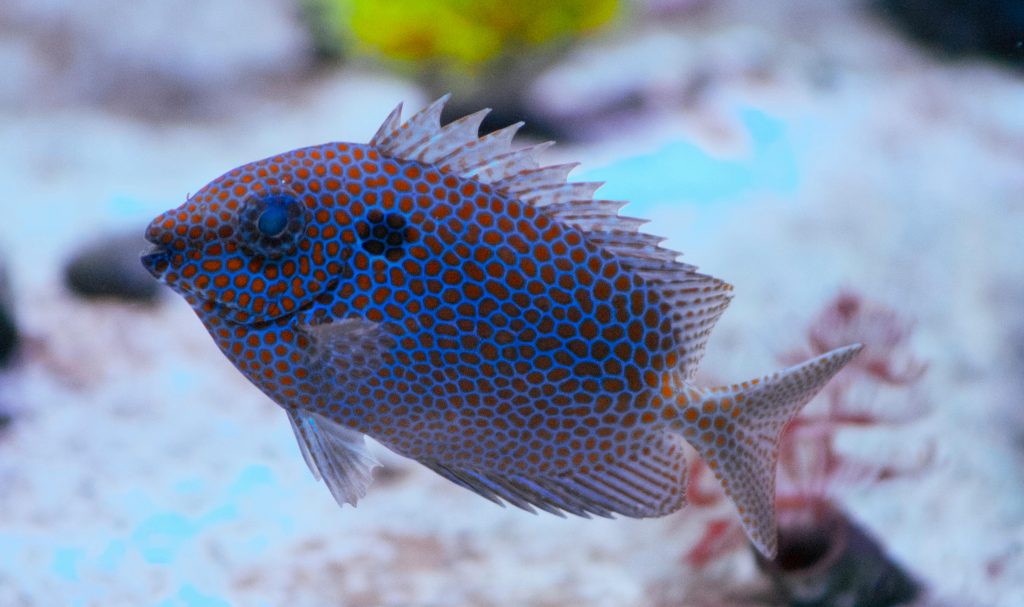
Gold Spotted Rabbitfish (Siganus Punctatus)
Gold Spotted Rabbitfish care includes large tanks, heavy algae feeding, and caution with corals. Learn tank size, diet,…
 By
By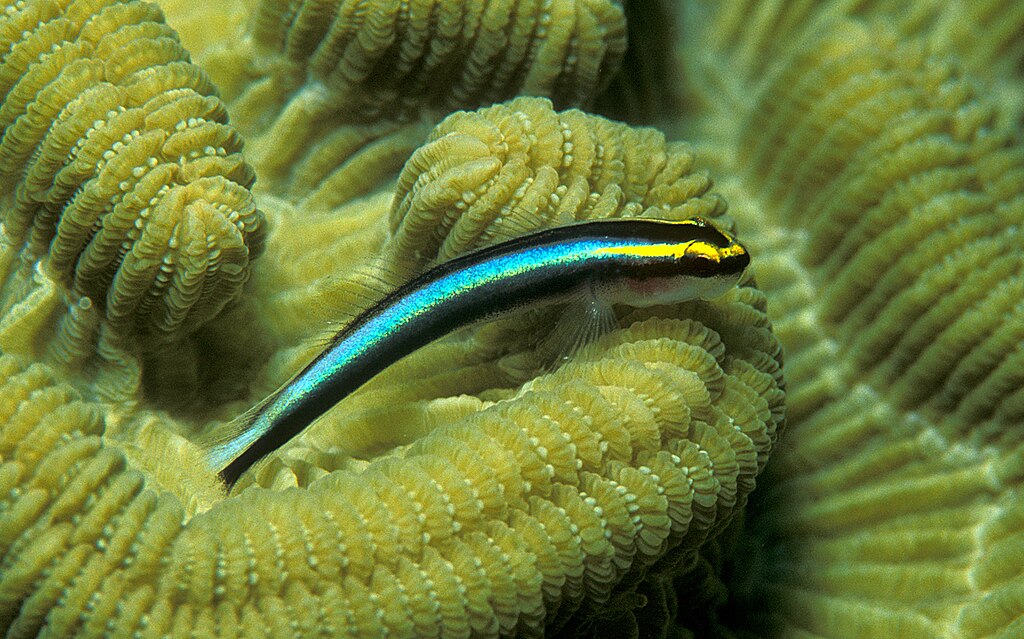
Sharknose Goby (Elacatinus evelynae)
Sharknose Goby care is simple in stable reef tanks. Learn feeding, tank setup, compatibility, and common problems for…
[favorite_button]
My Bookmarks:
To see full list click here
[user_favorites user_id="" include_links="true" site_id="" post_types="" include_thumbnails="true" thumbnail_size="thumbnail" include_excerpt="false"]