Setting up a reef tank takes planning, patience, and stable habits. Start with the right equipment, build around stability, and stock slowly. A well-planned reef aquarium is easier to maintain, safer for corals, and far more enjoyable over the long term.
A reef tank can look intimidating at first. There are many choices, and every hobbyist has an opinion. The good news is that success usually comes from a few simple principles. Choose a realistic tank size. Buy dependable equipment. Cycle the tank fully. Add livestock slowly. Keep water parameters stable. In this guide, you will learn how to set up a reef tank from the ground up. We will cover equipment, aquascaping, water chemistry, cycling, lighting, flow, stocking, and common beginner mistakes. If you want a practical roadmap, this article will help you build a reef tank that can thrive.
Quick Reef Tank Setup Reference
| Category | Recommended Starting Point |
| Tank size | 40 to 75 gallons for beginners |
| Filtration | Sump, protein skimmer, live rock, filter socks or roller |
| Lighting | Reef-capable LED matched to planned corals |
| Water flow | Moderate to strong, varied flow with wavemakers |
| Salinity | 1.025 specific gravity |
| Temperature | 76 to 78°F |
| pH | 7.8 to 8.4 |
| Alkalinity | 8 to 9 dKH |
| Calcium | 400 to 450 ppm |
| Magnesium | 1250 to 1400 ppm |
| Nitrate | 2 to 15 ppm for mixed reefs |
| Phosphate | 0.03 to 0.10 ppm |
| Cycle time | Usually 2 to 6 weeks |
| First livestock | Clean-up crew, hardy fish, beginner corals |
Use this table as a starting point, not a rigid rulebook. Different coral types need different conditions. Soft corals are forgiving. SPS corals demand stronger light, cleaner water, and tighter stability. Build for the animals you actually want to keep.
Choosing the Right Tank Size
Beginners often want a small tank. It seems cheaper and easier. In practice, larger tanks are more stable. A 10-gallon reef can swing quickly. Salinity changes fast. Temperature changes fast. Nutrients also rise quickly.
A 40-gallon breeder is one of the best beginner reef tanks. It offers good front-to-back space. Aquascaping is easier. Fish choices improve. Water chemistry is also easier to manage. A 60 to 75-gallon tank is even more forgiving if your budget allows.
Think about placement before you buy. A reef tank needs a level floor and a sturdy stand. It should sit away from direct sunlight. Sunlight can fuel nuisance algae. Leave room behind the tank for cords, plumbing, and maintenance. Make sure you can access the sump, skimmer cup, and power outlets safely.
If you want ideas for long-term planning, see: best reef tank sizes for beginners.
Essential Equipment for a Reef Tank
Reliable equipment matters more than fancy extras. Start with the basics and buy quality where it counts. The core list includes the tank, stand, heater, thermometer, return pump, wavemakers, reef lighting, and an RO/DI unit. Most successful reef keepers also use a sump and protein skimmer.
A sump increases water volume and hides equipment. It also makes upgrades easier later. A protein skimmer removes dissolved waste before it breaks down. This helps oxygenation and nutrient control. Wavemakers create the random flow corals need. Dead spots lead to detritus buildup and algae problems.
Do not overlook an auto top-off system. Evaporation changes salinity every day. An ATO keeps salinity stable by replacing evaporated water with fresh RO/DI water. This single upgrade makes reef keeping much easier. You will also need test kits for ammonia, nitrite, nitrate, alkalinity, calcium, magnesium, and phosphate. A refractometer is better than swing-arm hydrometers.
For a deeper gear breakdown, read: reef tank equipment checklist.
Aquarium Setup and Aquascaping
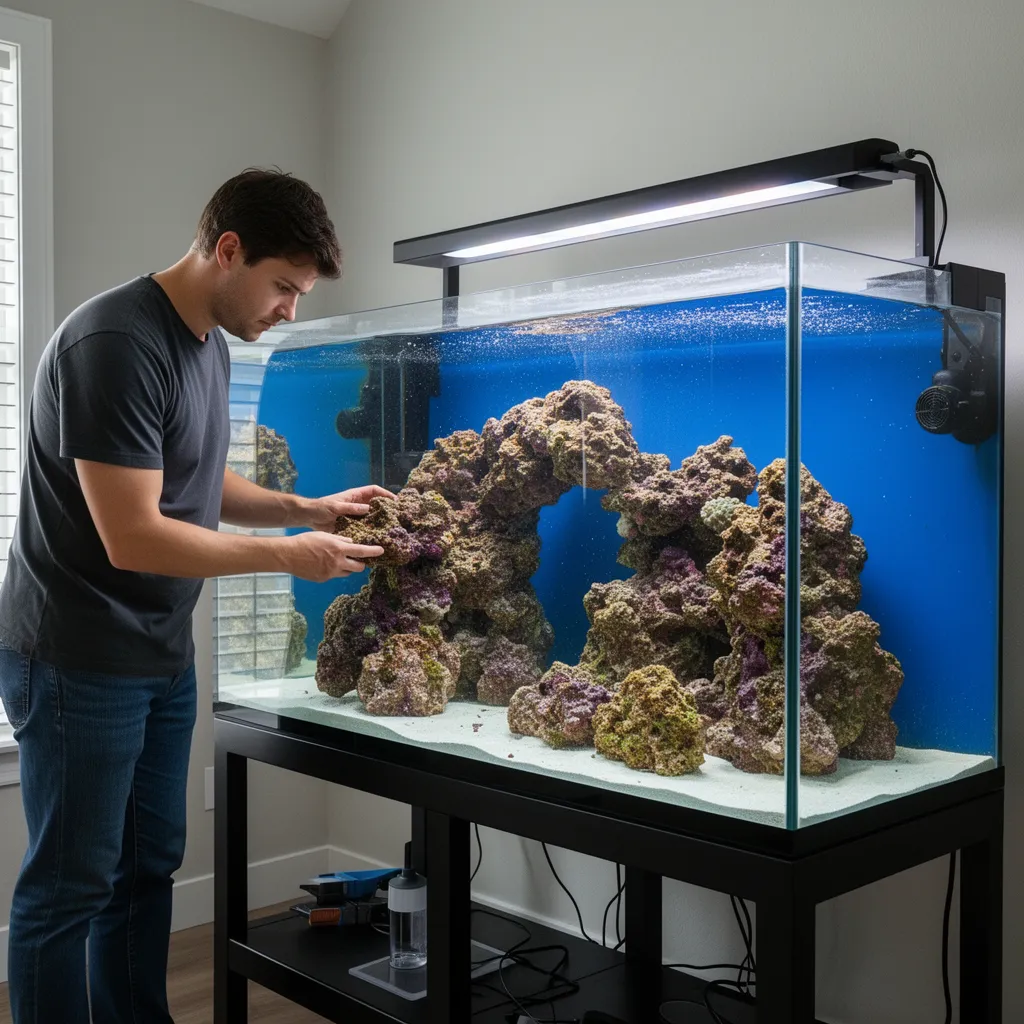
Rinse the empty tank and sump with fresh water only. Never use soap. Place the tank on a level stand. Install plumbing and test it with fresh water first. Fix leaks now, not later. Once the system passes the leak test, drain it and begin the real setup.
Most reef tanks use dry rock, live rock, or a mix of both. Dry rock is clean and pest-free. Live rock adds biodiversity but may bring hitchhikers. Either can work well. Build an open aquascape with caves, arches, and shelves. Leave space around the rock for flow and cleaning. Pressing rock against the glass creates dead zones and limits coral placement.
Sand is optional, but many hobbyists prefer it. A shallow sand bed is easier to maintain than a deep one. Use reef-safe aragonite sand. Add sand after the rock is stable if you want to avoid burrowing shifts. Secure unstable structures with reef-safe epoxy or super glue gel. Fish, snails, and urchins can topple loose rockwork.
Water, Salt Mix, and Target Parameters
Always start with RO/DI water. Tap water often contains phosphate, nitrate, silicate, copper, and other unwanted compounds. These can fuel algae or harm invertebrates. Mix reef salt in a clean container with a heater and powerhead. Let it mix fully before use. Check salinity with a calibrated refractometer.
Aim for stable parameters rather than chasing perfect numbers. Salinity should stay around 1.025. Temperature should stay between 76 and 78°F. Alkalinity is one of the most important values in a reef tank. Keep it steady. Sudden swings stress corals and can cause tissue loss. Calcium and magnesium matter too, especially once stony corals begin to grow.
Do not try to run a sterile tank. Corals need some nutrients. Zero nitrate and zero phosphate often create pale corals and instability. A little measurable nutrient is usually healthier than absolute zero. If you are new to reef chemistry, this guide helps: reef tank water parameters.
Step-by-Step Guide to Cycling a Reef Tank
Cycling builds the bacterial population that processes waste. Never add fish to an uncycled reef tank. That mistake kills livestock and starts the tank badly. A proper cycle is simple, but it takes patience.
- Fill the tank with mixed saltwater.
- Start the heater, return pump, and wavemakers.
- Add rock and sand.
- Add a bottled bacteria product if desired.
- Add an ammonia source.
- Test ammonia, nitrite, and nitrate every few days.
- Wait until ammonia and nitrite both reach zero.
- Confirm the tank can process added ammonia within 24 hours.
- Perform a water change if nitrate is high.
- Add the first livestock slowly.
The cycle usually takes two to six weeks. Do not rush because the tank looks clear. Clear water does not mean the biofilter is ready. During this phase, lights can stay low or off to limit nuisance algae. Once the tank is cycled, add a small clean-up crew and one hardy fish first. Feed lightly and keep testing.
Lighting Requirements for a New Reef Tank
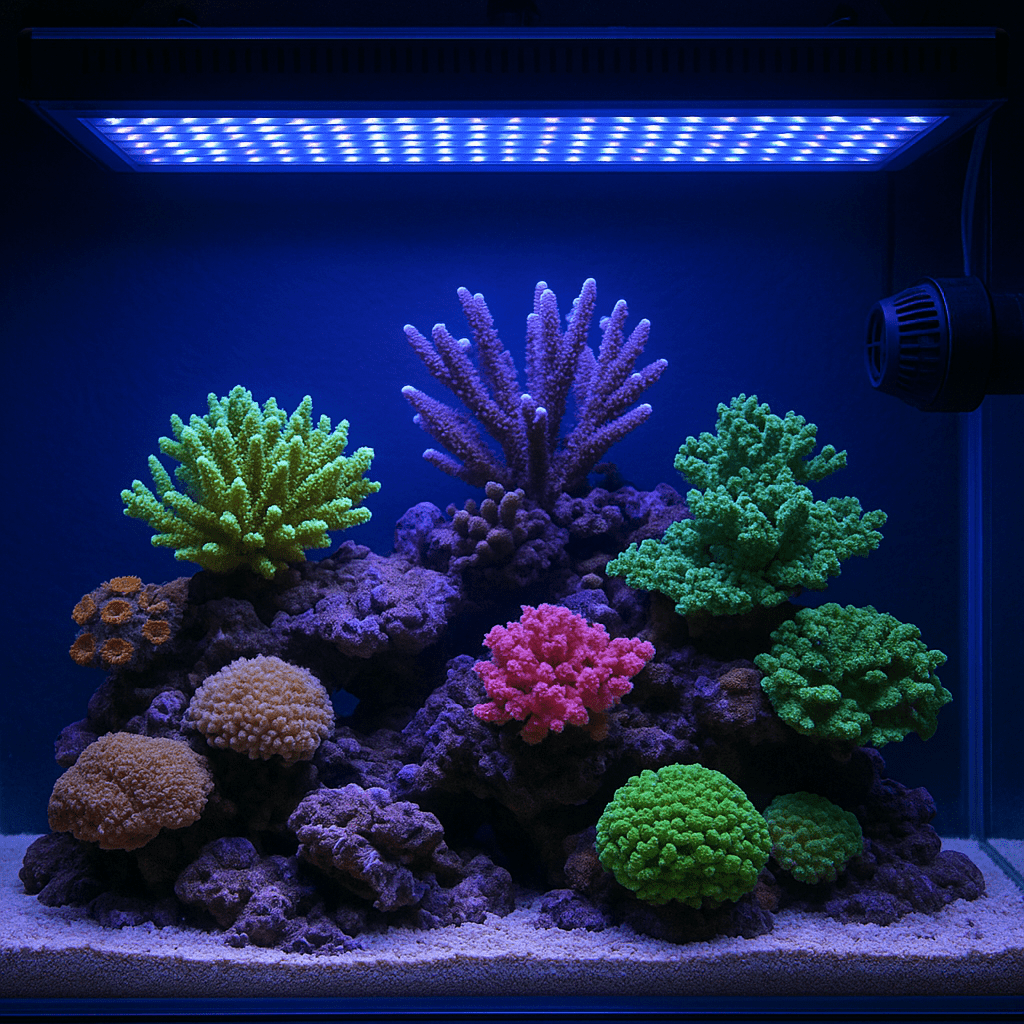
Lighting should match the corals you plan to keep. Soft corals and many LPS corals do well under moderate light. SPS corals usually need stronger light and tighter placement. Reef LEDs are popular because they are efficient, cool-running, and easy to program.
A common beginner mistake is blasting the tank with too much light. This often triggers algae and can bleach corals. Start lower than you think. Increase intensity slowly over weeks. A photoperiod of eight to ten hours is enough for most tanks. Blue-heavy schedules can make corals glow, but balanced output still matters for growth.
Coral placement matters as much as fixture choice. High-light corals belong near the top. Lower-light corals often prefer shaded or lower zones. If possible, use a PAR meter or borrow one locally. Guessing with expensive corals is risky. For more on this topic, visit: reef lighting for beginners.
Water Flow and Coral Health
Flow is easy to underestimate. Corals need moving water to bring oxygen and food. Flow also carries away waste and prevents detritus from settling. In reef tanks, random and varied flow is best. Constant laminar flow can irritate tissue and leave dead zones elsewhere.
Use at least two wavemakers when possible. Place them so currents intersect and shift. LPS corals usually like moderate, indirect flow. Their flesh should sway gently. Soft corals enjoy moderate to strong flow depending on species. SPS corals prefer stronger, turbulent flow. If tissue peels or polyps stay retracted, the flow may be too harsh or too weak.
Watch the tank after feeding. Food particles reveal dead spots quickly. Adjust pumps until debris stays suspended and reaches filtration. Good flow reduces algae, improves coral extension, and keeps the tank cleaner overall.
Adding Fish, Corals, and Clean-Up Crew
Stock slowly. This is one of the biggest keys to success. Every new fish increases waste. Every coral changes the tank’s demands. Add too much at once and the system becomes unstable. Start with a modest clean-up crew. Snails are usually safer and more useful than loading up on hermit crabs.
For first fish, choose hardy and peaceful species. Ocellaris clownfish, firefish, royal grammas, and watchman gobies are common beginner choices. Quarantine is strongly recommended. Marine ich and velvet spread fast in reef tanks and are difficult to treat once established.
For first corals, try beginner-friendly soft corals and LPS. Zoanthids, mushrooms, green star polyps, toadstools, and many euphyllia can work well with stable care. Dip all corals before they enter the display tank. Coral pests are easier to prevent than remove. Leave space between corals because many can sting neighbors at night.
Compatibility in a Reef Tank
Compatibility is more than fish aggression. It also includes coral warfare, invertebrate safety, and feeding style. Some fish are reef safe with caution. Others may nip corals, eat shrimp, or harass smaller tank mates. Research each species before buying it.
Corals compete too. Euphyllia can send out long sweeper tentacles. Galaxea is especially aggressive. Mushrooms can spread and shade slower corals. Zoanthids may overgrow nearby rock. Plan coral placement with future growth in mind, not just current frag size.
Invertebrates also need consideration. Some wrasses eat snails and shrimp. Some crabs become opportunistic predators. Urchins can bulldoze frags. A peaceful, balanced stock list is easier to manage than a tank full of risky exceptions. Slow planning saves money and prevents losses.
Maintenance Routine for Long-Term Success
Good reef tanks run on routine. Daily tasks are simple. Check temperature, salinity, equipment, and livestock behavior. Empty the skimmer cup as needed. Refill the ATO reservoir. Feed fish appropriately and avoid overfeeding.
Weekly tasks usually include cleaning the glass, testing key parameters, changing filter socks, and doing a water change if needed. Many beginner mixed reefs do well with regular 10 to 15 percent water changes. As coral demand increases, you may need to dose alkalinity, calcium, and magnesium between changes.
Monthly tasks include cleaning pumps, removing salt creep, checking calibration, and inspecting plumbing. Keep a log of test results and livestock changes. Patterns matter. If nitrate rises every week, you can respond early. If alkalinity drops faster each month, coral growth is likely increasing.
Common Problems
Why is my new reef tank growing brown algae?
Brown algae in new tanks is often diatoms. This is normal during the ugly stage. Diatoms feed on silicates and usually fade as the tank matures. Use RO/DI water, avoid overfeeding, and keep up with maintenance. Snails can help, but time is the real cure.
Why are my corals not opening?
Check salinity, temperature, alkalinity, and flow first. Corals also close after transport, dipping, or sudden light changes. Pests may be involved. Inspect for flatworms, nudibranchs, or tissue damage. Stability usually solves more coral issues than additives do.
Why does my reef tank have high nitrate?
Common causes include overfeeding, too many fish, dirty filter media, and weak export. Feed less, clean mechanical filters, improve skimming, and increase water changes. Add livestock slowly. A young tank often needs time before nutrient export becomes efficient.
Why does alkalinity keep dropping?
Growing corals and coralline algae consume alkalinity daily. Once demand rises, water changes may no longer keep up. Test at the same time each day for several days. If the drop is consistent, begin a simple dosing plan and increase slowly.
Frequently Asked Questions
How long does it take to set up a reef tank?
You can assemble the system in a day or two. The full biological setup takes longer. Most tanks need two to six weeks to cycle before fish are added safely.
What is the best reef tank size for beginners?
A 40 to 75-gallon tank is a strong beginner range. It offers better stability than nano tanks and still fits many homes and budgets.
Do I need a sump for a reef tank?
No, but it helps a lot. A sump adds water volume, hides equipment, and improves filtration options. Many successful beginner reefs use one.
When can I add corals to a new reef tank?
You can add hardy corals after the cycle is complete and the tank is stable. Many hobbyists wait a few extra weeks so nutrients and parameters settle first.
Is a reef tank hard to maintain?
It is not hard when built around stability and routine. It becomes difficult when stocked too fast, overfed, or run with inconsistent maintenance.
Setting up a reef tank is a process, not a race. Focus on stability first. Buy equipment with a plan. Cycle the tank fully. Add animals slowly. Test often and make changes carefully. If you do those things, your reef will have a strong foundation and a much better chance to thrive for years.
Was this helpful?
Related Posts
What is a Calcium Reactor, and When Do You Need One?
A calcium reactor supplies steady calcium and alkalinity for reef tanks. It becomes useful when coral demand outgrows…
Galaxea Corals Care
Galaxea corals are hardy LPS corals with strong stings. Learn placement, lighting, flow, feeding, and spacing to keep…