Starting a reef tank feels overwhelming at first. A clear beginner setup checklist makes the process simple. Focus on stable equipment, quality water, and patient stocking. This guide shows what you need, what you can skip, and how to avoid costly beginner mistakes.
A successful reef aquarium starts long before the first coral enters the tank. Good planning prevents many common problems. New hobbyists often buy equipment in the wrong order. They also rush livestock choices. Both mistakes lead to stress, algae, and losses. This beginner reef tank checklist walks you through each stage. You will learn how to choose the tank, gather the right gear, mix saltwater, build rockwork, cycle the system, and prepare for your first fish and corals. The goal is simple. Build a stable system that is easy to maintain. That stability matters more than chasing expensive gear. If you start with the basics done well, your reef will be much easier to manage.
Quick Reference Beginner Setup Checklist
| Category | What You Need | Beginner Tip |
|---|---|---|
| Tank | 20 to 40 gallons minimum | Bigger tanks stay stable more easily |
| Filtration | Live rock, filter, optional skimmer | Keep the setup simple at first |
| Lighting | Reef-capable LED | Match light strength to coral plans |
| Flow | 1 to 2 powerheads | Avoid dead spots behind rockwork |
| Heater | Reliable heater and thermometer | Use a controller if possible |
| Water | RODI water and reef salt | Never use untreated tap water |
| Testing | Ammonia, nitrite, nitrate, salinity, alkalinity | Test often during the first months |
| Cycle | Bacteria source and ammonia source | Do not add fish before the cycle finishes |
| Cleanup Crew | Snails and a few scavengers | Add slowly after algae appears |
| First Livestock | Hardy fish and easy corals | Stock slowly and quarantine when possible |
Step 1: Choose the Right Tank Size
Many beginners assume a small tank is easier. In reef keeping, the opposite is often true. A larger water volume changes more slowly. That gives you more room for error. A nano reef can work well. It just demands faster corrections and tighter maintenance. For most new hobbyists, a tank between 20 and 40 gallons is a strong starting point. It offers enough space for stable chemistry. It also fits in many homes.
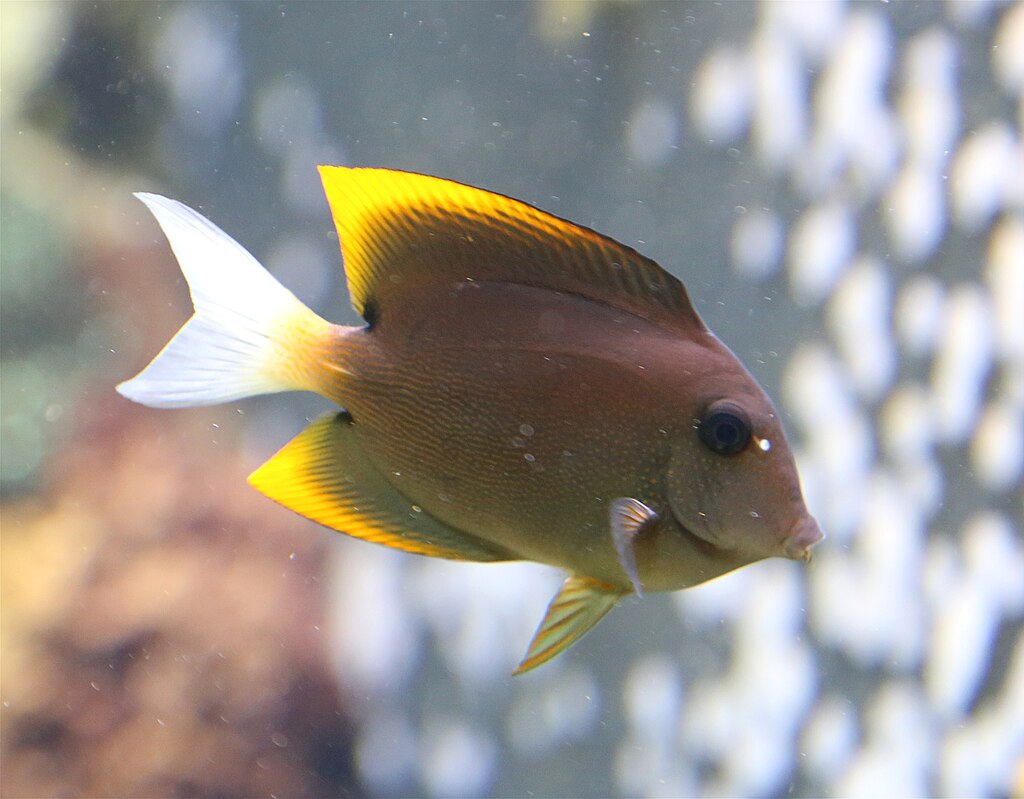
Think about the livestock you want later. Clownfish, gobies, and soft corals fit well in smaller systems. Tangs and large angelfish do not. Decide early if you want a mixed reef, a soft coral tank, or a simple fish and coral display. That choice affects lighting, flow, and aquascaping. If your budget allows it, buy the largest practical tank you can maintain. Stability is your best friend in the first year.
Step 2: Gather Essential Equipment
You do not need every gadget on day one. You do need reliable basics. Start with the tank, stand, heater, thermometer, return pump if using a sump, and one or two powerheads for flow. Choose a reef-capable LED if you plan to keep corals. Buy a refractometer or accurate digital salinity meter. Salinity mistakes are common. Good measurement prevents them.
A protein skimmer helps, but it is not mandatory for every beginner setup. Many smaller reef tanks succeed with regular water changes. An auto top-off system is one of the best upgrades you can buy. Evaporation changes salinity fast, especially in smaller tanks. Stable salinity keeps fish and corals healthy. You will also need buckets, a mixing pump, a siphon hose, and a timer or app for the lights. Keep the first setup clean and manageable. Complexity often creates more problems than it solves.
Step 3: Use the Right Water and Salt
Water quality shapes everything in a reef tank. Start with RODI water, not untreated tap water. Tap water often contains phosphate, nitrate, silicate, and metals. Those fuel algae and stress invertebrates. Mix your saltwater in a clean container with a heater and pump. Let it circulate fully before use. Match salinity and temperature before adding it to the aquarium.
Aim for a salinity near 1.025 specific gravity. Keep temperature around 77 to 79 degrees Fahrenheit. Stability matters more than chasing a perfect number. Use the same salt mix consistently at first. That makes testing easier. It also reduces swings. If you are setting up your first reef, prepare extra saltwater in advance. You may need it for early adjustments. Good source water solves many future headaches before they begin.
Step 4: Build Stable Rockwork and Sand
Your aquascape affects flow, coral placement, and fish behavior. Use reef-safe dry rock or cured live rock. Build a structure with open space. Fish need caves and swim-throughs. Corals need room to grow. Water also needs paths around and behind the rock. Packed walls trap detritus. Detritus leads to nutrient problems later.
If you want sand, choose a shallow bed for easy cleaning. Deep sand beds can work, but they are less forgiving for beginners. Place rocks securely on the tank bottom or on stable supports before adding sand. This prevents collapses from burrowing animals. Do not overcrowd the tank. Empty space improves flow and makes maintenance easier. A clean, open aquascape often looks better too. Think ahead about coral placement. Leave shelves for future frags. Leave lower light areas for soft corals and shaded spots for fish to retreat.
Step 5: Cycle the Tank Before Adding Livestock
This is the step beginners most often rush. Do not skip it. The nitrogen cycle establishes bacteria that process waste. Without those bacteria, ammonia rises quickly and harms livestock. Add a bottled bacteria product or cured biological media. Then provide an ammonia source. Test ammonia, nitrite, and nitrate every few days. The cycle is complete when ammonia and nitrite reach zero after processing the added source.
This process often takes several weeks. Sometimes it takes longer. That is normal. During the cycle, avoid adding fish to “test” the tank. That old method causes unnecessary stress. Patience here saves lives later. Once the cycle finishes, perform a water change to lower nitrate. Then confirm salinity and temperature again. A cycled tank is not a mature tank, though. Expect algae phases in the first months. Those phases are common and manageable when you stock slowly.
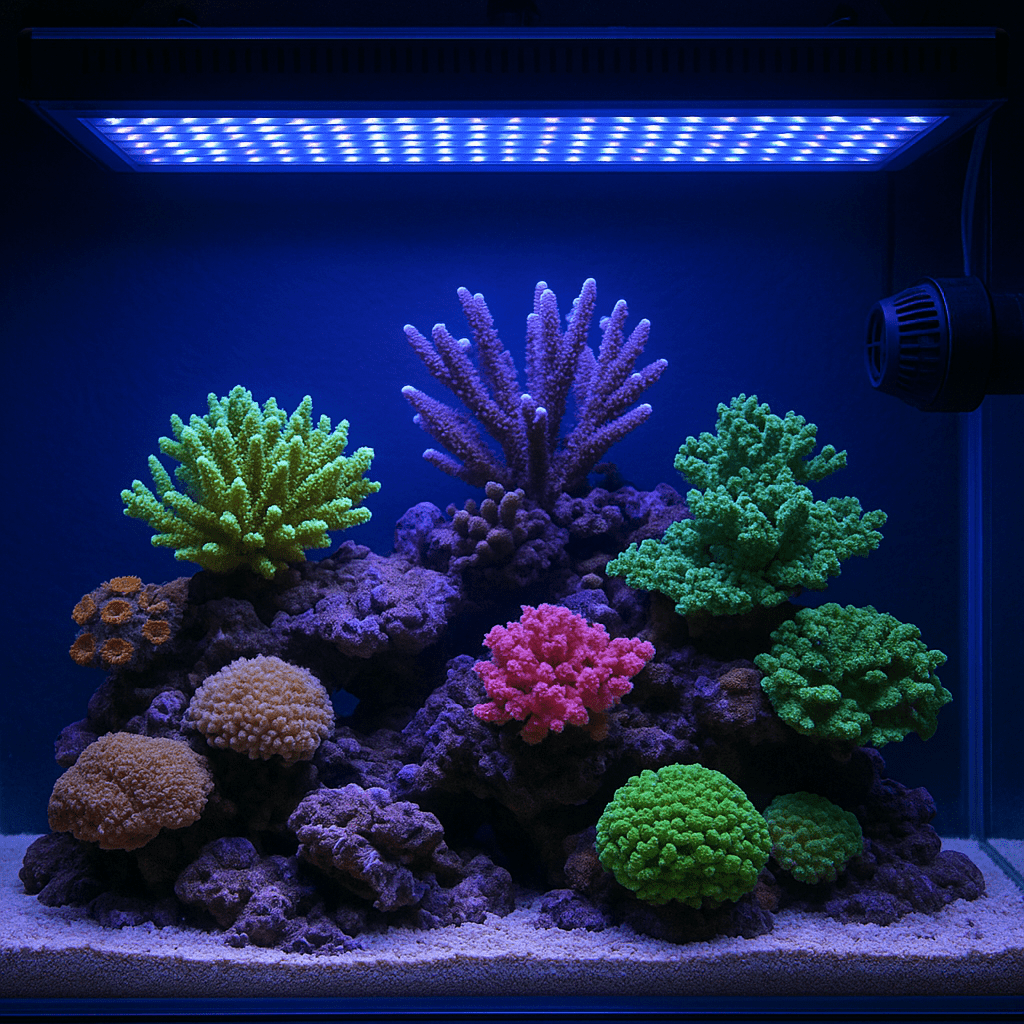
Step 6: Set Lighting and Water Flow for Beginner Corals
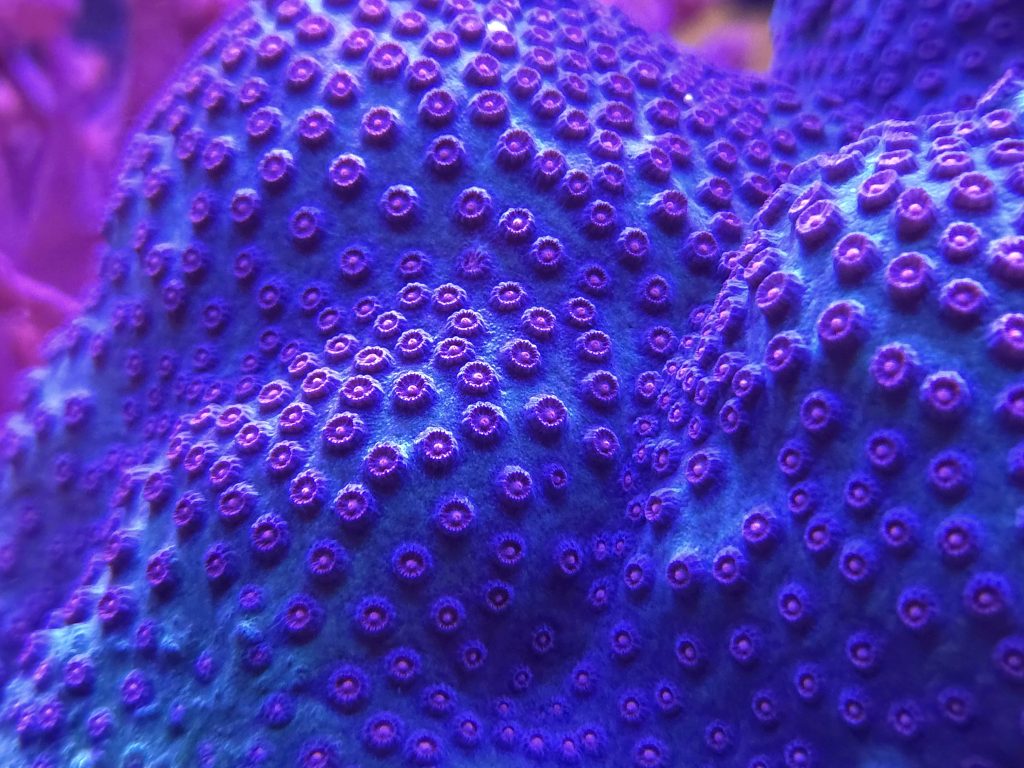
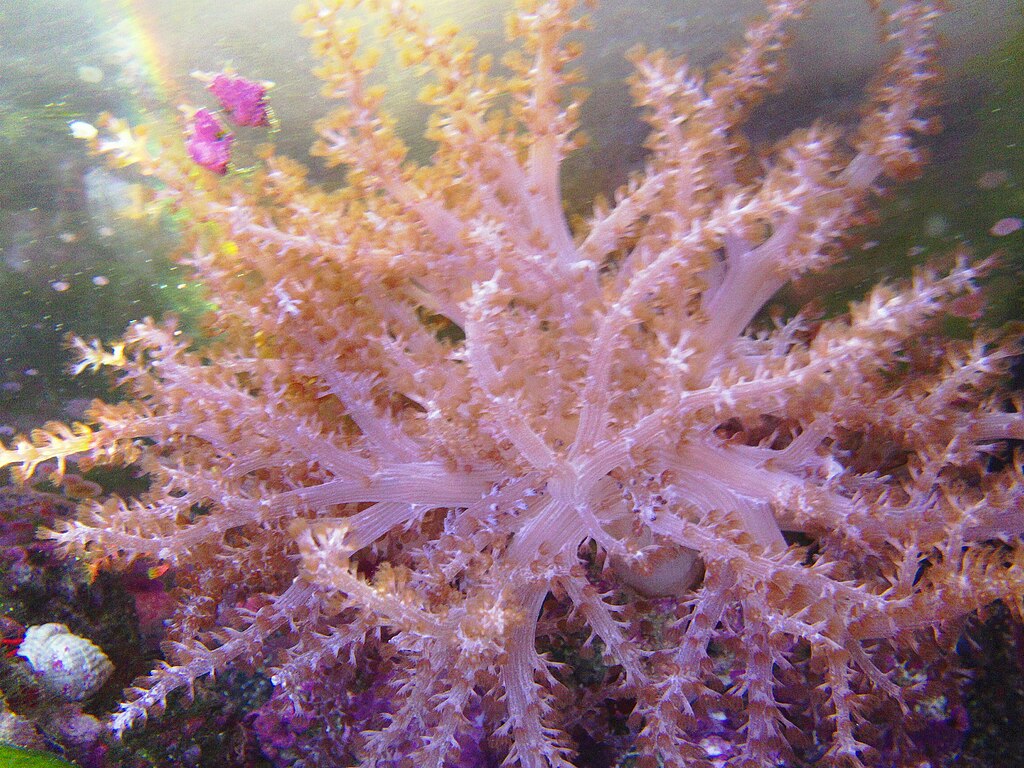
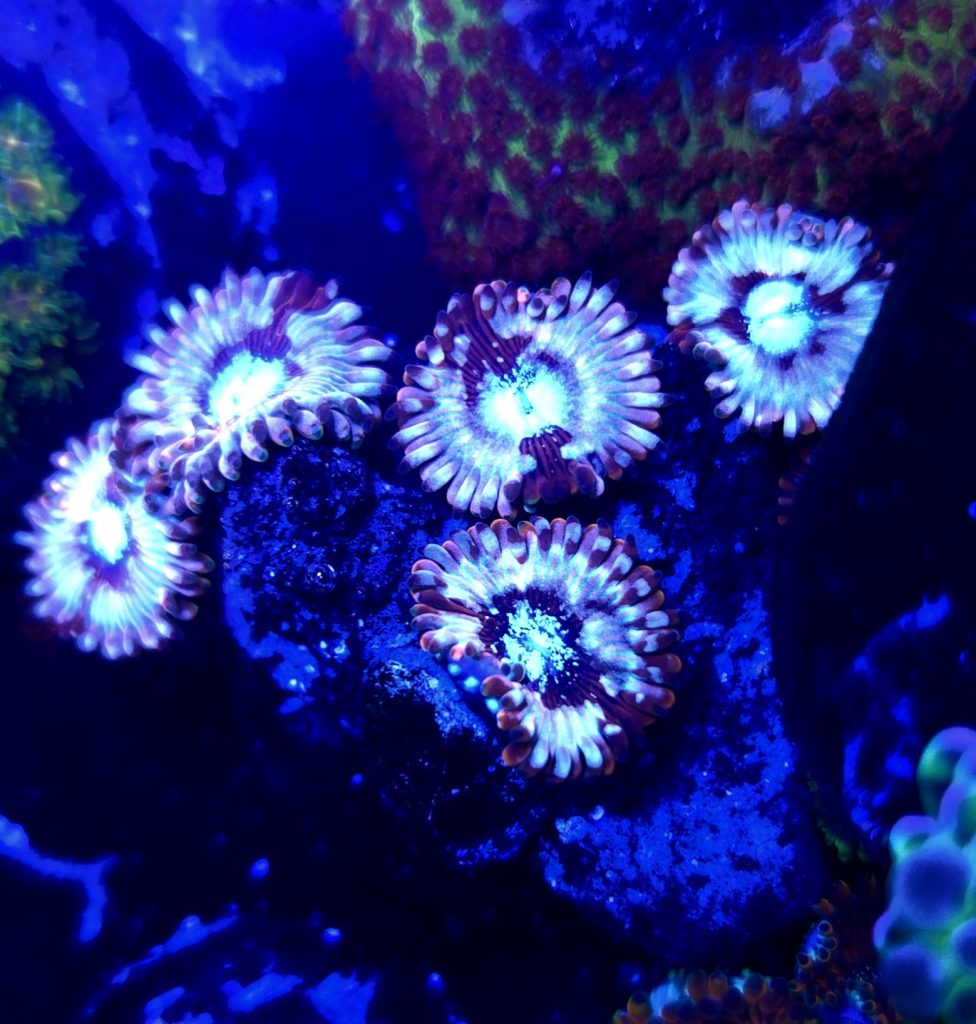
Lighting and flow do not need to be extreme for a first reef. Most beginner corals thrive under moderate LED lighting and moderate, indirect flow. Soft corals like zoanthids, mushrooms, and many leathers are forgiving. Many LPS corals also do well once the tank stabilizes. Start with a conservative light schedule. Eight to nine hours of full lighting is enough for many systems. Too much light too early can fuel algae.
Flow should keep detritus suspended without blasting corals. Aim powerheads so currents cross each other. That creates more random movement. Avoid strong direct streams on fleshy corals. Watch how food and particles move through the tank. Dead spots collect waste. Strong, chaotic flow supports gas exchange and coral health. If you are unsure, start lower and increase slowly. Corals usually adapt better to gradual changes than sudden jumps in intensity.
Step 7: Buy Test Kits Before You Buy Corals
Testing is part of reef keeping. It does not need to be complicated. For a new setup, the most important tests are salinity, ammonia, nitrite, nitrate, temperature, and alkalinity. As your reef grows, calcium and magnesium become more important. Phosphate testing also helps when algae appears. Good data helps you make calm decisions. Guessing usually makes problems worse.
Keep a simple log. Record test results, water changes, livestock additions, and dosing. Patterns matter. If alkalinity drops every week, you can plan for it. If nitrate rises after heavier feeding, you can adjust. New reef keepers often chase numbers too aggressively. Avoid that trap. Focus on stability and trends. Corals tolerate slightly imperfect numbers better than constant swings. Reliable testing turns reef keeping from stressful to predictable.
Step 8: Add Livestock Slowly and Thoughtfully
Your first livestock should be hardy and appropriate for the tank size. Start with a small cleanup crew after the tank develops some film algae. Snails are usually safer than loading the tank with many hermit crabs. Add fish one at a time when possible. This gives the biofilter time to adjust. It also lets you monitor aggression and feeding.
For corals, begin with easy species. Mushrooms, zoanthids, green star polyps on isolated rock, and many leather corals are common choices. Dip corals before adding them. Quarantine fish if possible. Disease prevention is much easier than treatment in a display reef. Resist the urge to fill the tank quickly. A lightly stocked reef is easier to stabilize. It also gives you time to learn each animal’s needs. Slow stocking is one of the biggest differences between successful beginners and frustrated beginners.
Common Problems New Reef Keepers Face
Brown Diatoms in a New Tank
Diatoms often appear in the first weeks. They coat sand and rock with a dusty brown film. This stage is normal. It usually fades as the tank matures. Use RODI water, avoid overfeeding, and keep up with maintenance. Snails can help. Patience matters most.
Green Hair Algae Taking Over
Hair algae usually points to excess nutrients, weak export, or both. Check nitrate and phosphate. Reduce feeding if needed. Improve flow in dead spots. Remove algae by hand during water changes. Make sure your source water is pure. Add herbivores only after fixing the cause.
Salinity Swings
Salinity changes fast in small tanks. Top off evaporation with fresh RODI water, not saltwater. Use an auto top-off if possible. Calibrate your measuring tool often. Sudden salinity changes stress corals and invertebrates quickly.
Corals Staying Closed
Closed corals can signal unstable alkalinity, poor placement, too much light, too little flow, or pest irritation. Check recent changes first. Test alkalinity and salinity. Inspect for nudibranchs, flatworms, and other pests. Move the coral only if a clear issue exists.
Frequently Asked Questions
How much does a beginner reef tank cost?
Costs vary widely. A simple beginner reef setup often starts around a few hundred dollars. Better lighting, RODI units, and automation raise the price. Spend more on reliable basics first.
What is the best first coral for beginners?
Mushrooms, many zoanthids, and leather corals are common beginner choices. They tolerate minor mistakes better than many SPS corals. Start with hardy frags and moderate light.
How long should I wait before adding fish?
Wait until the nitrogen cycle is complete. Ammonia and nitrite should test at zero. After that, add fish slowly. One hardy fish at a time is a safe approach.
Do I need a protein skimmer on my first reef tank?
Not always. Many beginner tanks run well without one, especially smaller systems with regular water changes. A skimmer helps with nutrient export, but it is not mandatory for every setup.
Can I use tap water in a reef tank?
It is not recommended. Tap water often adds nutrients and contaminants. RODI water is the safer choice. It gives you more control and fewer algae problems.
Final Beginner Tip
The best beginner setup checklist is really a patience checklist. Buy reliable basics. Use pure water. Cycle fully. Stock slowly. Test consistently. Make small changes. Those habits matter more than expensive gear. If you keep the system stable, many common beginner problems become much easier to avoid. For more help, read our guides on reef tank cycling, beginner coral choices, aquarium water parameters, and cleanup crew planning: reef tank cycling guide, best beginner corals, reef tank water parameters, clean up crew guide, reef tank maintenance schedule.
Was this helpful?
Related Posts
Easy Corals for Small Reef Tanks
Easy corals for small reef tanks that stay hardy and colorful. Get simple picks, placement tips, and stable…
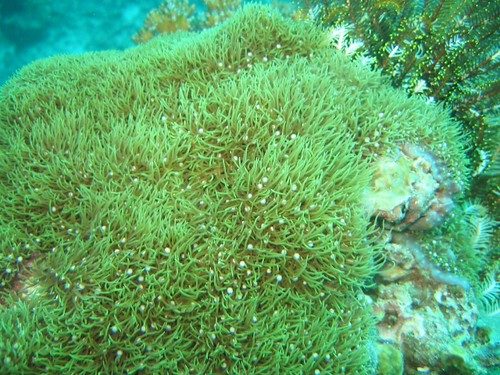
Green Star Polyps Care
Green star polyps are easy, fast-growing corals that love moderate light and flow. Learn how to keep them…