Frag plugs pick up algae, detritus, and pests fast. Dirty plugs can slow coral growth and spread problems. A simple cleaning routine keeps your frag rack and display safer.
Why frag plug cleaning matters
Frag plugs trap waste in pores and under the coral base. That waste breaks down into nitrate and phosphate. It also feeds nuisance algae and cyanobacteria. You may see green film on the stem and brown sludge under the disk.
Plugs can also carry pests between systems. Common hitchhikers include aiptasia, bryopsis, vermetid snails, and flatworms. Eggs often hide on the underside lip. A quick rinse rarely removes them.
Dirty plugs can irritate coral tissue at the base. LPS can recede where algae touches flesh. SPS can encrust slower on slimy surfaces. Clean surfaces help corals attach and spread.
Build a habit around new arrivals and monthly maintenance. Pair plug cleaning with coral quarantine for best results. Also review your reef tank parameters if algae returns quickly.
Step-by-step cleaning for new frags
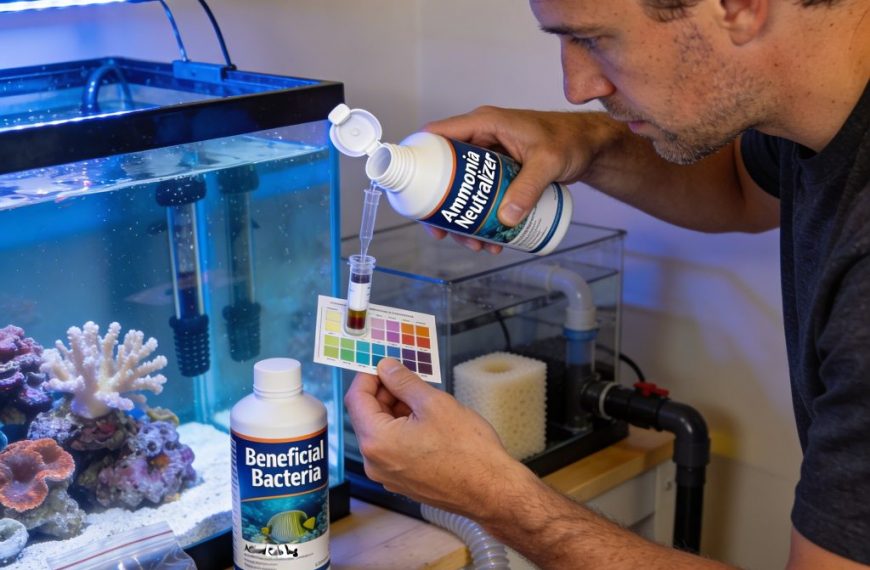
Start with a work area and three containers. Use tank water in the first container for inspection. Use dip solution in the second container. Use clean saltwater in the third container for a final rinse.
Inspect the plug under bright light. Check the underside, stem, and rim. Use a soft toothbrush to scrub algae and film. Keep the coral head out of air when possible.
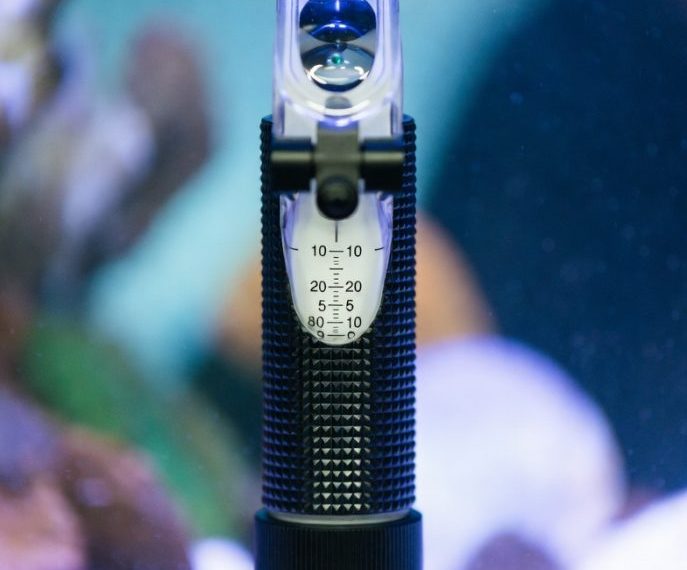
Dip the frag based on coral type and product instructions. Many hobbyists dip for 5 to 10 minutes. Keep water temperature close to 25–26°C. Match salinity near 1.025 specific gravity to limit stress.
Rinse well in clean saltwater and recheck for pests. If you see eggs, remove them by hand. Use a wooden toothpick for tight crevices. Then place the frag in a low-flow area for 24 hours.
- Wear gloves and eye protection when using dips.
- Use a new toothbrush for each system to avoid cross contamination.
- Photograph the underside before and after for tracking.
Deep cleaning and troubleshooting in an established tank
For plugs already in your reef, avoid harsh chemicals in the display. Remove the frag and plug to a small container of tank water. Scrub the stem and underside until the film is gone. Rinse in a second container before returning it.
If algae is thick, do a targeted peroxide treatment on the plug only. Use 3% hydrogen peroxide. Apply with a cotton swab for 30 to 60 seconds. Keep peroxide off coral tissue and fleshy bases.
For cyano mats, siphon first and increase flow on the rack. Keep nitrate at 5–15 ppm and phosphate at 0.03–0.10 ppm. Very low nutrients can still cause cyano swings. Stable values matter more than chasing zero.
Common mistake: cleaning the plug but ignoring the rack and surrounding rock. Detritus will reseed the plug within days. Clean the rack weekly and turkey-baste nearby rock before water changes. See frag rack setup for placement tips.
- Scrub plugs during a water change to export loosened waste.
- Use a small siphon hose to pull debris from under the disks.
- Quarantine frags for 2–4 weeks when pests are a concern.
Optional upgrades: ditch the plug or seal it
Some systems stay cleaner when you remove the plug. You can cut the stem off and mount the disk to rock. You can also pop the coral off and glue it to a clean ceramic tile. This reduces hidden spaces for eggs and algae.
If you keep plugs, consider sealing exposed pores. A thin ring of reef-safe gel glue around the plug edge can block detritus pockets. Let it cure for 5 minutes in air, then rinse. Do this only if coral tissue is not near the edge.
- Trim stems to 5–10 mm for a lower profile on racks.
- Use ceramic plugs for less algae hold than rough cement.
- Label new frags with dates to time repeat inspections.
Frag plug cleaning is simple, but it prevents big headaches. Scrub, dip, and inspect on a schedule. Pair it with stable nutrients and good flow. Your frags will encrust faster and look better.
Sources: Borneman, E. “Aquarium Corals”; Delbeek & Sprung, “The Reef Aquarium” Vol. 1–3; Julian Sprung, “Corals: A Quick Reference Guide”.