An overflow keeps your reef stable and quiet. It also protects your display from floods. This guide covers setup, tuning, and common fixes.
Overflow types and what they do
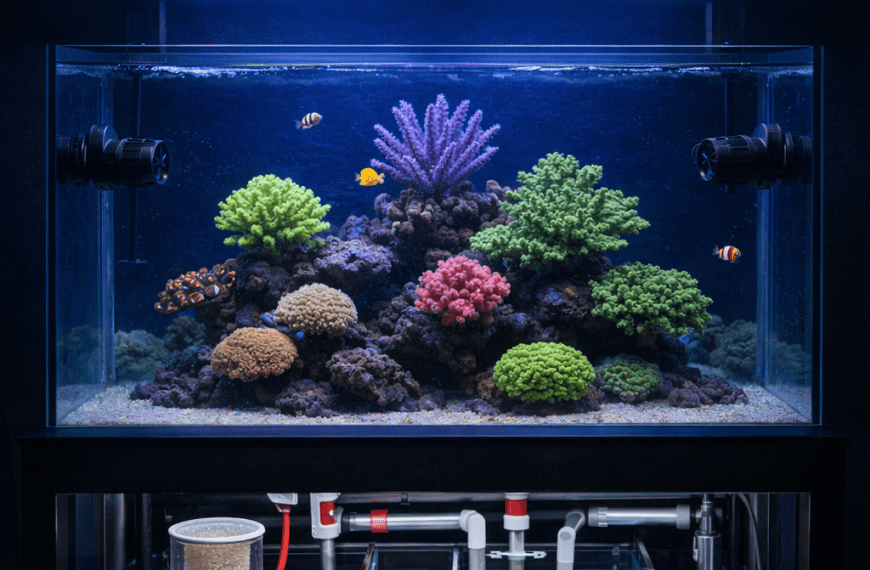
An overflow skims surface water into a sump. This removes oily film fast. It also hides heaters and skimmers below.
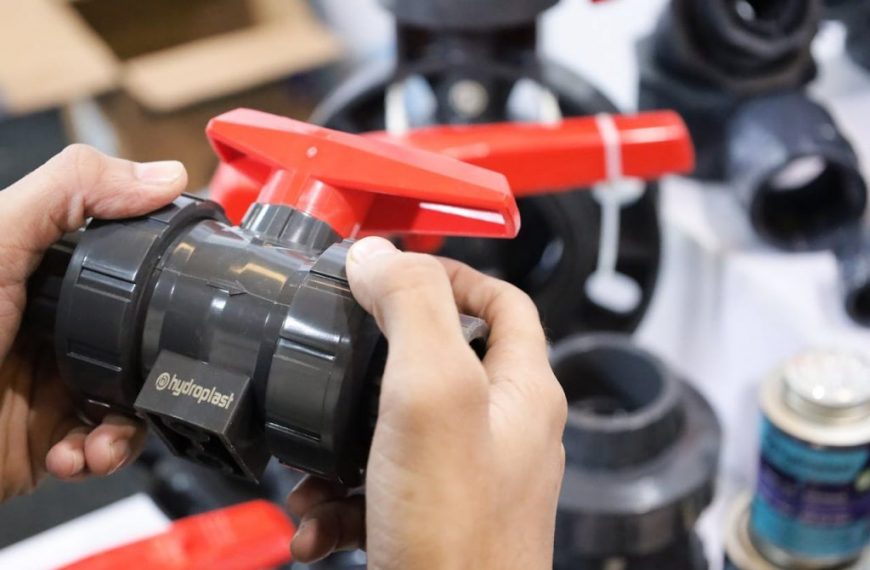
Internal weirs with drilled drains are the safest choice. A typical reef uses 1 inch PVC for the main drain. Many hobbyists add a second 1 inch emergency drain.
Hang-on-back overflows can work, but need care. They rely on a siphon that can fail. Use them only when drilling is impossible.
Drain styles matter for noise and safety. A Durso is simple but can gurgle. A Herbie uses a full siphon plus emergency and is quieter. A BeanAnimal adds a third pipe for extra safety.
- Quiet and safe: Herbie (2 drains) or BeanAnimal (3 drains).
- Simple build: Durso (1 drain), but expect more tuning.
- Best practice: Always include an emergency drain when possible.
If you are planning a new build, review our sump basics first. It helps you size chambers and baffles. You can also compare layouts in our reef tank plumbing guide.
How to size and plumb your overflow
Start with target flow through the sump. Aim for 3 to 5 times display volume per hour. A 75 gallon tank often runs 225 to 375 gallons per hour.
Match the return pump to real head height. Measure from sump water line to return outlet. Add losses from elbows and valves. Many pumps lose 30% to 50% at typical head.
Keep plumbing simple and serviceable. Use unions near the bulkheads and pump. Add a gate valve on the siphon line for Herbie tuning. Avoid ball valves for fine control.
Set the overflow weir height to control display water level. Keep the display about 1/2 inch above the teeth. This improves surface skimming. It also reduces waterfall noise.
- Use 1 inch drains for many systems up to about 600 GPH total.
- Keep the emergency drain inlet higher than the siphon inlet.
- Use a return line with a drip loop and secure clamps on tubing.
Plan for back siphon during power loss. Drill a 1/8 inch siphon break hole in the return near the surface. Test it monthly. Size your sump to hold drain-down volume.
Tuning, troubleshooting, and common mistakes
Noise usually comes from air in the drain. For a Herbie, close the gate valve slowly. Stop when the siphon runs full and silent. Leave a small trickle down the emergency or open channel.
Microbubbles often come from high sump flow or a splashing drain. Submerge the drain outlet 1 to 2 inches. Add a filter sock or a bubble trap baffle. Reduce flow if needed.
Flood risk comes from blocked drains and poor maintenance. Keep strainers on standpipes. Clean the weir teeth weekly. Remove snail shells and algae mats before they build up.
Here is a real example. A 120 gallon reef runs 500 GPH through a Herbie. The owner hears a slurp after feeding. A pellet blocks the siphon strainer. The emergency takes over and gets loud. Cleaning the strainer fixes it in minutes.
- Gurgling: Raise the water level in the overflow box or tune the gate valve.
- Surging: Siphon is breaking. Reduce air intake and check for leaks.
- Slow drain: Check for algae, snails, or a kinked flex line.
Do not rely on check valves alone. They fail with sand and algae. Use sump capacity as the main safety. For more stability tips, see our reef tank maintenance schedule.
Sources: Reef Aquarium Plumbing by BeanAnimal (community design notes); Delbeek & Sprung, The Reef Aquarium (filtration and system design); Bulkhead and PVC sizing charts (manufacturer specs).
An overflow is more than a drain. It is a safety system and a surface skimmer. Size it for your flow, then tune it for silence. Test power-off behavior and clean it often.

![[food] Seaweed Snacks](https://fancyreef.com/wp-content/uploads/49758399738-7b109775d3-b.jpg)