A protein skimmer can transform water quality fast. It can also frustrate you when it overflows or pulls nothing. Good tuning is simple when you follow a repeatable process.
Start with a stable baseline
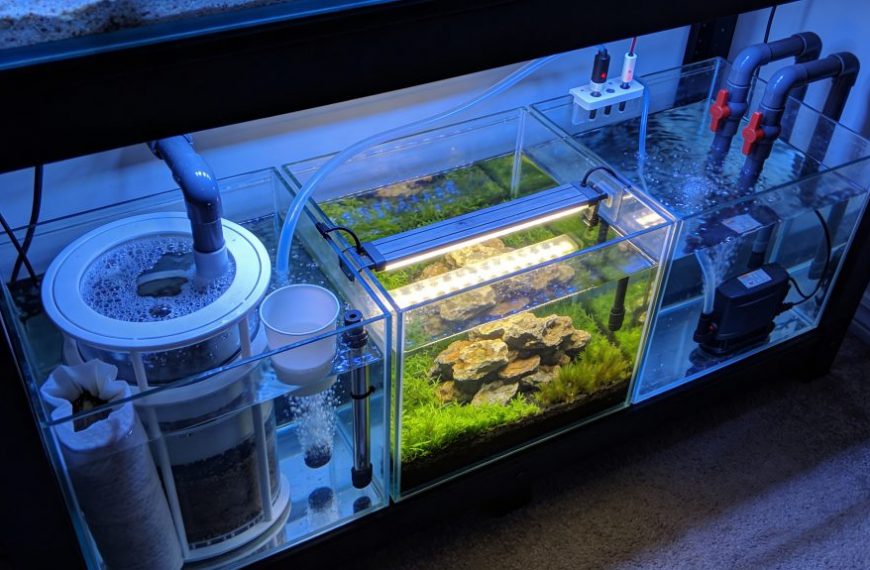
Set the skimmer in the right water depth first. Most in-sump models like 7 to 9 inches of depth. Check your manual if you have it. Use a stand if your sump is deeper.
Keep the sump level stable all day. An ATO is not optional for consistent skimming. Even a 0.5 inch swing changes foam height. That causes random overflows and weak skimmate.
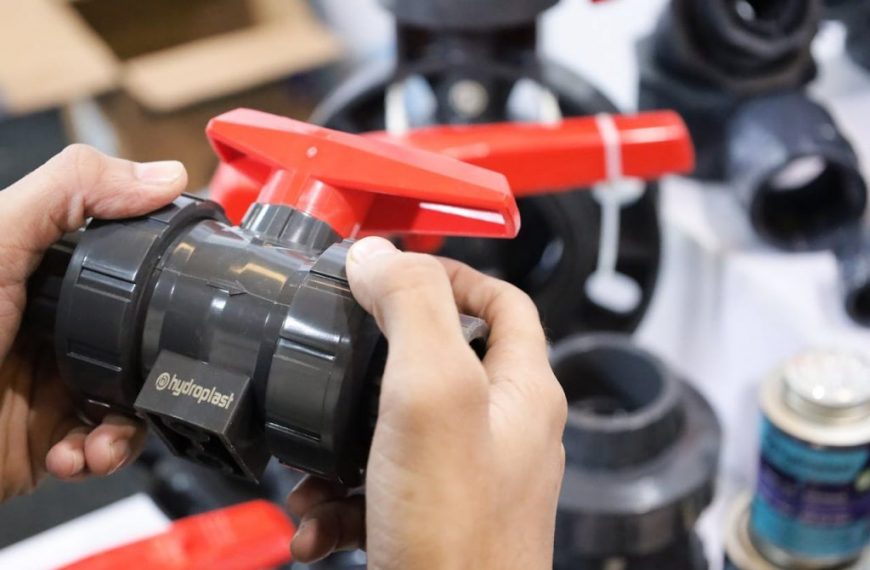
Clean the neck and cup before tuning. A dirty neck collapses foam early. Rinse with warm water. Avoid soaps and scented cleaners.
Let new skimmers break in for 3 to 7 days. Oils from manufacturing reduce foam. Hands in the tank can also reset the break-in. If you just used epoxy, expect a temporary change.
Quick baseline checklist:
- Water depth: keep it within 0.5 inch daily swing
- Air intake: clear and dry, no salt creep
- Neck: wipe every 2 to 4 days for steady foam
- Break-in: wait a week before judging performance
For setup basics, review your sump setup basics. For stability, see our ATO for reef tanks guide.
Dial in air, water level, and skimmate “wetness”
Start with the skimmer running and the cup installed. Open the air fully on most needlewheel designs. Then set the internal water level low. Aim for foam breaking at the bottom of the neck.
Make one change at a time. Wait 10 to 20 minutes between adjustments. Foam needs time to stabilize. If you chase it every minute, you will overshoot.
Choose wet or dry skimming based on your goals. Wet skimming pulls lighter tea-colored liquid. It exports nutrients faster. Dry skimming pulls darker sludge. It is steadier and wastes less saltwater.
Use a simple target for most mixed reefs. Fill the cup with medium skimmate every 2 to 5 days. If it fills in hours, lower the water level. If it stays clean for a week, raise the level slightly.
Practical tuning steps:
- Set water level so bubbles reach 1 inch into the neck
- After 20 minutes, raise level by 2 to 3 mm if needed
- Stop when foam climbs slowly and breaks into the cup
- Re-check after feeding and after lights-out
If nutrients are high, pair tuning with smart feeding. Our reef feeding schedule can help reduce swings.
Troubleshooting common skimmer problems
Overflowing is the most common complaint. First, check sump depth and ATO function. Then look for additives. Water conditioners, epoxy, and some foods cause sudden foaming. Lower the water level and run the cup drain to a container.
If the skimmer pulls nothing, verify airflow. Salt creep can block the venturi. Remove the air line and blow through it. Clean the venturi with hot water and a small brush. Also check the impeller for swollen shafts or debris.
Microbubbles in the display usually mean turbulence. Slow the sump flow near the skimmer section. Add a sponge or baffle if needed. Also confirm the skimmer outlet is not aimed at the return pump.
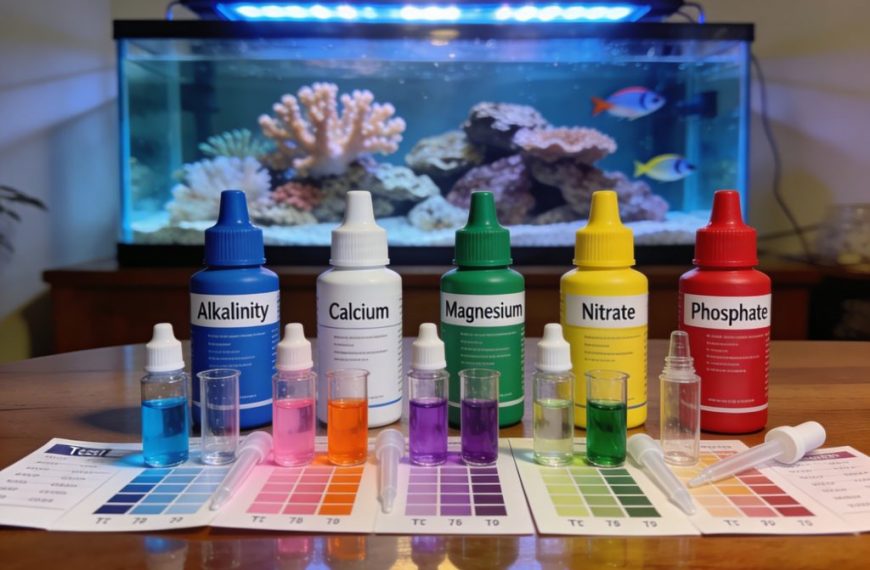
Use real numbers to guide decisions. If nitrate is 20 to 40 ppm, skim a bit wetter. If nitrate is 2 to 10 ppm, skim medium. If nitrate is near 0 and corals look pale, skim drier. Also consider phosphate targets of 0.03 to 0.10 ppm.
Common mistakes to avoid:
- Turning the skimmer off during feeding for hours
- Changing settings daily without waiting for stability
- Running in an unstable sump chamber without an ATO
- Ignoring neck cleaning and air intake maintenance
Sources: Reefkeeping Magazine protein skimmer articles; Delbeek & Sprung, “The Reef Aquarium”; manufacturer manuals for needlewheel skimmers.
Protein skimmer tuning works best with patience and stable conditions. Set depth, stabilize the sump level, and adjust in small steps. Once dialed in, a quick neck wipe and weekly check keeps performance consistent.