Coral dips lower the risk of pests entering your reef. They also reduce bacterial load on fresh frags. A good dip routine saves time and livestock later.
Why dip corals and what dips can (and can’t) do
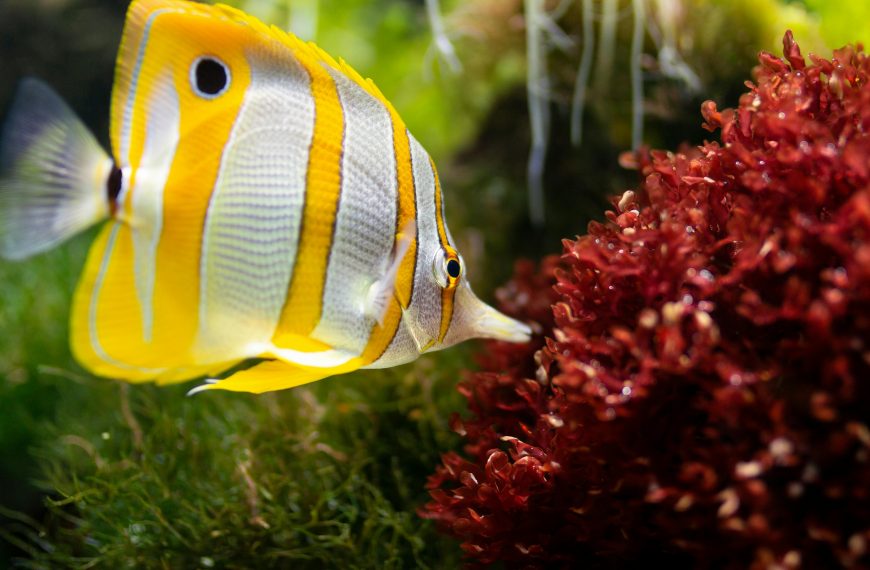
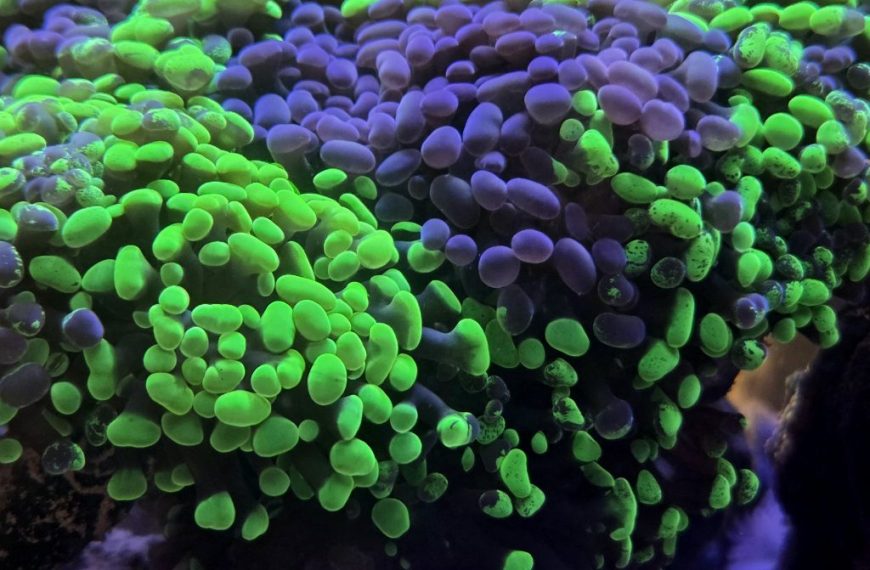
A dip is a short bath in treated saltwater. It targets hitchhikers on coral tissue and plugs. Common pests include flatworms, nudibranchs, and small crabs. Many eggs survive dips. That is why follow-up checks matter.
Dips reduce risk, but they are not quarantine. A true coral QT uses a separate tank for weeks. You observe, re-dip, and cut away problem areas. If you can, pair dipping with a simple QT bin.
Match dip water to your tank. Use the same salinity and temperature. Aim for 1.025 specific gravity and 77–79°F. Match pH near 8.1–8.4 when possible. Stress rises when parameters swing.
Choose a dip based on your coral and goal. Iodine dips help with minor tissue damage. Oxidizer-based dips can knock off many mobile pests. Some meds are harsh on certain soft corals. Always test on a cheap frag first.
- Dips remove mobile pests better than eggs and cysts.
- Parameter matching reduces polyp bailout and slime events.
- Plan to inspect and re-check after 3–7 days.
For a deeper pest overview, see reef pest identification guide. For a full isolation plan, read coral quarantine setup.
Step-by-step coral dip workflow (with practical numbers)
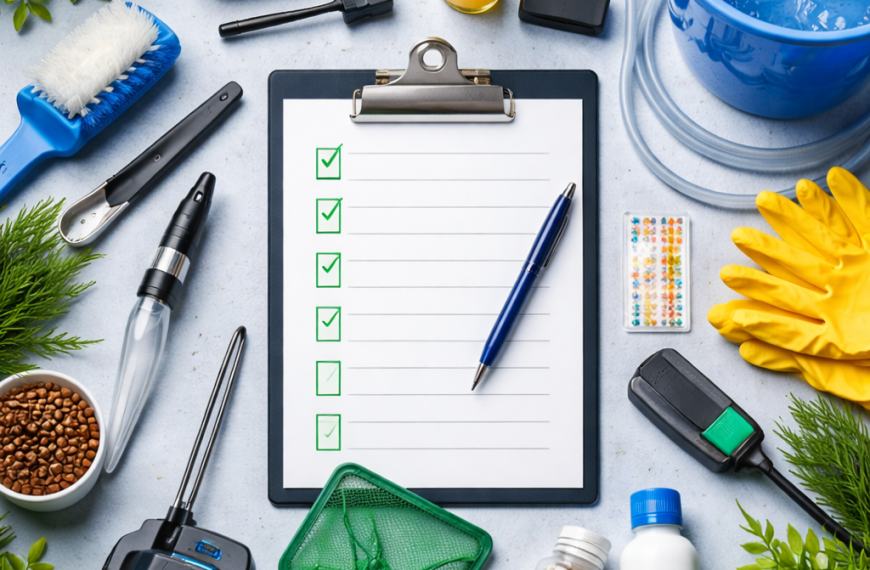
Set up three containers. Container one is the dip. Container two is rinse one. Container three is rinse two. Use tank water or freshly mixed saltwater. Add a small heater if your room is cool.
Mix the dip per label. Many hobby dips run 5–15 minutes. Start at the low end for stressed shipments. Use a timer and keep water moving. A small powerhead or turkey baster works well.
During the dip, blast the coral gently. Focus on crevices and the plug edge. You want pests to let go. Watch for excessive slime or tissue peeling. If you see it, move to rinse early.
Rinse in container two for 30–60 seconds. Then rinse again in container three. This lowers chemical carryover. After rinsing, inspect under white light. Use a magnifier if you have one.
- Use 3 containers: dip, rinse, rinse.
- Dip time: follow the label, often 5–15 minutes.
- Rinse twice for 30–60 seconds each.
- Baste every 1–2 minutes to dislodge pests.
Many pros remove the frag plug. Plugs can hide eggs and algae. Use bone cutters and re-mount if needed. Place the frag on a rack in lower light. Start at 30–50% of your usual PAR.
Track what you did. Write the dip type, time, and results. This helps you repeat success. It also helps you spot a bad batch. Keep a small log near your QT station.
For acclimation basics, review reef tank acclimation basics. It pairs well with dipping and placement.
Troubleshooting and common mistakes
The most common mistake is overdosing. “A little extra” can burn tissue fast. Measure with a syringe or pipette. Mix in a known volume, like 500 mL or 1 gallon. Keep your math simple and repeatable.
Another mistake is dipping already-bleached corals too long. Shipping stress is real. Shorten the dip by 25–50% for pale frags. Use stronger flow in the rinse instead. Then give low light and stable alkalinity.
Flatworms and nudibranchs often return from eggs. Plan a second inspection at day 3–5. Plan a second dip at day 5–7 if needed. Scrape eggs off with a toothpick. Cut away infested tissue edges when safe.
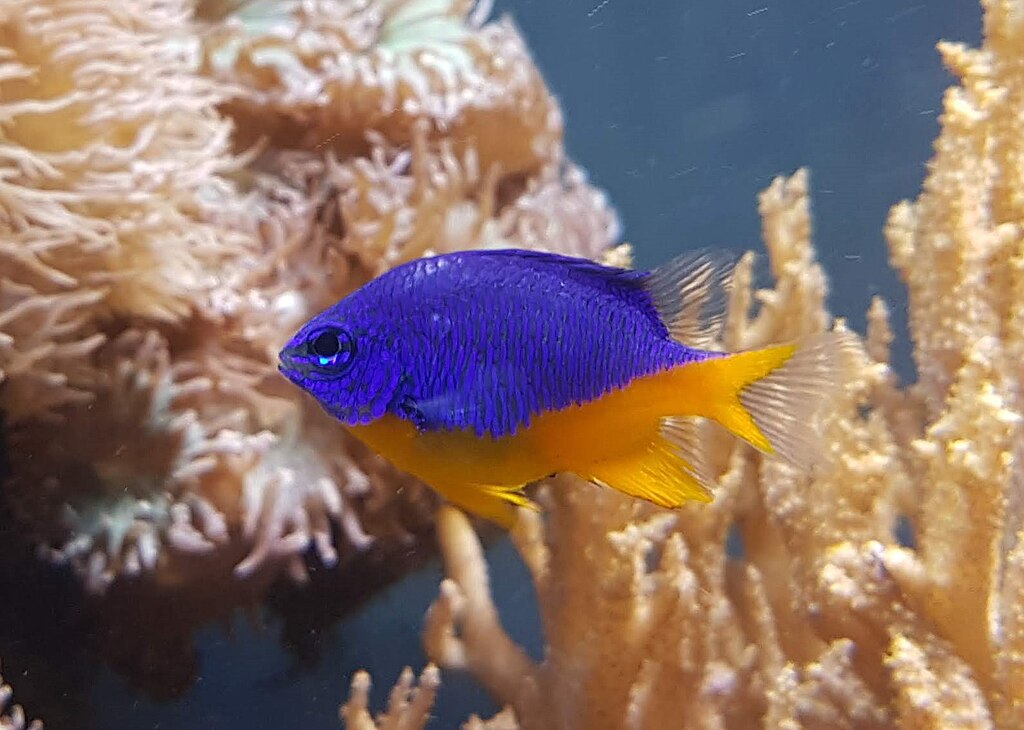
Watch your tank after adding new corals. Look for bite marks and missing polyps. Check at night with a flashlight. If a pest shows up, remove the coral fast. Dip again and move it to QT.
- Do not dip in freshwater unless the product says so.
- Do not pour dip water into your display tank.
- Do not skip rinses, even with “reef safe” dips.
- Do not rely on dips alone for egg-laying pests.
Sources: CoralRx instructions (product label); Two Little Fishies Revive instructions (product label); Seachem Reef Dip guidance (product label); Borneman, E. “Aquarium Corals” (reference text).
With a steady routine, coral dipping becomes quick and predictable. Match parameters, follow dosing, and rinse well. Combine dips with inspection and short QT when possible. Your reef will stay cleaner and more stable.