Coral fragging can be simple, but advanced work needs planning. Better tools and cleaner technique help frags heal fast. They also reduce infection, tissue loss, and stress.
Prep, tools, and a clean fragging workflow
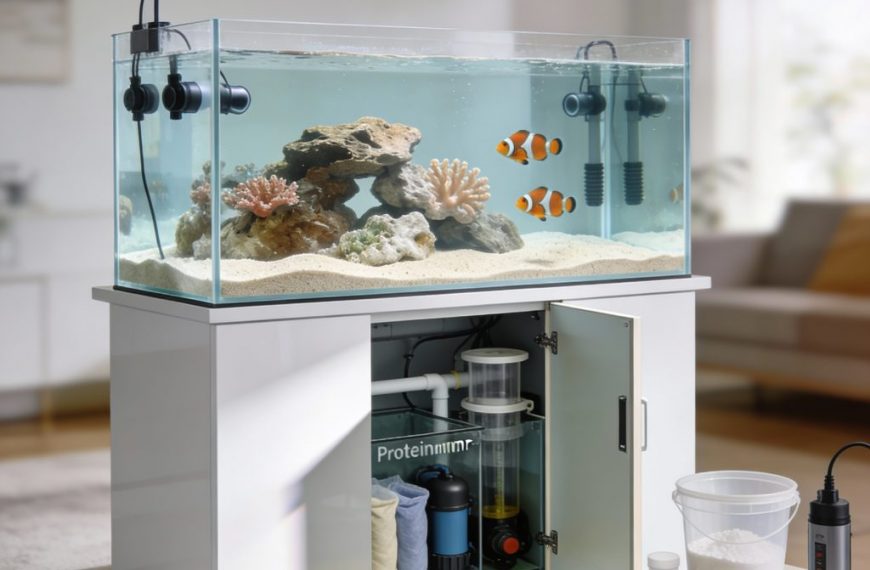
Set up a dedicated frag station before you cut anything. Use two tubs of tank water. One tub is for cutting. The other is for rinsing. Keep tools, plugs, and glue within reach. This prevents rushing and mistakes.
Match stable parameters before and after fragging. Keep temperature at 25–26°C (77–79°F). Keep salinity at 1.025–1.026 specific gravity. Aim for alkalinity 8–9 dKH and calcium 400–450 ppm. Keep magnesium near 1250–1400 ppm. Stability matters more than “perfect” numbers.
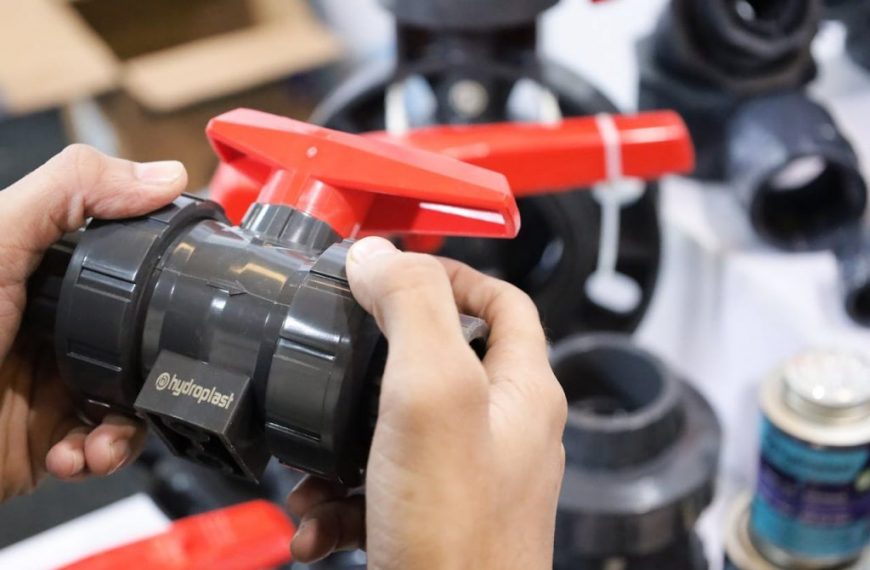
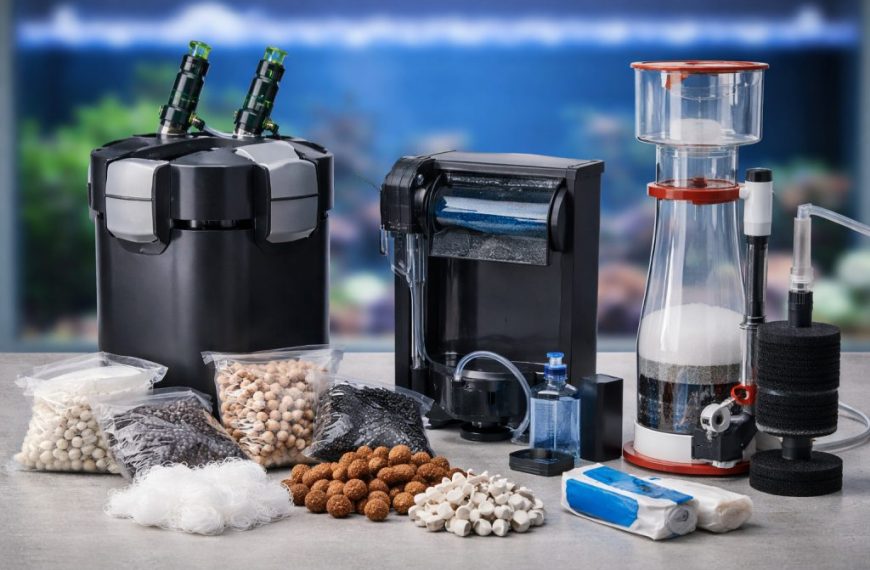
Use the right tool for each coral type. Bone cutters work for many SPS branches. A band saw helps with thick skeletons. A scalpel helps with soft tissue separation. Use eye protection and gloves. Some corals can irritate skin and eyes.
- Disinfect tools with 3% hydrogen peroxide for 5 minutes.
- Rinse tools in saltwater before each coral.
- Label plugs with date, species, and parent colony.
Plan recovery space in advance. Use a frag rack in moderate flow. Use lower light at first. A good starting point is 50–100 PAR for stressed frags. Increase slowly over 7–14 days.
Advanced cutting methods for SPS, LPS, and soft corals
For branching SPS, cut cleanly through solid skeleton. Avoid crushing tissue at the base. Make the cut 5–10 mm below healthy polyps. This leaves a buffer zone for healing. Dip the frag in clean tank water right after cutting.
For encrusting SPS, use a chisel or saw to lift a thin plate. Try to include some existing encrusted edge. That edge regrows fastest. Keep the cut piece submerged during handling. Exposure to air can trap slime and debris.
LPS need extra care with fleshy tissue. Never cut through inflated tissue. Feed lightly the day before, then stop feeding. This reduces mucus and swelling. For Euphyllia, cut between heads where skeleton is visible. For brains, use a saw and steady flow to clear dust.
Soft corals can be fast, but messy. Use a sharp scalpel and gentle handling. Let cut pieces “slime off” in a low-flow container. Then mount them. Rubber bands can cut tissue if too tight. Bridal veil mesh often works better. For quarantine steps, see coral quarantine guide.
- Make one confident cut, not many small snips.
- Keep frags submerged during transfers when possible.
- Use separate rinse water for each colony to limit spread.
Mounting, dips, and troubleshooting slow healing
Mounting is where many advanced frags fail. Dry the plug top with a paper towel. Pat the frag base dry for 2–3 seconds. Use a small gel cyanoacrylate dot. Then press for 10–15 seconds. Add a second ring of glue for heavy pieces.
Dips can reduce bacterial issues and pests. Follow product directions exactly. Do not “double dose” to go faster. A common approach is 5–10 minutes in a coral dip, then a clean rinse. For iodine dips, use only measured drops. Too much can burn tissue.
Watch for warning signs in the first 48 hours. Receding tissue often means too much light or too little flow. Brown slime can signal infection. Move the frag to higher flow and lower light. Consider a fresh dip and a clean remount. Also check alkalinity swings. A 1 dKH change in a day can trigger stress.
Common mistakes include cutting sick colonies and fragging right after shipping. Give new corals 2–4 weeks of stable conditions first. If algae grows on cut edges, reduce nutrients and increase flow. Aim for nitrate 5–15 ppm and phosphate 0.03–0.10 ppm. For stability basics, review reef water parameters.
- Start frags in moderate flow, then adjust every two days.
- Photograph frags daily to spot slow recession early.
- Keep a log of PAR, alkalinity, and dip dates.
Advanced coral fragging is repeatable when your process is consistent. Clean cuts, stable parameters, and smart placement speed healing. Build a routine, take notes, and improve one step at a time.
Sources: Borneman, E. “Aquarium Corals” (TFH); Delbeek & Sprung, “The Reef Aquarium” Vol. 1–3; Paletta, M. “The New Marine Aquarium”

![[food] Seaweed Snacks](https://fancyreef.com/wp-content/uploads/49758399738-7b109775d3-b.jpg)