Evaporation changes salinity every day. An ATO system replaces lost water automatically. It keeps your reef stable and your routine simple.
What an ATO does and why it matters
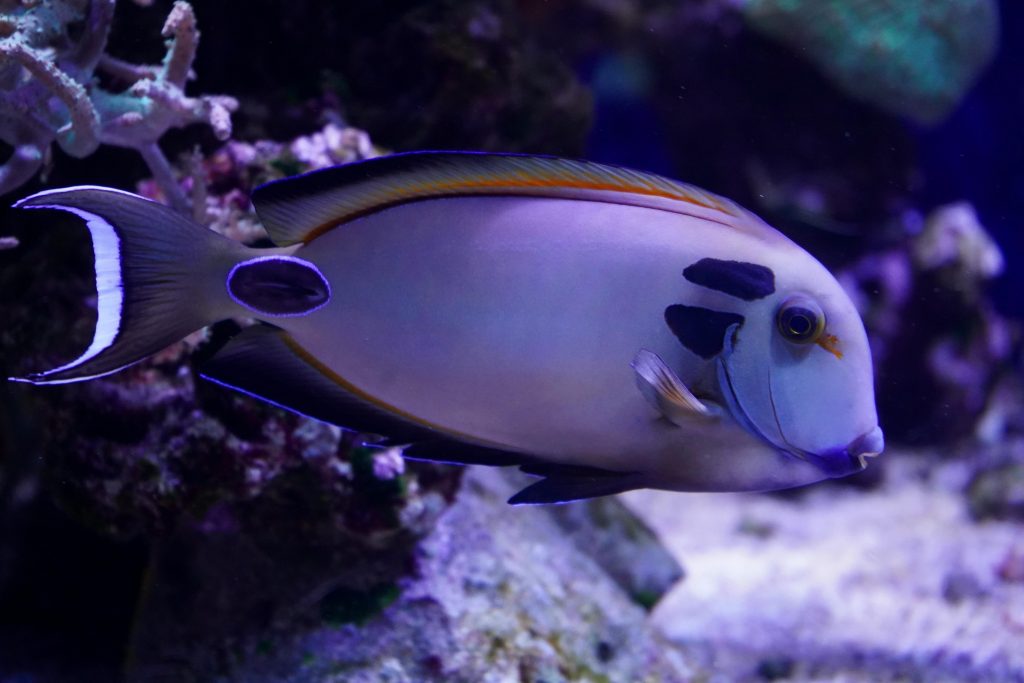
An ATO adds fresh RODI water as water evaporates. Salt does not evaporate. Salinity rises when the water level drops. ATO stability helps corals, fish, and inverts.
Most reefs do best at 35 ppt, or 1.026 specific gravity. A small tank can swing fast. A 20-gallon tank can lose 0.5 gallons daily. That can push salinity up in hours. An ATO prevents that creep.
Stable water level also helps your equipment. Skimmers need a steady sump depth. A return section that runs low can pull air. That adds microbubbles and noise. It can also burn out pumps.
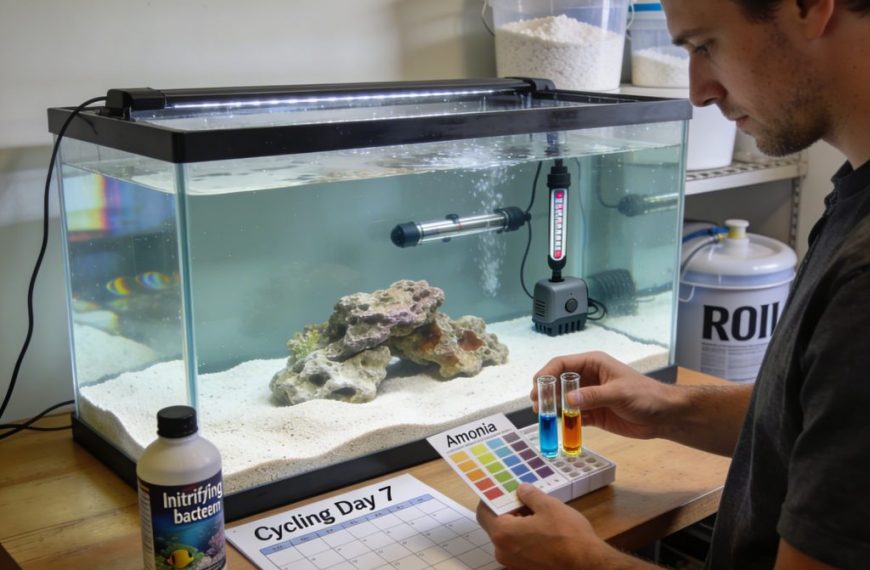
ATO water should be pure. Use RODI at 0–5 TDS. Do not top off with saltwater. Save saltwater for water changes only. For setup basics, see our salinity stability guide.
- Target salinity: 35 ppt (1.026 SG) and keep it steady
- Top-off water: RODI, 0–5 TDS
- Typical evaporation: 1–2% of tank volume per day
Choosing sensors, reservoirs, and a safe layout
Sensor choice is the heart of an ATO. Optical sensors resist salt creep well. Float switches are simple and cheap. Pressure sensors are accurate but cost more. Many hobbyists use optical plus a backup float.
Place the sensor in the return chamber of the sump. That is where the water level changes. Set the normal level with the return pump running. Keep the sensor away from bubbles and turbulence. A baffle or probe holder helps.
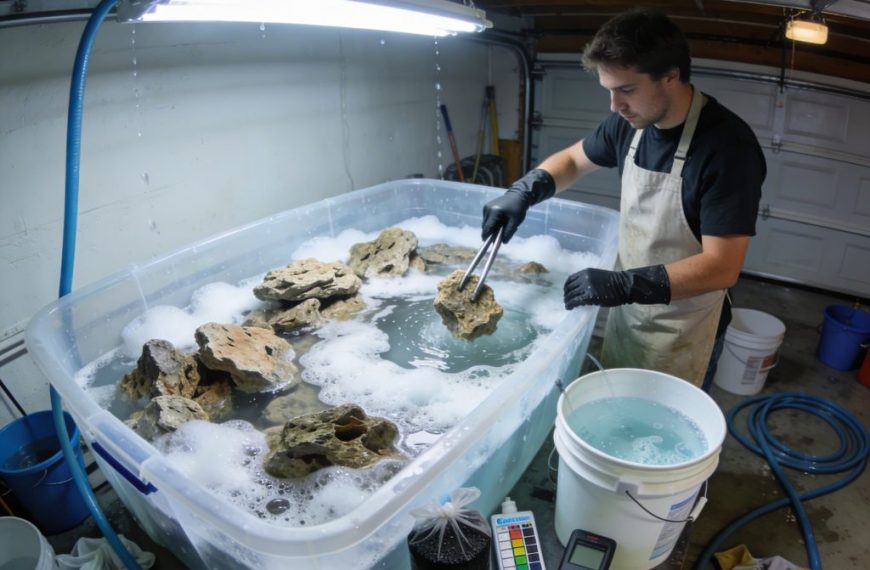
Reservoir size should match your schedule. A common target is 3–7 days of top-off. For a 75-gallon reef, plan 0.75 to 1.5 gallons per day. A 10-gallon reservoir often works well. Use a covered container to reduce dust.
Use a dosing pump or ATO pump with a siphon break. Keep the reservoir below the sump water line. This reduces back-siphon risk. If it must sit higher, add a check valve and an air gap. Also add a hard time limit in the controller.
- Use dual sensors when possible, with a high-level cutoff
- Mount sensors where bubbles cannot hit them
- Size the reservoir for 3–7 days of evaporation
- Prevent siphons with an air gap and safe reservoir placement
Setup steps, calibration, and troubleshooting
Start with a clean sump and stable return flow. Mark your desired water line in the return section. Mount the primary sensor at that line. Mount the backup sensor 1–2 cm higher. Test both before adding livestock.
Run the ATO into a high-flow area of the return chamber. This mixes water fast. Avoid dripping into the display. Freshwater can irritate corals if it lands directly. If you dose kalkwasser, drip into the sump only.
Set safety limits. Many controllers allow a max run time, like 30–90 seconds per cycle. Also set a daily max volume if available. This reduces flood risk. It also limits salinity crashes if a sensor fails.
Common issues are easy to spot. Rapid on-off cycling means sensor bounce or bubbles. Move the sensor or add a calm zone. Overfilling often comes from a stuck float or siphon. Clean switches monthly and test fail-safes. For sump layout help, read our sump design basics. For water prep, see our RODI water guide.
- Clean optical lenses and floats every 2–4 weeks
- Test the high-level cutoff once a month
- Replace brittle tubing yearly to prevent leaks
- Log salinity weekly with a calibrated refractometer
An ATO system is a stability tool first. It protects salinity, pumps, and skimmer performance. Set it up with backups and limits, and it will run quietly for years.
Take ten minutes each month for cleaning and testing. That habit prevents most ATO failures. Your reef will reward you with better growth and fewer swings.
Sources: Bulk Reef Supply ATO education series; Reefkeeping Magazine articles on salinity stability; Neptune Systems ATO safety best practices; Randy Holmes-Farley reef chemistry references.