Salinity is the backbone of reef stability. Small errors can stress fish and corals fast. Good measurement keeps your tank consistent and predictable.
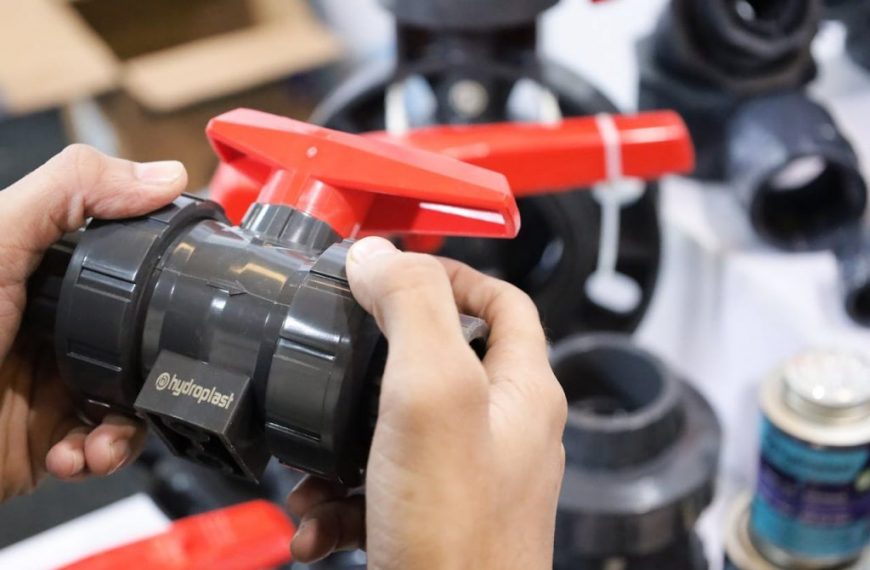
Pick the right tool and know your target
Most reef tanks run best at 35 ppt. That equals 1.026 specific gravity at 25°C. Fish-only systems can run slightly lower, like 32–34 ppt.
Hydrometers are cheap and simple. Swing-arm types often drift with age. Bubbles can also stick and skew the reading. They work best as a backup tool.
Refractometers are common and accurate when calibrated. Many hobby units are “ATC” models. ATC helps with room temperature changes. It does not fix bad calibration.
Digital salinity meters are fast and repeatable. They need clean probes and routine checks. They can drift if salt crust builds up. Rinse the probe with RO/DI after each use.
- Reef target: 35 ppt, or 1.026 at 25°C
- Measure at the same time each day, if possible
- Use one primary tool and one backup tool
If you are new, start with a refractometer. Pair it with a basic hydrometer for sanity checks. For more setup basics, see reef tank setup basics.
How to measure salinity step by step (without bad readings)
First, confirm your calibration fluid. Use a 35 ppt calibration solution for reef work. RO/DI water is not ideal for many refractometers. It can cause a slope error at seawater ranges.
Calibrate at room temperature. Add 2–3 drops of 35 ppt fluid to the prism. Close the cover plate. Wait 30–60 seconds for temperature equalization. Adjust to exactly 35 ppt or 1.026.
Now take a tank sample from mid-water. Avoid surface film and sump bubbles. Use a clean pipette or syringe. Place 2–3 drops on the prism. Close the cover and read in good light.
Rinse and dry the prism after each test. Salt residue changes future readings. For digital meters, rinse the probe and shake off droplets. Store dry to prevent corrosion.
- Calibrate weekly, or after any drop or bump
- Wait 30–60 seconds before reading the scale
- Sample mid-tank, not the overflow or surface
Measure salinity before water changes. Also test mixed saltwater in the bucket. Aim for 35 ppt in both places. This avoids sudden swings after a change. For mixing help, review how to mix saltwater.
Troubleshooting: drifting salinity and common mistakes
If salinity rises, suspect evaporation. Salt does not evaporate. Only water leaves the tank. Top off with RO/DI water only. Use an ATO if you see daily swings over 0.001 SG.
If salinity falls, look for overfilling during top off. Check your ATO sensor height. Also check for wet skimming. A very wet skimmer can remove salty water fast. Measure skimmate volume over a week.
Big mismatches often come from bad calibration. Old calibration fluid can evaporate. That raises its salinity. Replace bottles every 6–12 months. Keep the cap tight between uses.
Correct salinity slowly. Change no more than 1 ppt per day for reef tanks. For a 40-gallon system, dropping 2 ppt may need about 1 gallon of saltwater swapped with RO/DI. Re-test after each adjustment.
- Rising salinity: increase RO/DI top off and check ATO function
- Falling salinity: stop wet skimming and verify top off settings
- Weird readings: clean the prism or probe and recalibrate at 35 ppt
Keep a log of salinity, temperature, and top-off volume. Patterns show problems early. You can also compare with reef water parameters to spot linked issues.
Stable salinity makes every other parameter easier to manage. Use a calibrated tool and a consistent method. Test often, adjust slowly, and your reef will respond well.
Sources: Randy Holmes-Farley, “Reef Aquarium Salinity: Measuring and Maintaining It” (Reefkeeping Magazine); Instant Ocean Aquarium Systems, “Specific Gravity and Salinity in Marine Aquariums”; Tropic Marin, “Salinity and Conductivity Basics.”