Water changes fix many reef problems fast. They remove waste and restore trace elements. A checklist keeps each change safe and repeatable.
Section 1: Prep the water and match parameters
Start with clean containers and a dedicated mixing pump. Use RO/DI water at 0 TDS. Mix salt to your target salinity. Most reefs run 1.025 to 1.026 specific gravity.
Heat and circulate new saltwater for 12 to 24 hours. This stabilizes pH and dissolves salts fully. Match temperature within 1°F of the display. Aim for 77 to 79°F for most mixed reefs.
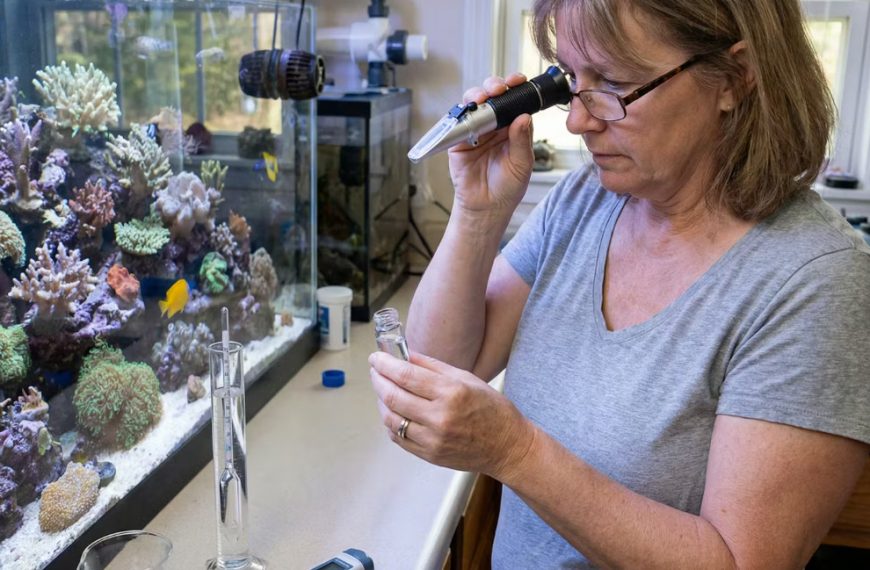
Test salinity with a calibrated refractometer. Calibrate with 35 ppt solution each month. Check alkalinity in the new mix. Keep it within 0.5 dKH of the tank to avoid stress.
Plan the change size based on stability. Use 10% weekly for steady nutrient control. Use 15% every two weeks for light stocking. Avoid 30% jumps unless you have an emergency.
- Mix to 35 ppt (1.026) and confirm with two readings.
- Match temp within 1°F and alkalinity within 0.5 dKH.
- Label buckets “clean” and “waste” to prevent cross use.
Keep a log for each batch. Write salinity, temp, and dKH. Note the salt brand and batch number. This helps if a mix ever tests oddly.
For more baseline targets, review reef tank water parameters. It helps you set realistic goals. Stability matters more than chasing perfect numbers.
Section 2: Execute the change without shocking livestock
Turn off heaters, skimmer, and return pump first. Leave powerheads on if water level stays safe. Mark a minimum waterline on the sump. This prevents a dry pump start.
Remove water slowly with a hose into a marked container. Vacuum only light areas of sand each week. Deep stirring can release trapped nutrients. Do one third of the sand per session.
Use the siphon to spot clean detritus behind rocks. Target dead zones and sump corners. If you run filter socks, swap them now. If you use a roller, check the advance.
Add new water back slowly to avoid blowing sand. Pour into the sump, not the display. Use a pump with a valve for control. Aim for 5 to 10 minutes per 5 gallons added.
- Shut off skimmer and ATO before draining.
- Vacuum small sand sections to avoid nutrient spikes.
- Refill through the sump and restart equipment in order.
Restart the return pump and check for leaks. Wait 10 minutes before turning on the skimmer. Wet skimming can overflow after a change. Set the skimmer air lower for one hour.
If you need a step-by-step for detritus control, see how to siphon a reef sand bed. It covers hose size and technique. It also explains when not to siphon.
Optional Section 3: Post-change checks and troubleshooting
After 30 minutes, recheck salinity and temperature. Small drift happens during refills. Correct salinity with RO/DI for high readings. Correct low salinity with pre-mixed saltwater, not dry salt.
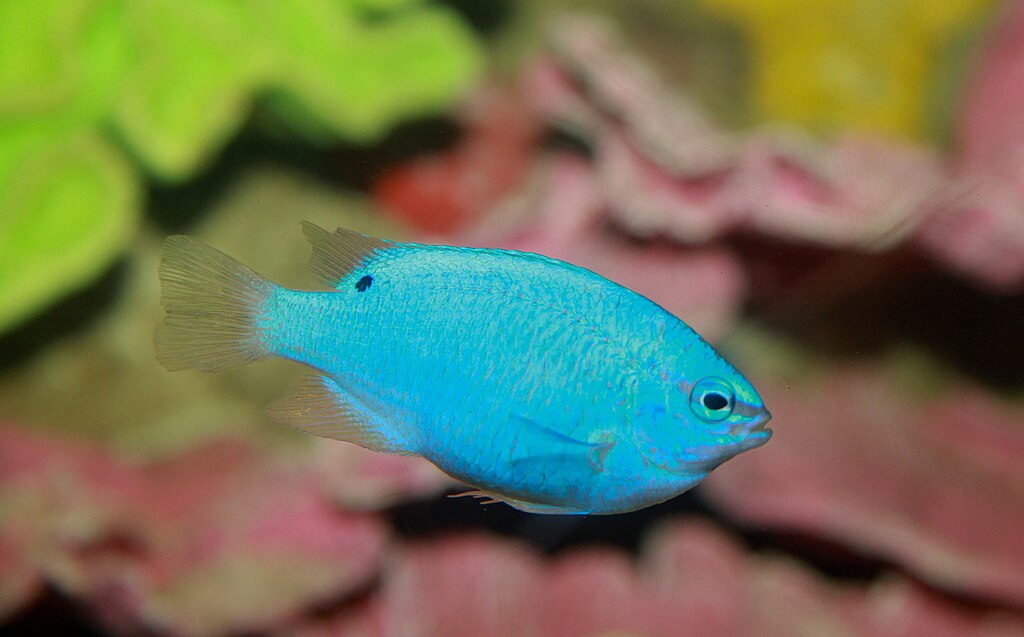
Watch fish breathing and coral polyp extension. Heavy breathing can signal temperature or pH mismatch. Closed corals often mean alkalinity swing. Test alkalinity again if behavior changes within two hours.
Common mistakes are easy to avoid. Do not mix salt in the display. Do not change water right after dosing alkalinity. Wait at least four hours after dosing to reduce local spikes.
If nutrients stay high, adjust the schedule. A 20-gallon tank may need 2 gallons twice weekly. A 100-gallon tank may need 10 gallons weekly. Pair changes with better feeding control and export.
- If salinity swings, calibrate tools and mark fill lines.
- If cyano blooms, reduce detritus and increase flow in corners.
- If skimmer overflows, lower water level or delay restart longer.
Keep your routine consistent. Use the same salt and mixing time. Replace RO/DI filters when TDS rises above 2. For more maintenance pacing, read reef tank maintenance schedule.
Sources: Instant Ocean Sea Salt Instructions; Red Sea Reef Care Program Guide; Randy Holmes-Farley, “Water Changes in Reef Aquaria” (Advanced Aquarist).