Clownfish are among the easiest marine fish to breed at home. Success comes from stable water, consistent feeding, and a plan for raising tiny larvae.
This guide walks you through setup, spawning, and larval care. Use it as a checklist and adjust for your room and schedule.
Set up the breeding pair and spawning tank
Start with a proven pair or a group of juveniles. A bonded pair reduces delays. Most pairs spawn well in a dedicated 20–30 gallon tank.
Keep water stable and simple. Aim for 25–26C (77–790F), salinity 1.025–1.026, and pH 8.1–8.4. Keep ammonia and nitrite at 0 ppm. Keep nitrate under 10–20 ppm.
Use a sponge filter or gentle HOB flow. Strong flow can blow eggs or stress the pair. Provide a tile, small pot, or flat rock near their host. Many pairs lay on a 4d6 inch ceramic tile.
Feed heavy and keep up with water changes. Offer 2–3 small meals daily. Use a mix of pellets, frozen mysis, and chopped seafood. Add a 10–15% water change weekly. For conditioning tips, see feeding marine fish.
- Lighting: 10–12 hours daily, consistent timer.
- Cover intakes: sponge guards prevent fry loss later.
- Keep hands out: sudden rearranges can stop spawning.
Egg care, hatch night, and moving the clutch
Clownfish usually spawn every 10–14 days once settled. Eggs start bright orange and darken as they develop. By day 7–9, you can see silver eyes. That is your hatch window.
Decide if you will hatch in place or move the eggs. Moving the tile is easiest. Place it in a small hatch tank the afternoon of hatch day. Match temperature and salinity exactly to avoid losses.
Use a 5–10 gallon bare-bottom hatch tank. Add an air stone with very gentle bubbles. Point bubbles near the eggs, not on them. Keep the tank dark on hatch night. Use a dim flashlight to check for swimmers.
Hatch often happens 1–2 hours after lights out. If eggs do not hatch, check temperature and age. Eggs older than 10 days may be infertile or fungus damaged. For disease prevention basics, review quarantine saltwater fish.
- Stop filtration on hatch night, except gentle air.
- Cover sides with black paper to reduce stress.
- Remove unhatched eggs next morning to protect water.
Larval rearing: rotifers, water quality, and weaning
Larvae need live food right away. Start rotifer cultures before your first hatch. Target 8–15 rotifers per mL in the larval tank. Keep a backup culture in case one crashes.
Use greenwater to improve feeding. Add live phytoplankton until the water looks light green. This keeps rotifers nutritious and visible. Maintain 25–26C and gentle aeration. Avoid strong surface agitation.
Do small water changes daily. Replace 10–20% with matched water. Siphon the bottom with airline tubing. Remove dead larvae and debris. Test ammonia daily with a reliable kit. Use an ammonia binder only if needed.
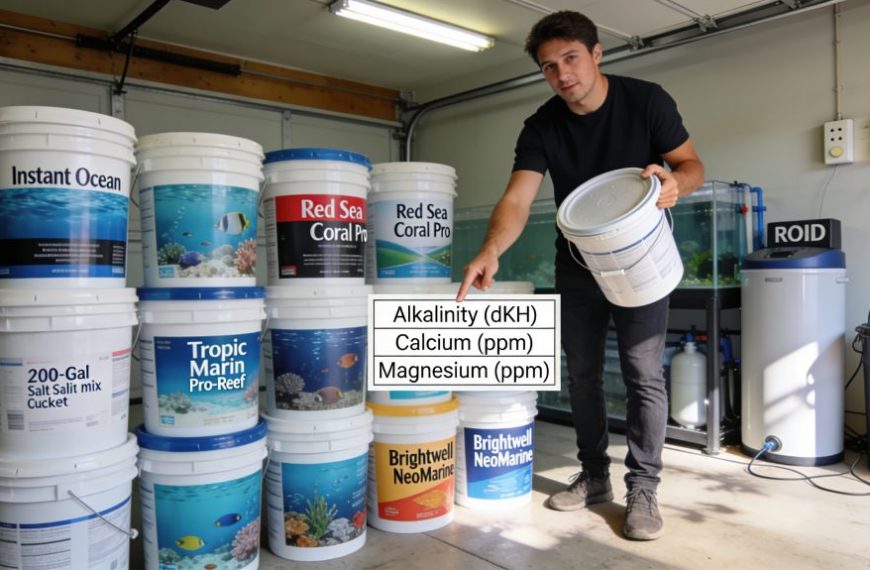
Begin offering baby brine shrimp around day 5–7, if larvae are large enough. Start weaning onto fine pellets after metamorphosis, often day 10–14. Provide small pieces of PVC for shelter. For long-term stability, read reef tank water parameters.
- Common mistake: too few rotifers on day one.
- Common mistake: bright lights that exhaust larvae.
- Troubleshoot: cloudy water often means overfeeding rotifers.
Clownfish breeding rewards patience and routine. Focus on stable parameters, strong nutrition, and prepared live foods. With each spawn, your timing and survival rates will improve.
Track dates, hatch times, and feeding rates in a log. That record helps you repeat success and fix weak points.
Sources: Wilkerson, J. (1998) Clownfishes; Wittenrich, M. (2007) The Complete Illustrated Breeders Guide to Marine Aquarium Fishes; Hoff, F.H. (1996) Conditioning, Spawning and Rearing of Fish.